My Perfect Fujifilm X100VI Film Simulation Recipe
I’ve been using the Fujifilm X100VI for the last week and have very much been enjoying the jpegs from it. In this blog I wanted to share the settings I have used and the film simulation recipe I have created in camera to create some very aesthetically pleasing jpegs.
The Film Simulation
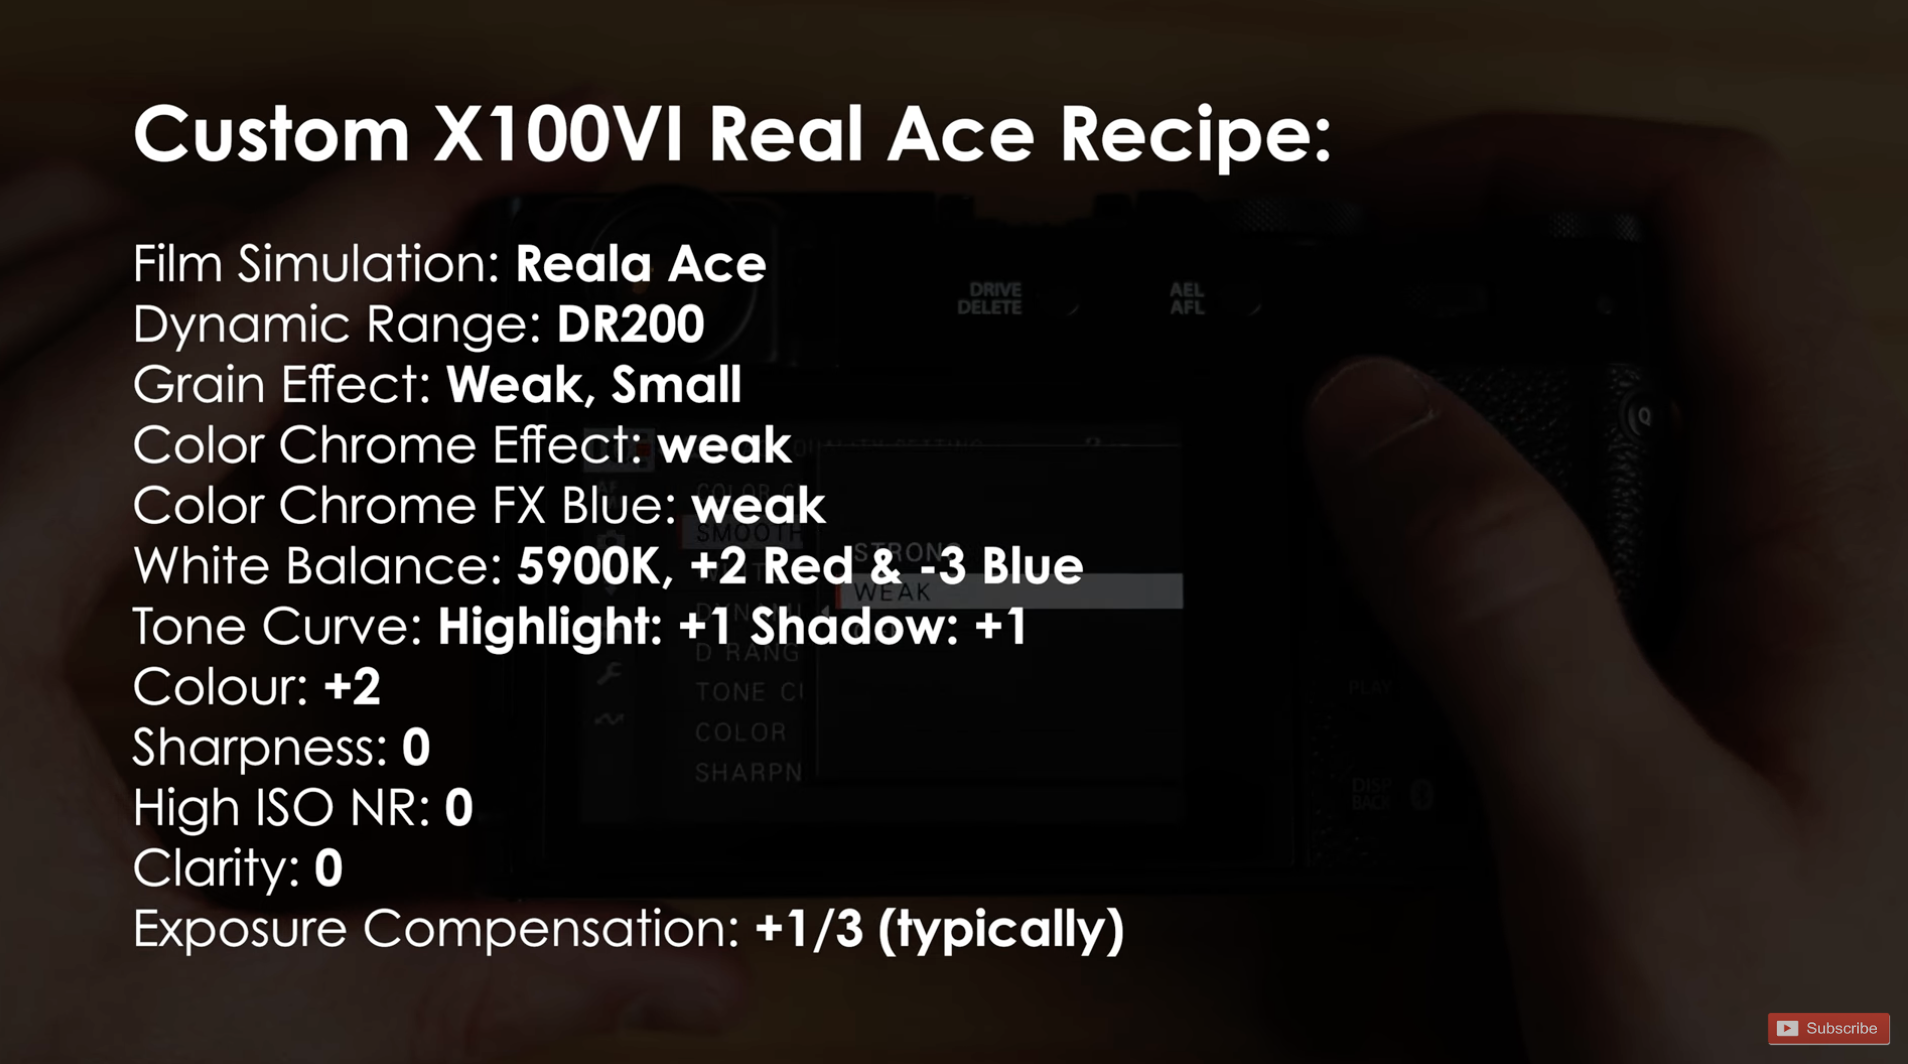
Let’s jump right into the settings above. Of course with the Reala Ace simulation being the newest edition, I have worked the whole look around that first.
I think the Reala Ace simulation looks great. In all honesty you could just keep this simulation set and use your default jpeg settings if you wanted.

Dynamic Range
The dynamic range is set at 200, I kept this middle of the park.
Maybe you want to use DR400 but I sometimes find having an image that’s too HDR loses character. If there’s loads of details in the highlights as well as in the shadows, the photo might look too clinical.
But on the other end of the scale, I don’t want to the image have too much contrast and lose all the detail in the highlights so I think 200 is a good balance.
Grain
I have set the grain to weak and small. I’ve said this before in previous jpeg videos. I never want the grain effect to be distracting but I do like the little character it adds.
Tone Curve
Moving onto the Tone Curve. I’ve decided to lean into the contrast slightly here and go for a small s curve. +1 in both highlights and shadows.
Colour
Colour has been set to +2. No complicated reasons here, just to add a lil pop.
Sharpness
The sharpness is 0: I felt no need to change this at all. If an image is too sharp, it might feel clinical. I don’t want to overuse this word but having an image with a little character is nice.
Clarity:
I can’t believe this still hasn’t been fixed… If you didn't know, if you change the clarity setting in any way, there’s a processing issue. The camera takes 1 or 2 seconds to process after you press the shutter button. The same issue existed in the X100v - I thought it would be in this new model though.
This is a little disappointing as changing the clarity is a nice effect. But it’s just not useable in my opinion. So for now, this has been set to 0.
Chrome Effects:
Color Chrome Effect: weak
Color Chrome FX Blue: weak
White Balance:
I’ve set the white balance to 5,800 kelvin with a +2 red and -3 blue tint. If you’re shooting inside, this might look too warm so feel free to select auto WB here.
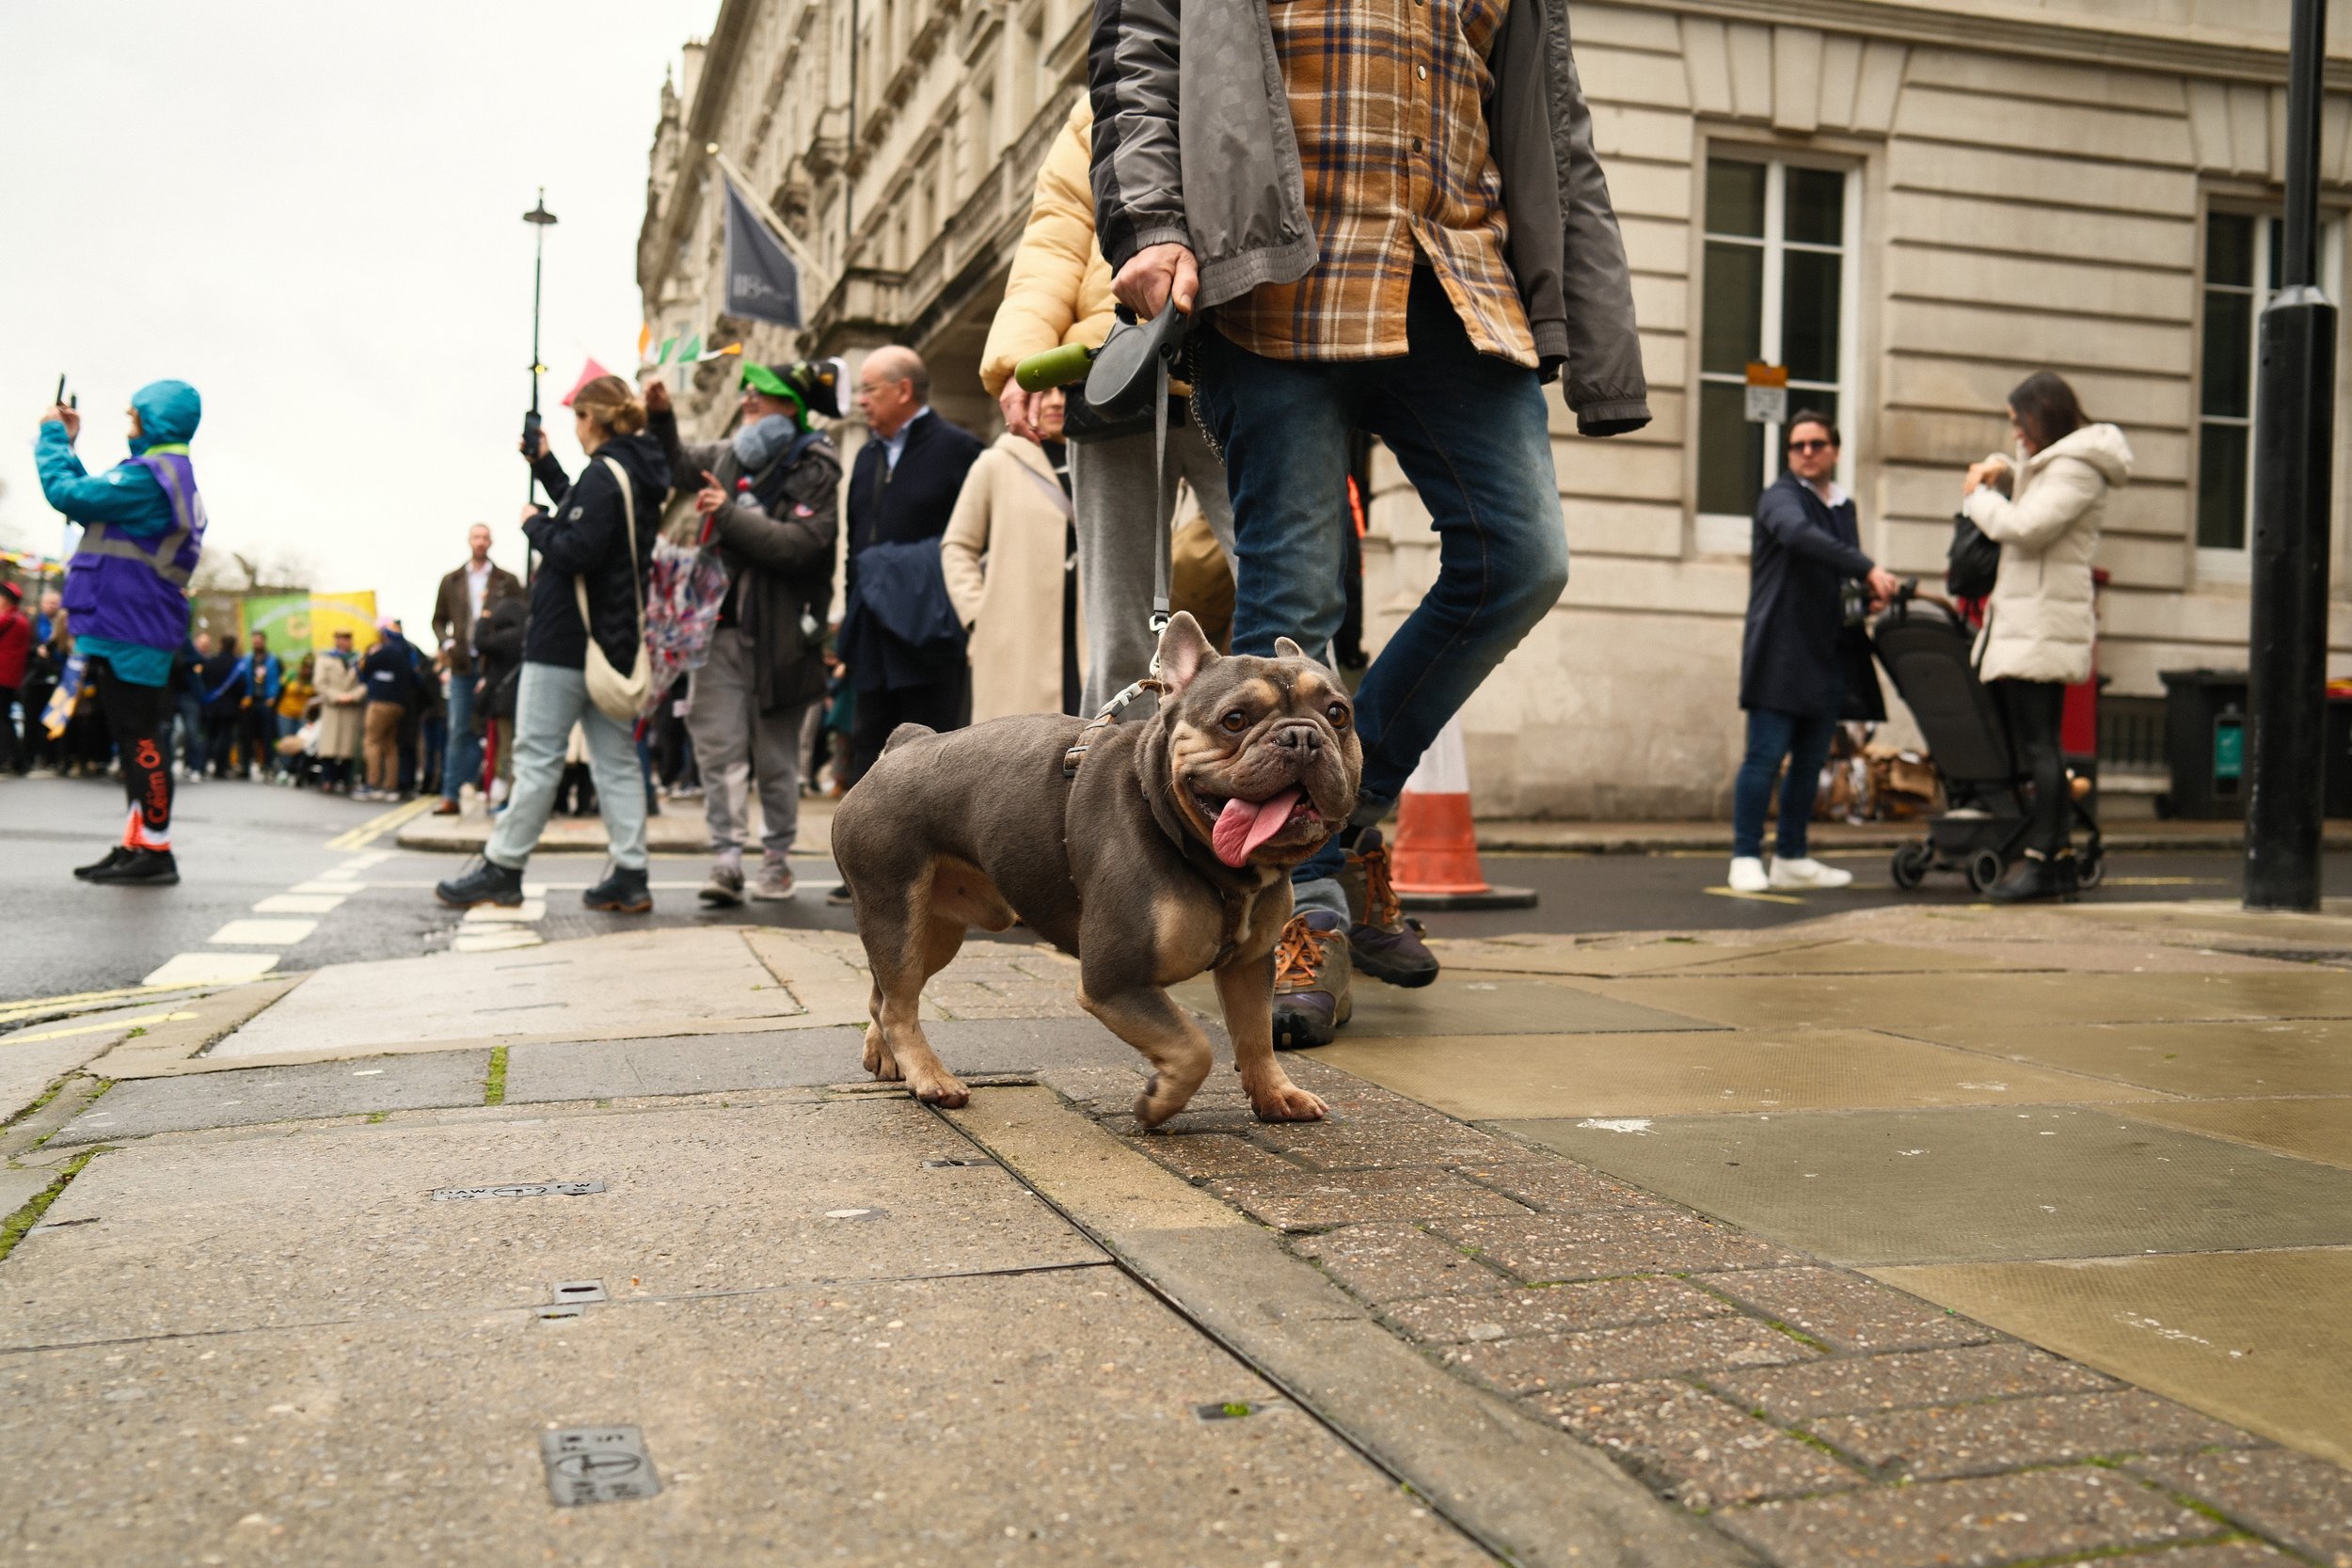
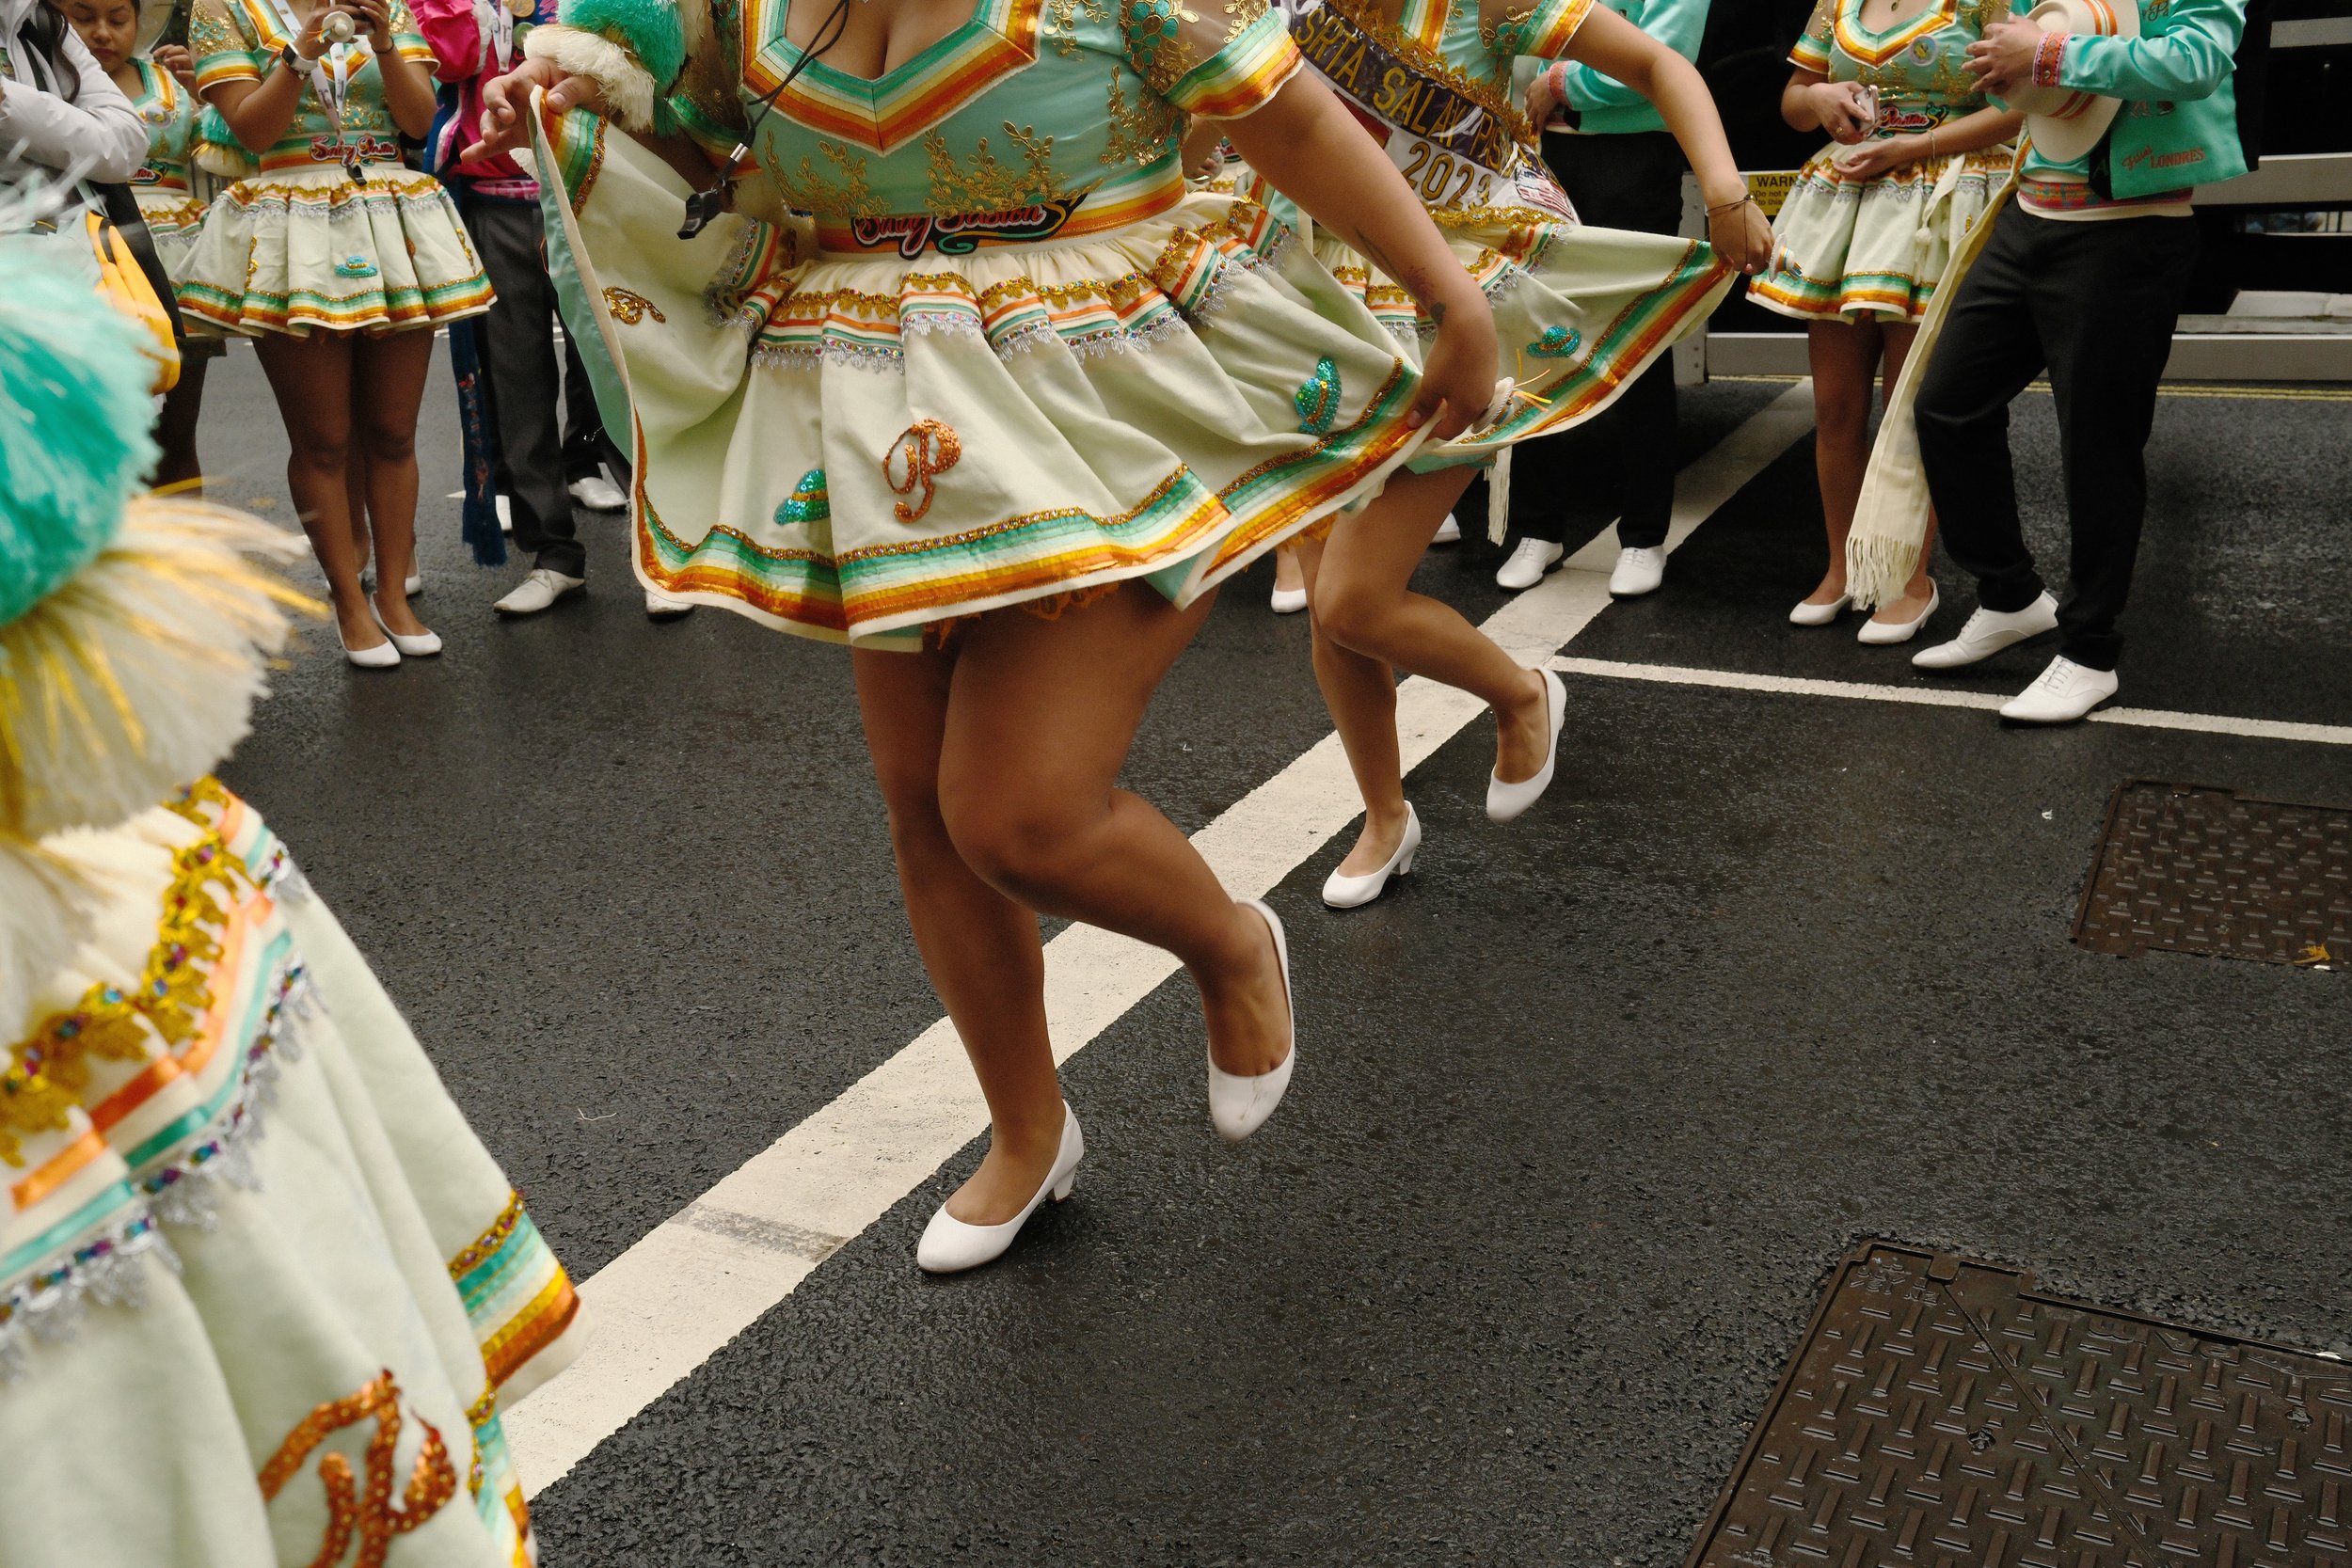
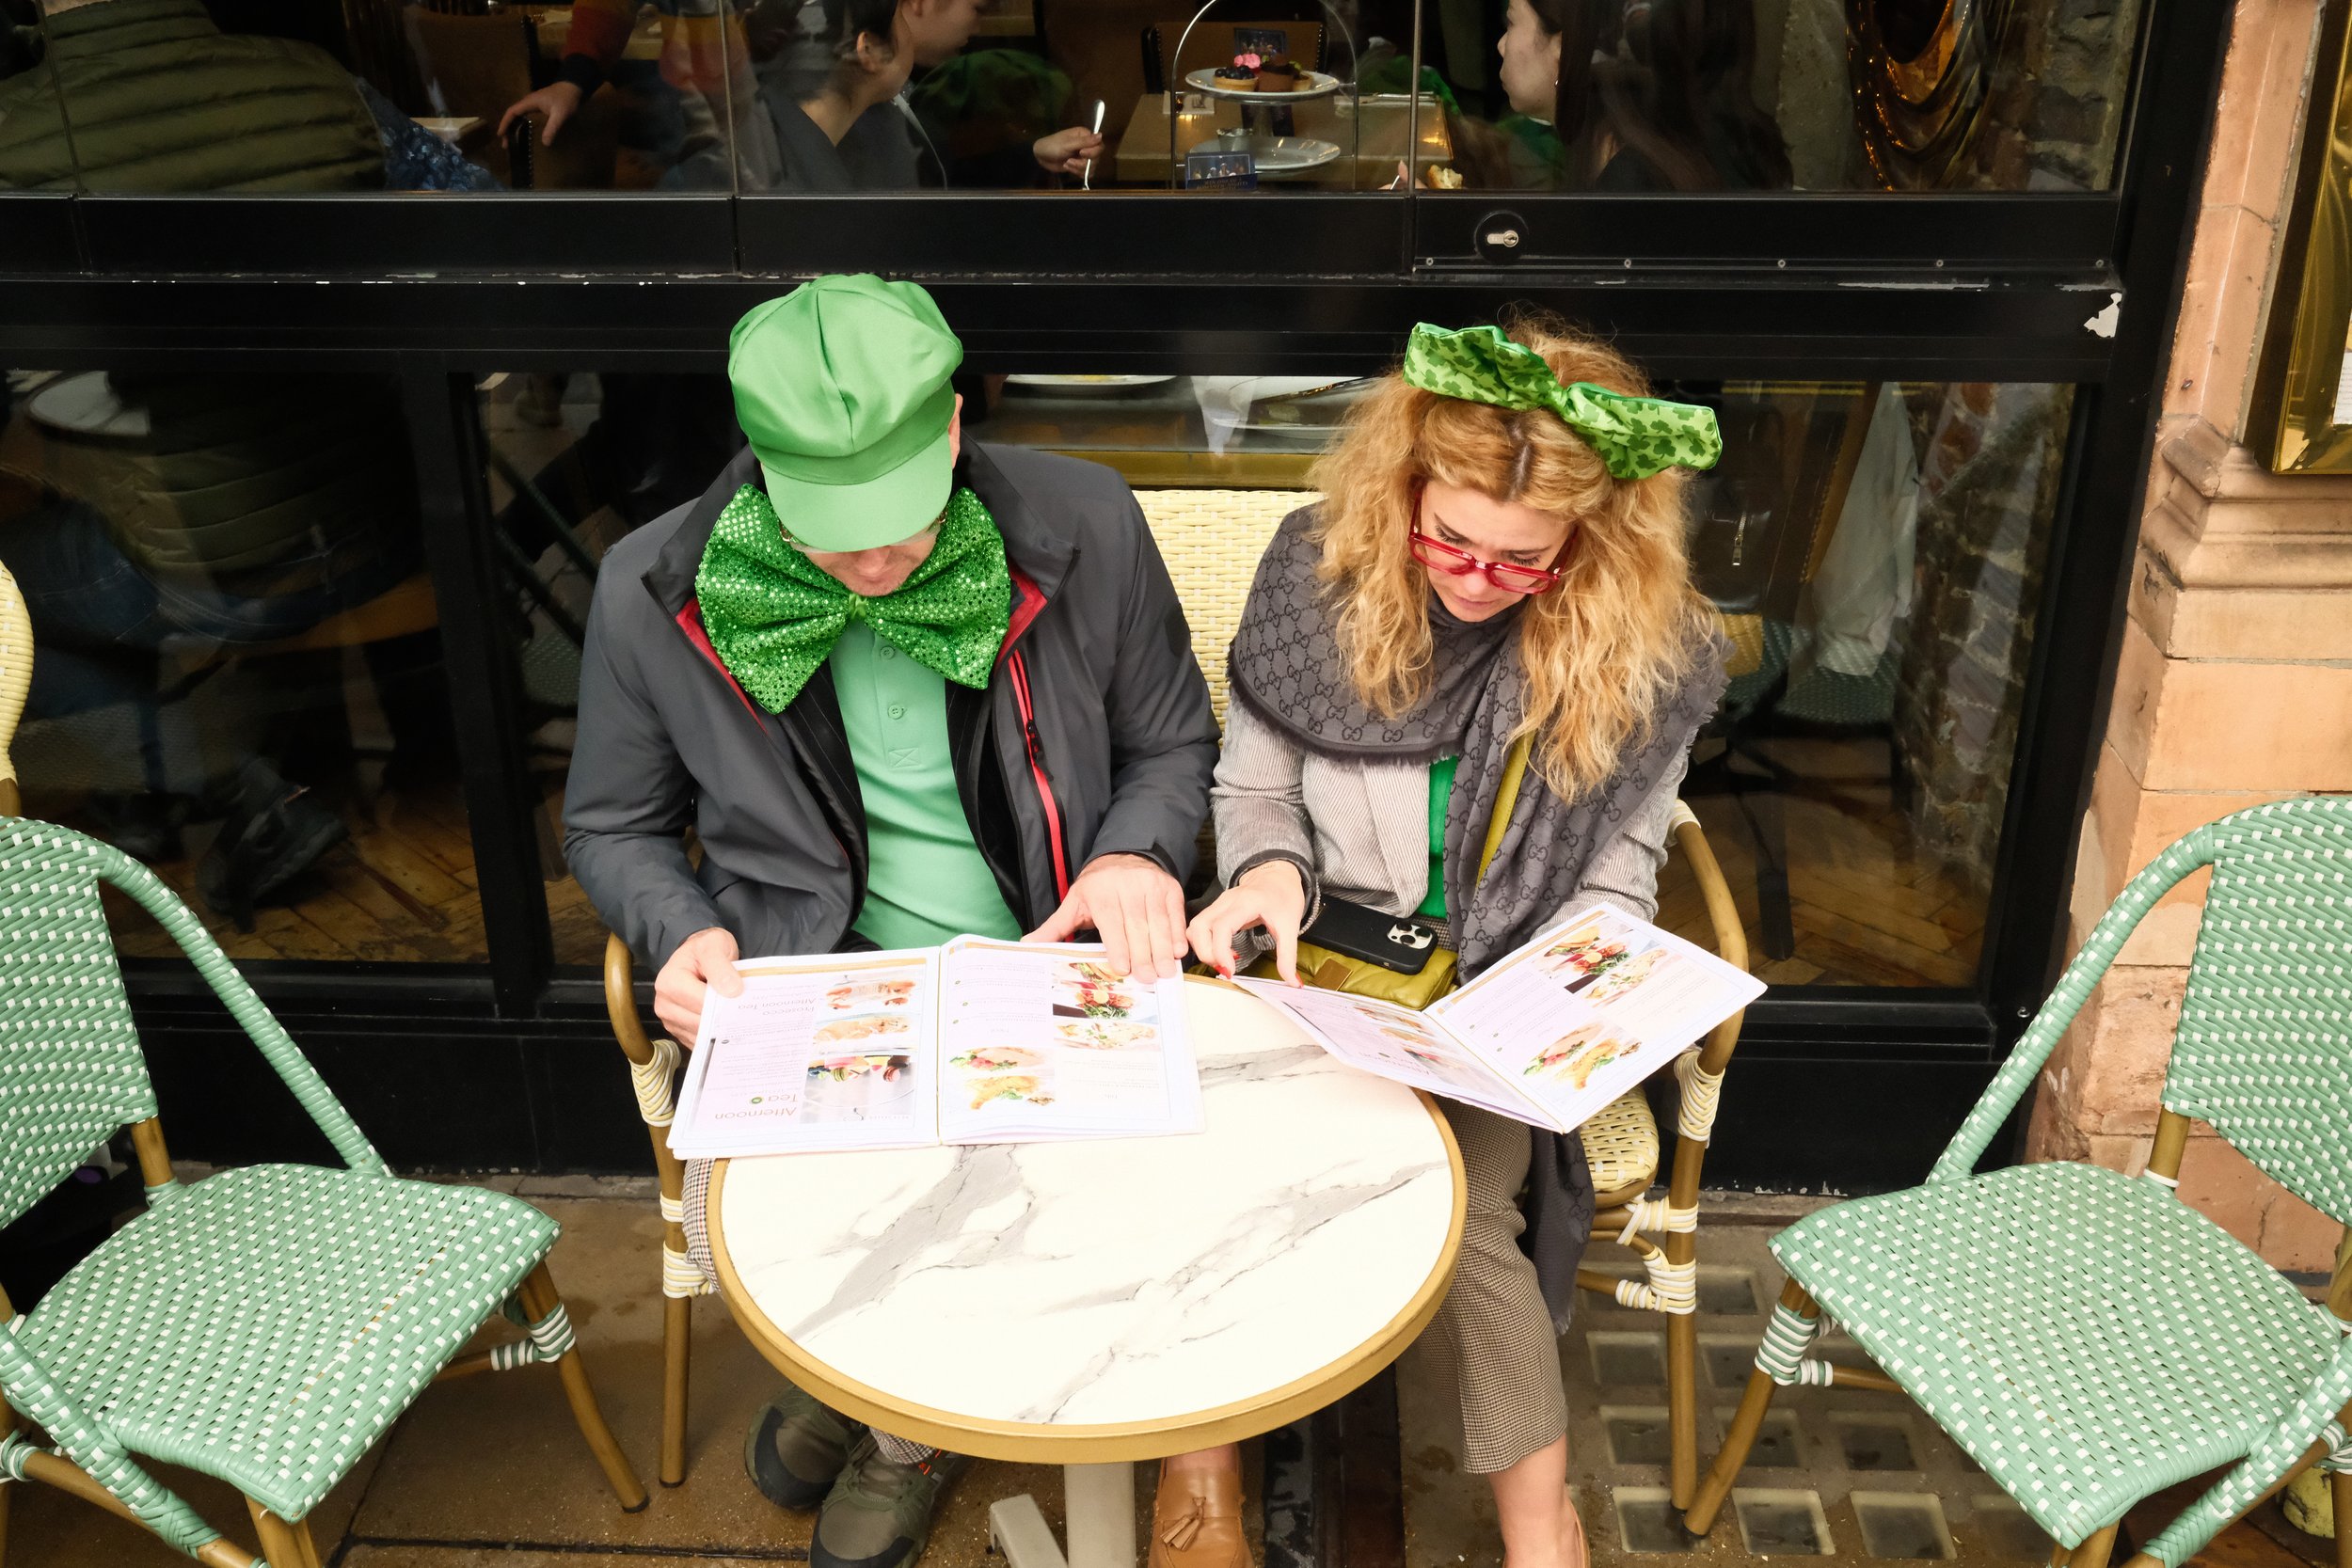
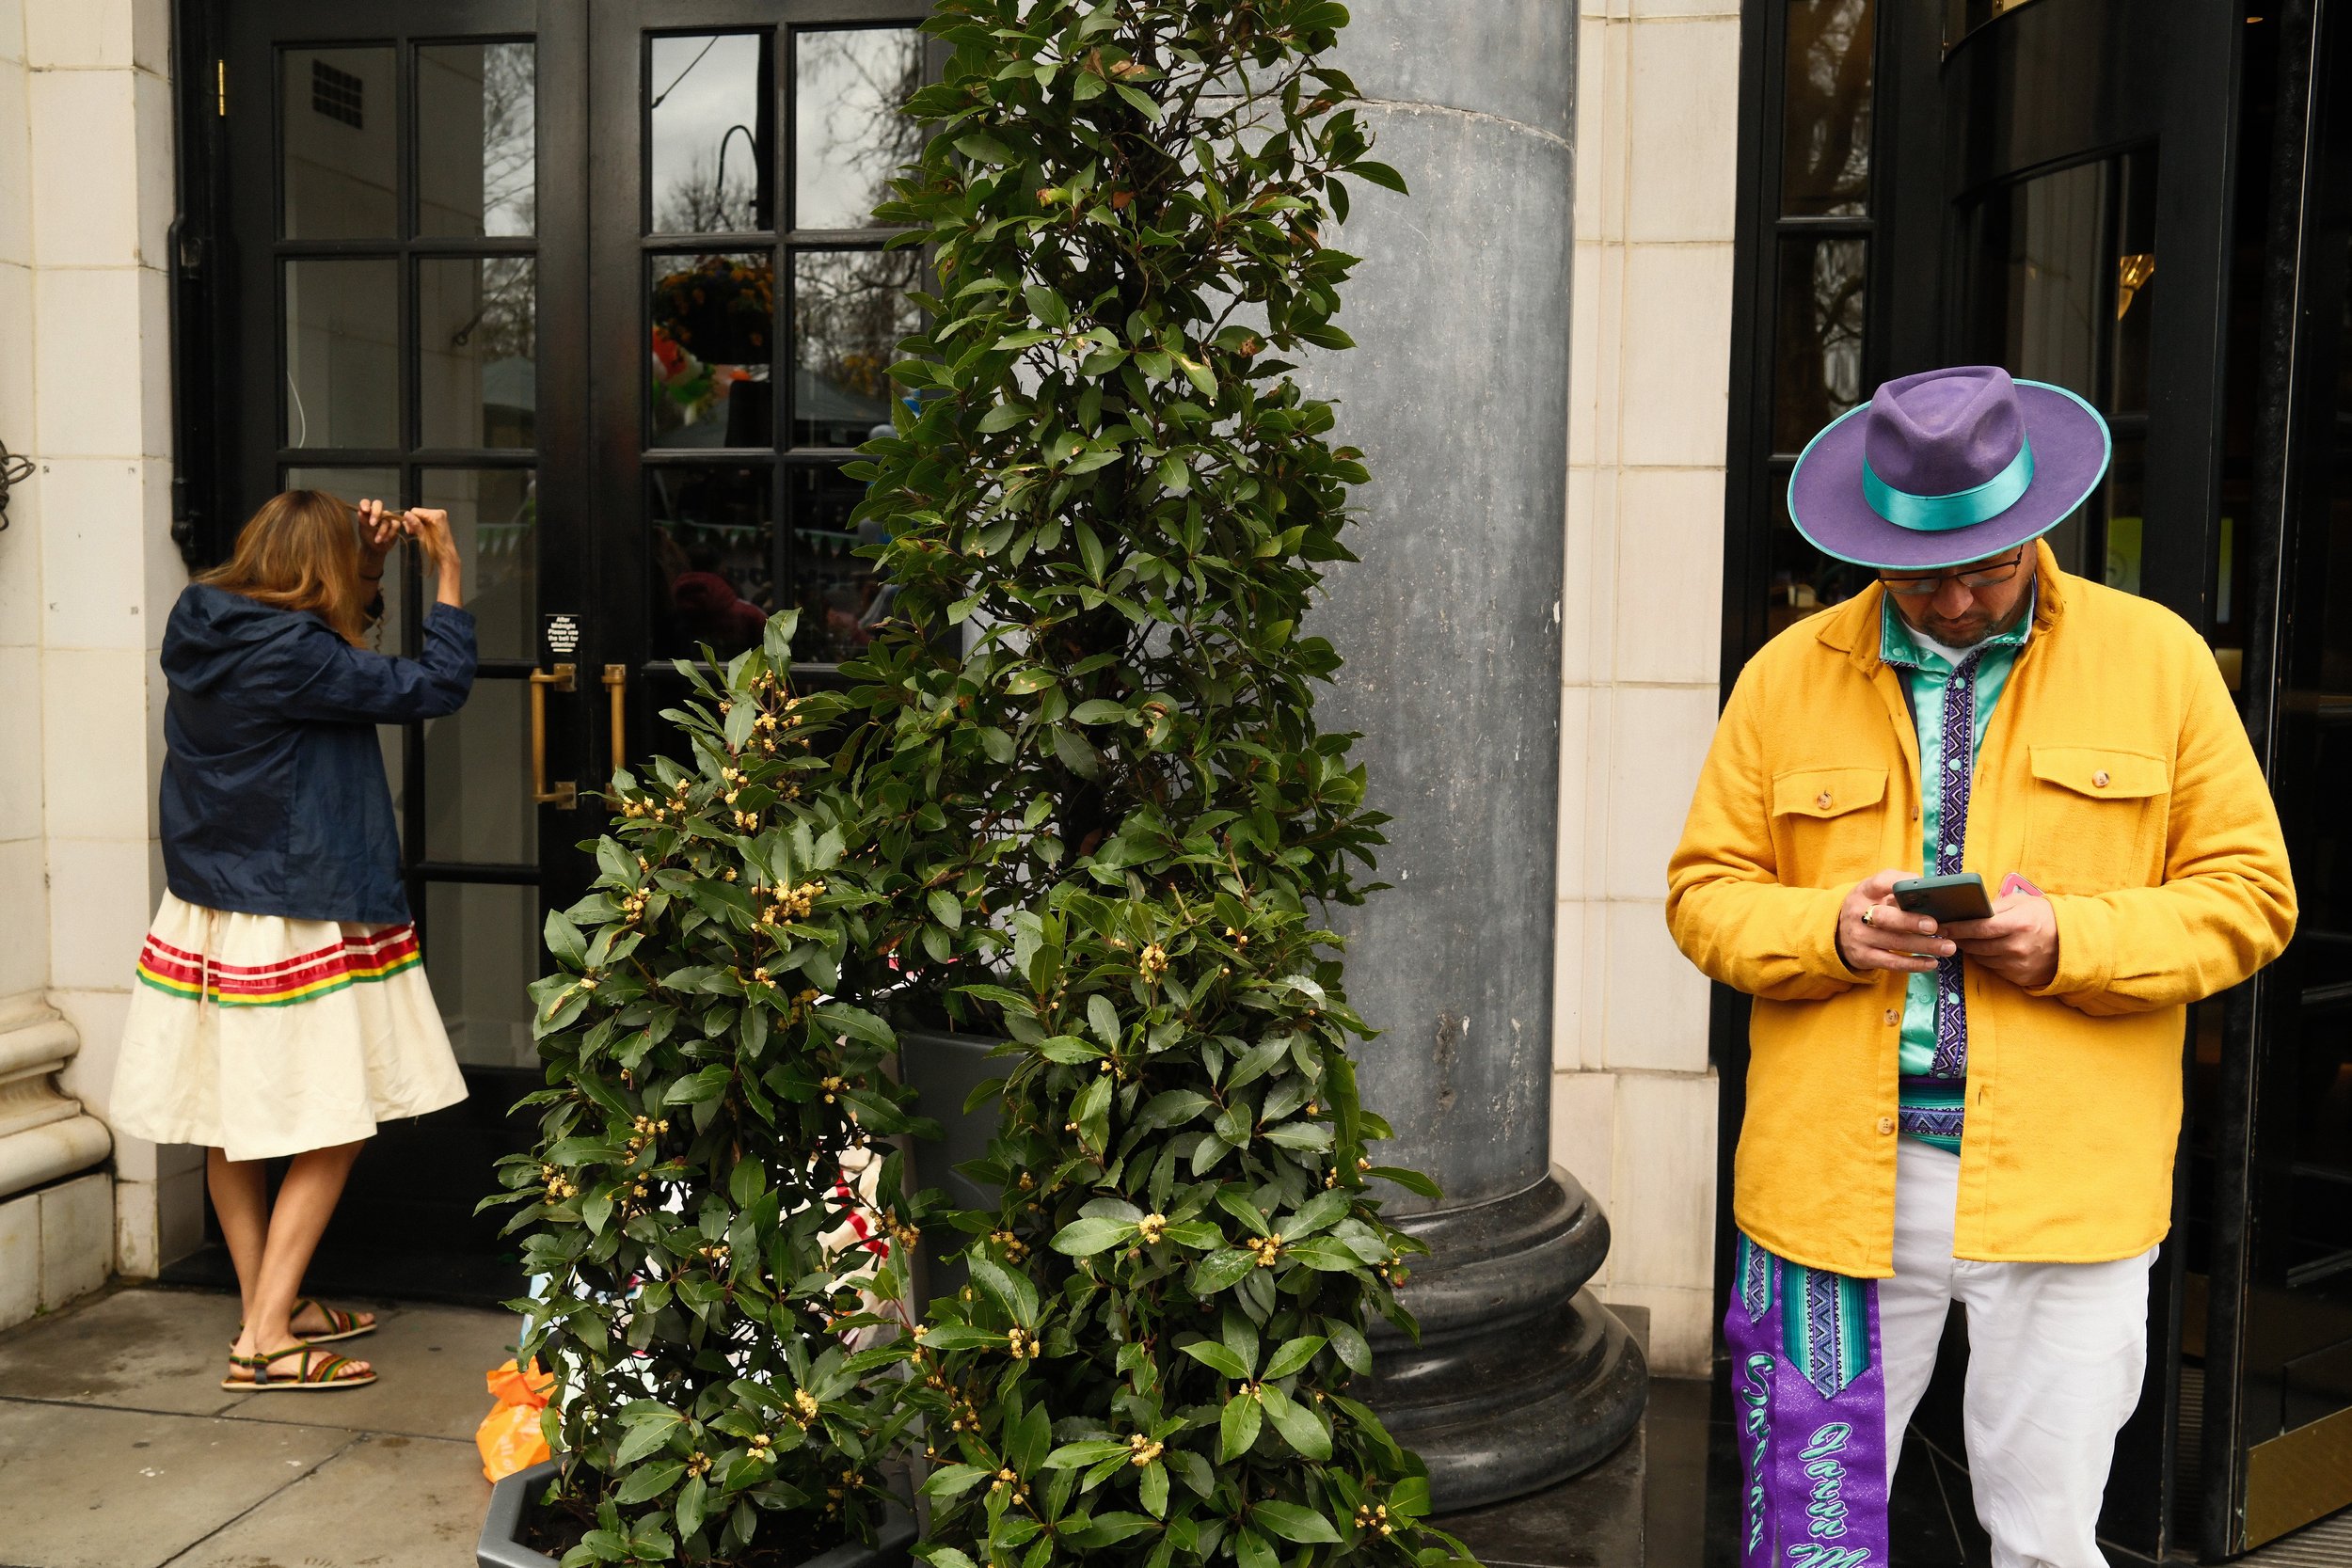
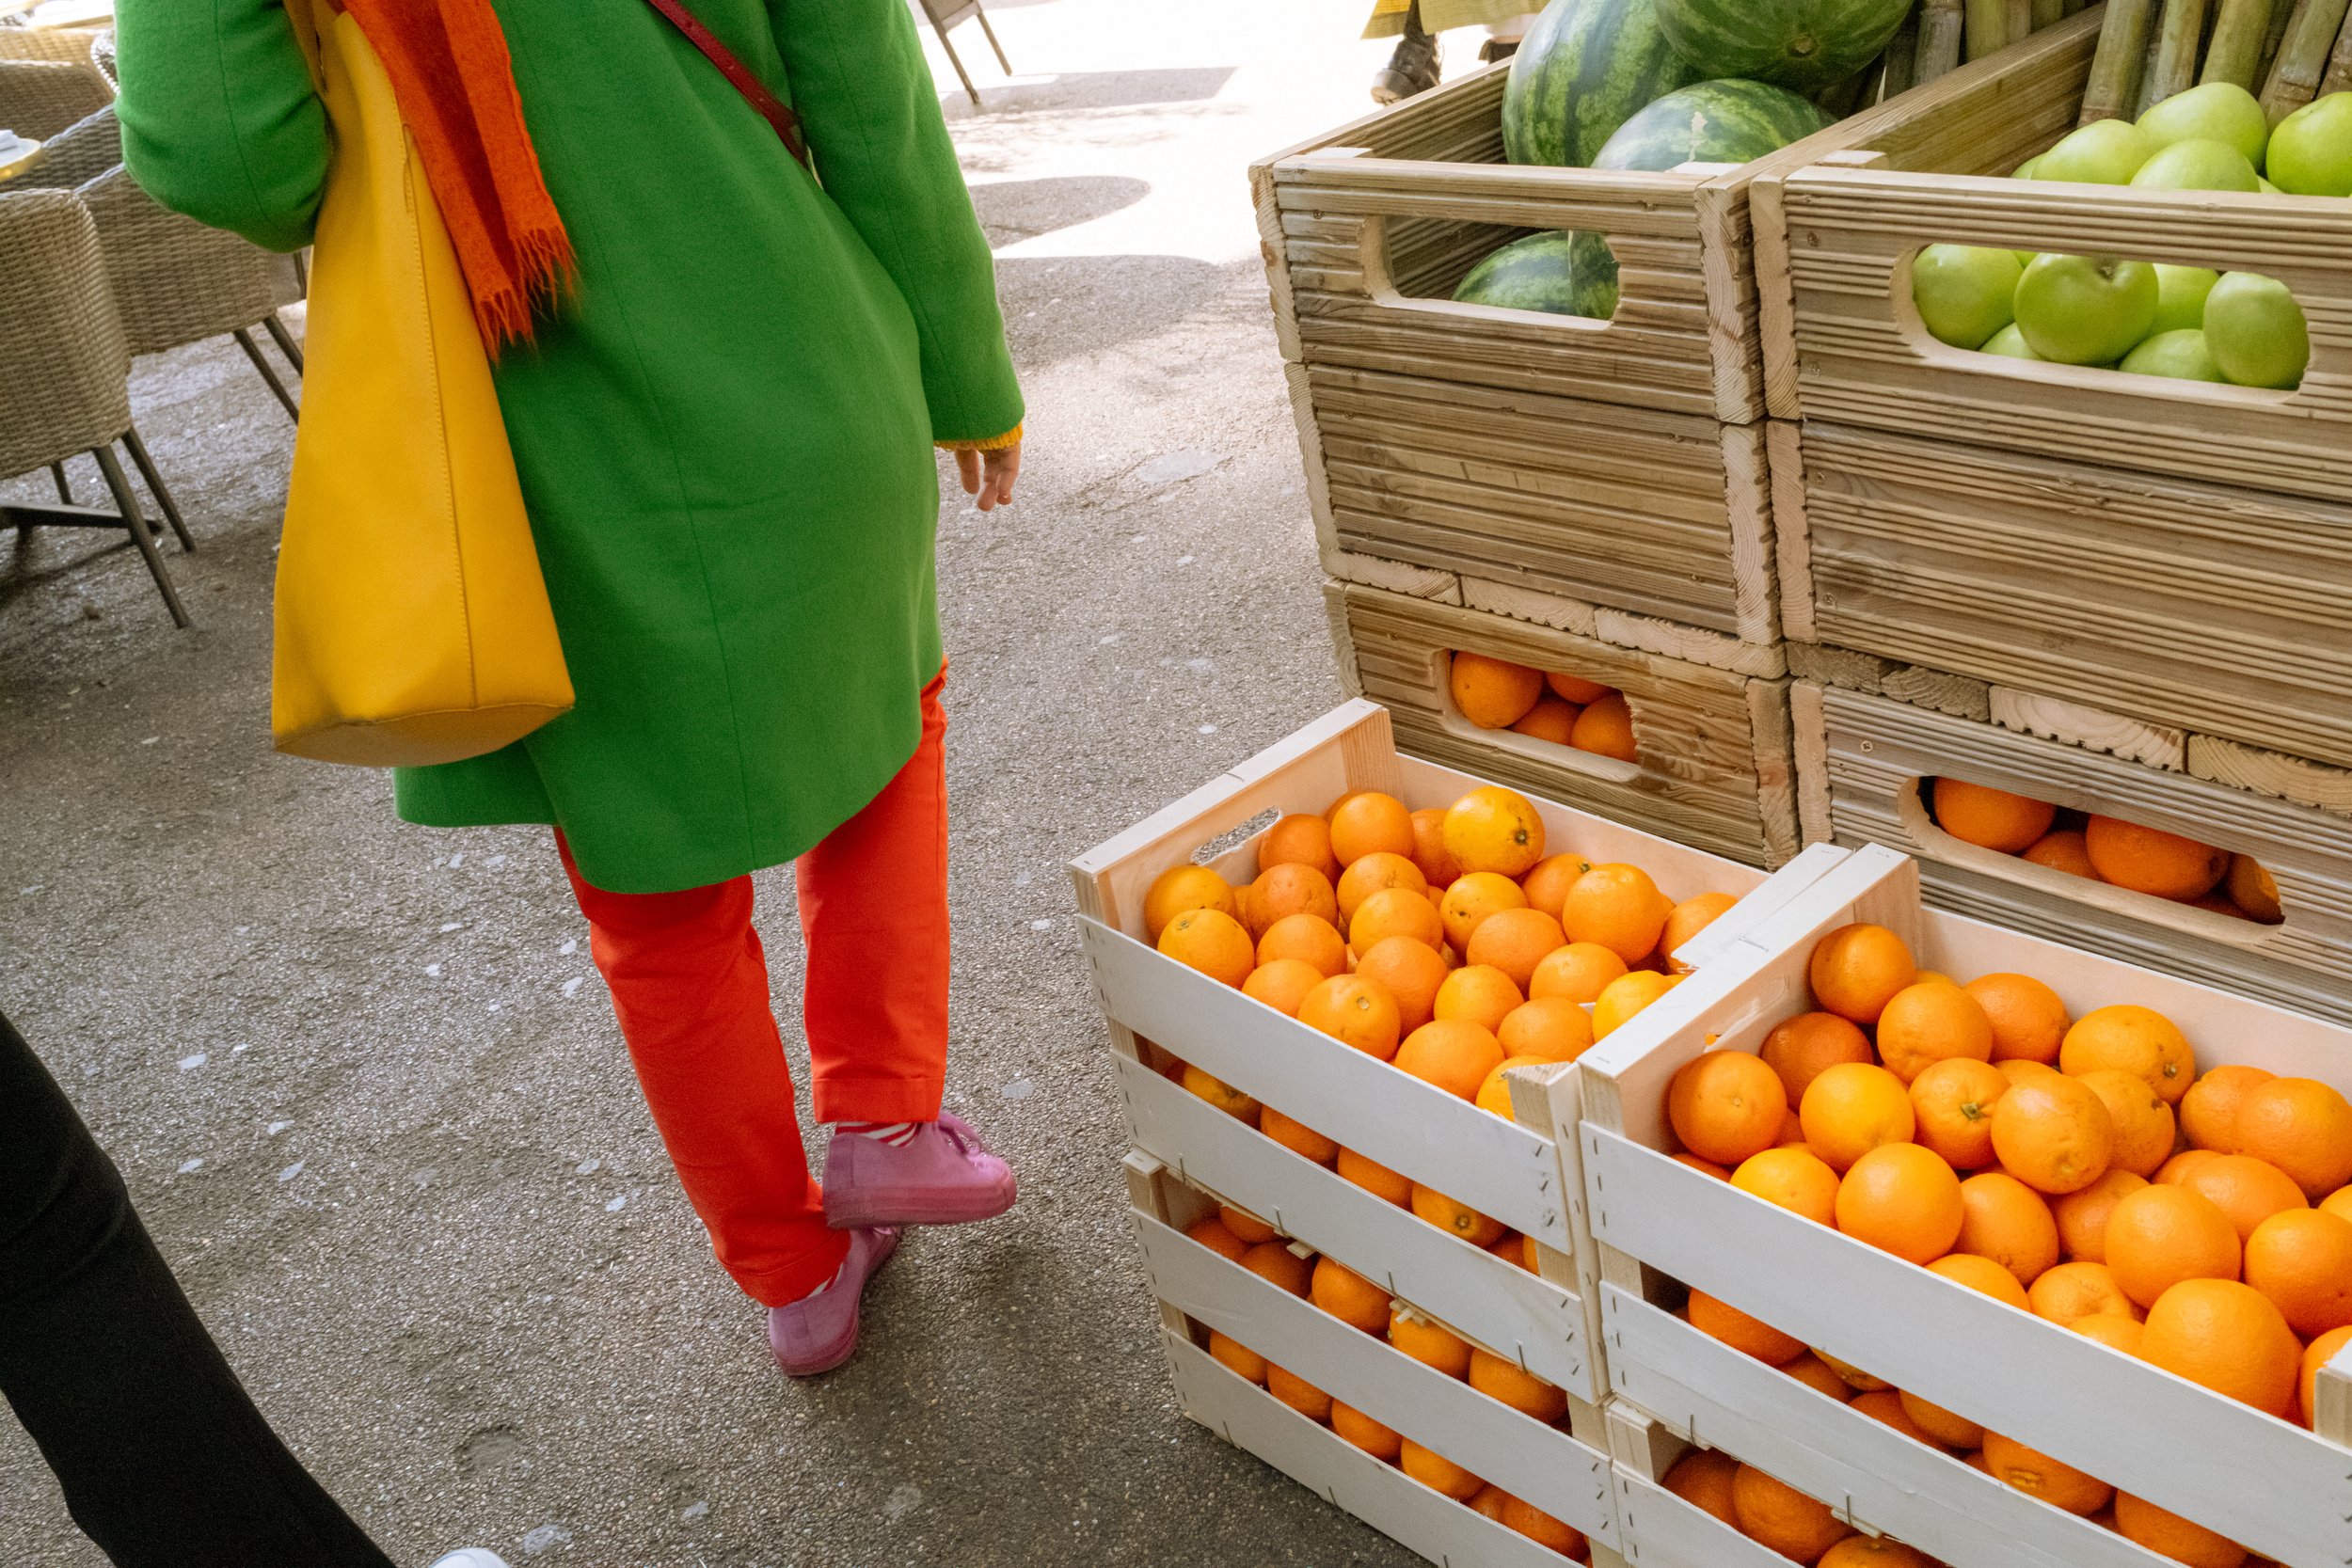
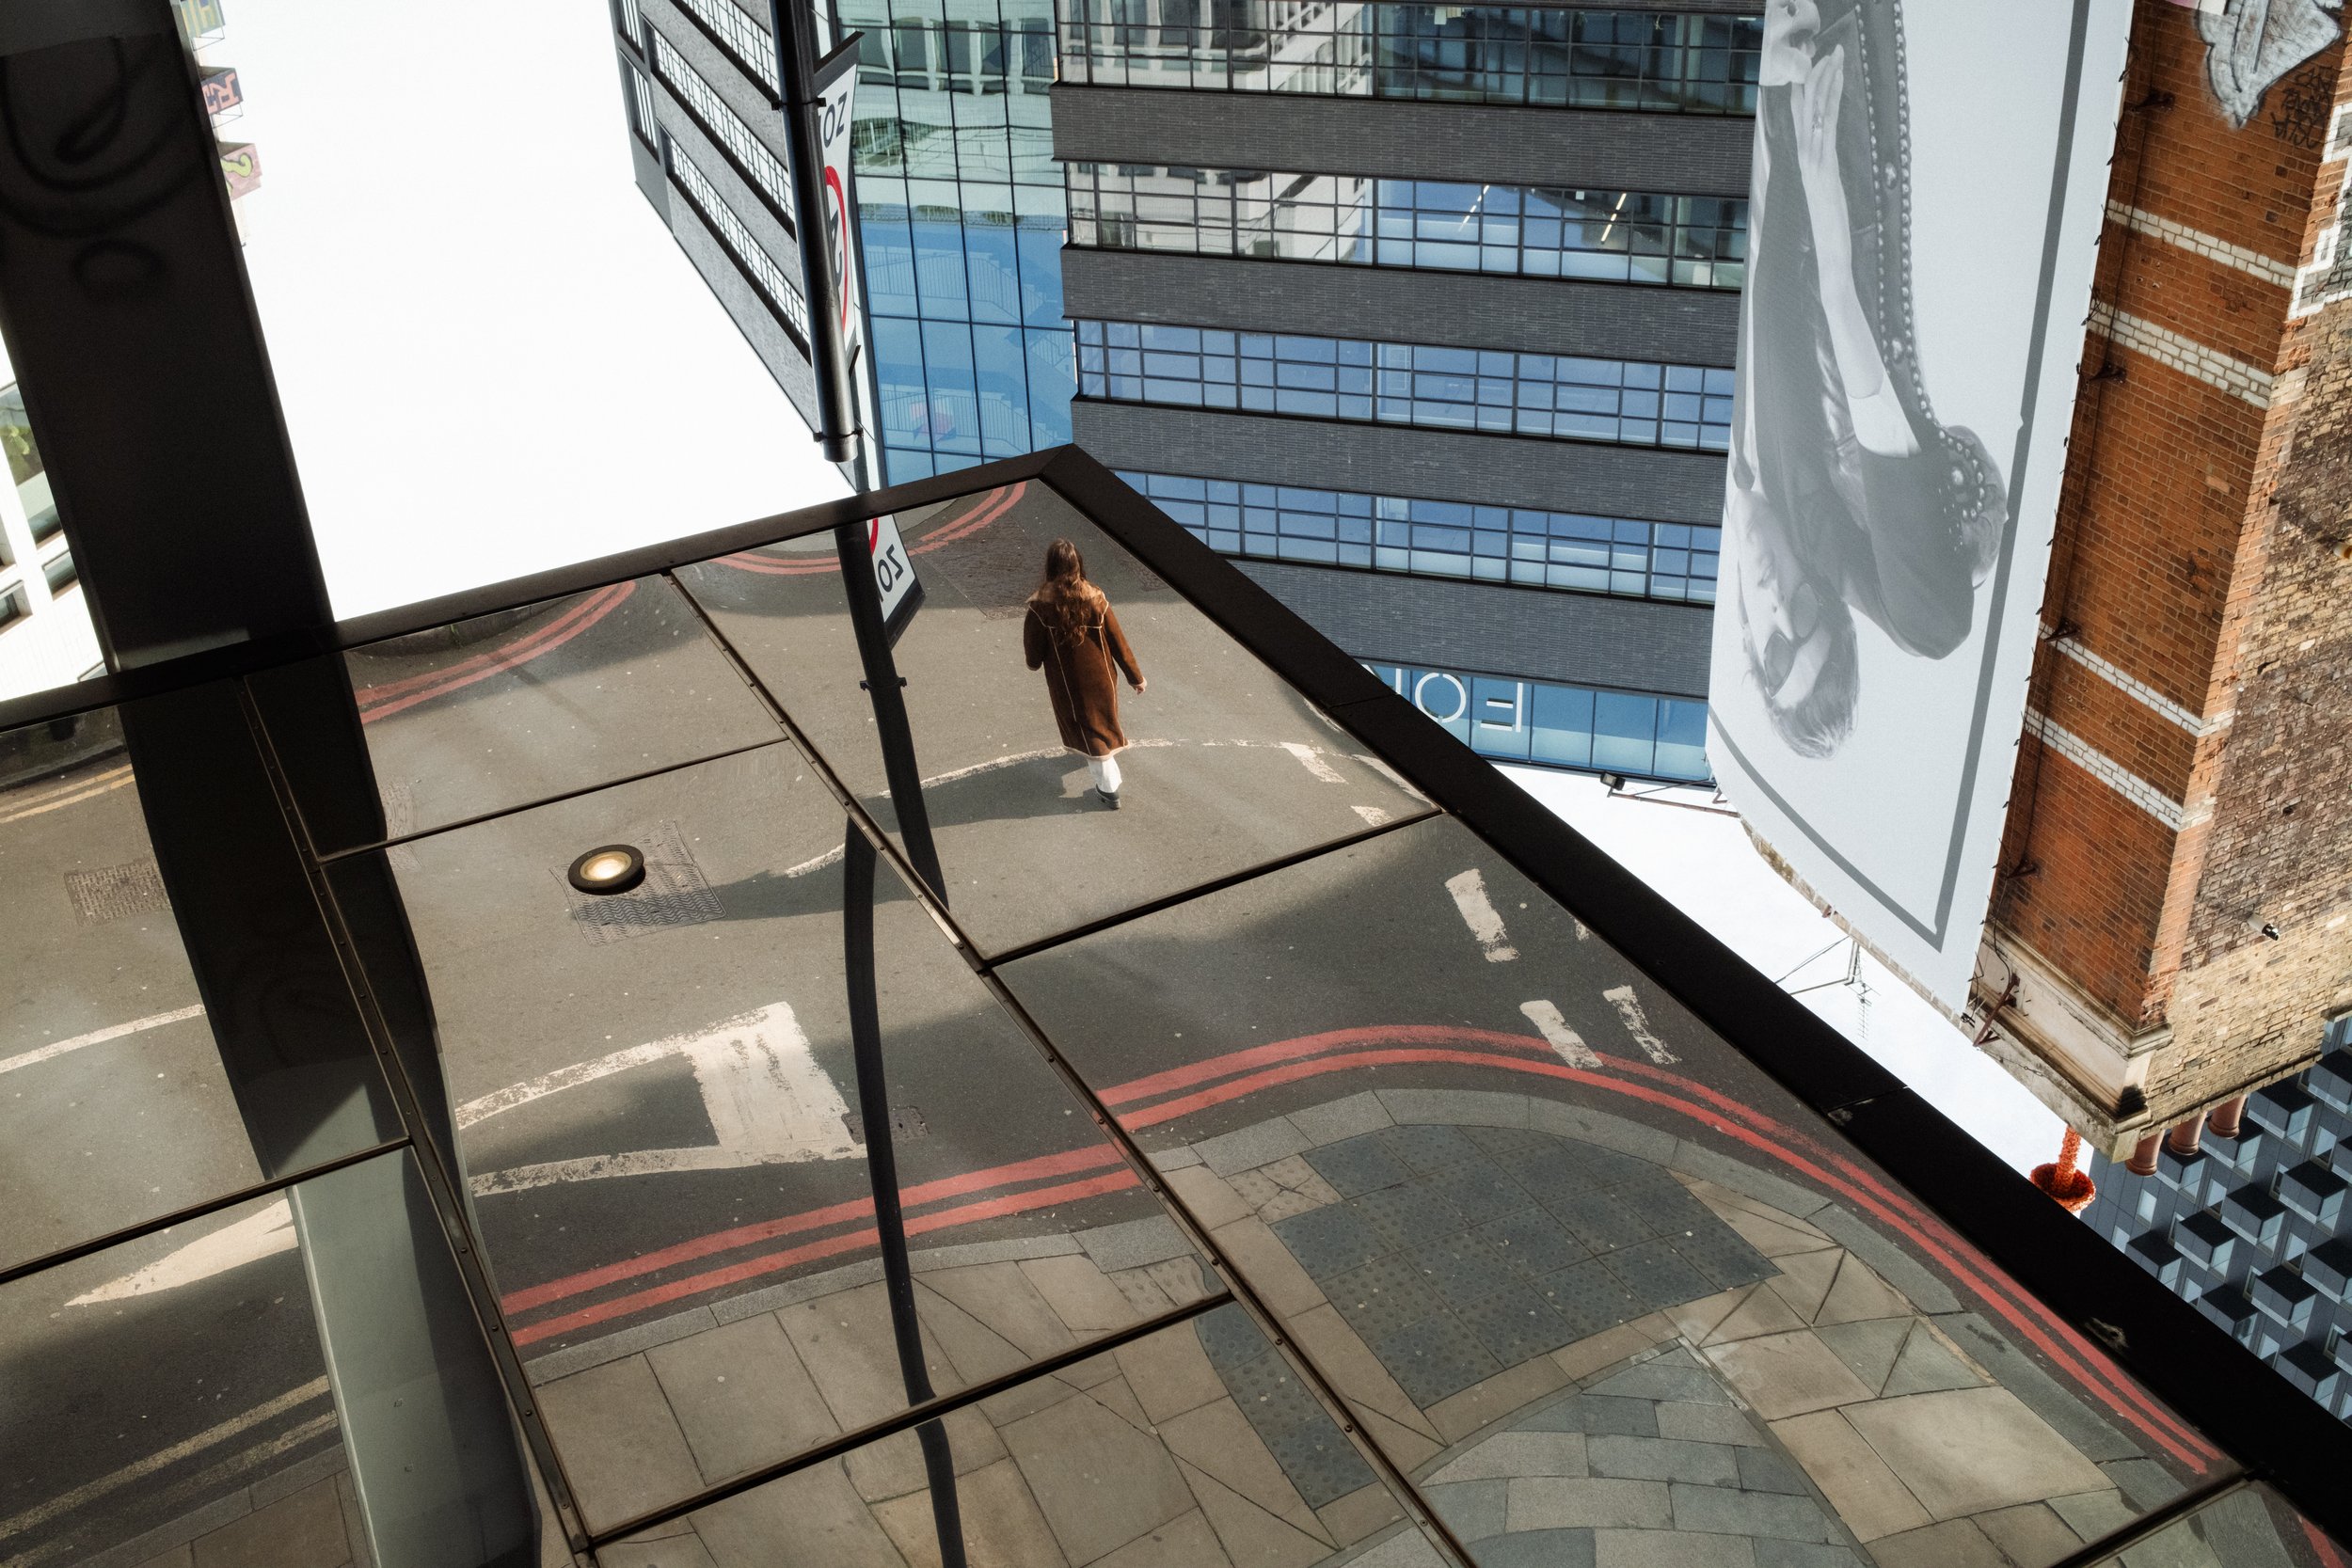
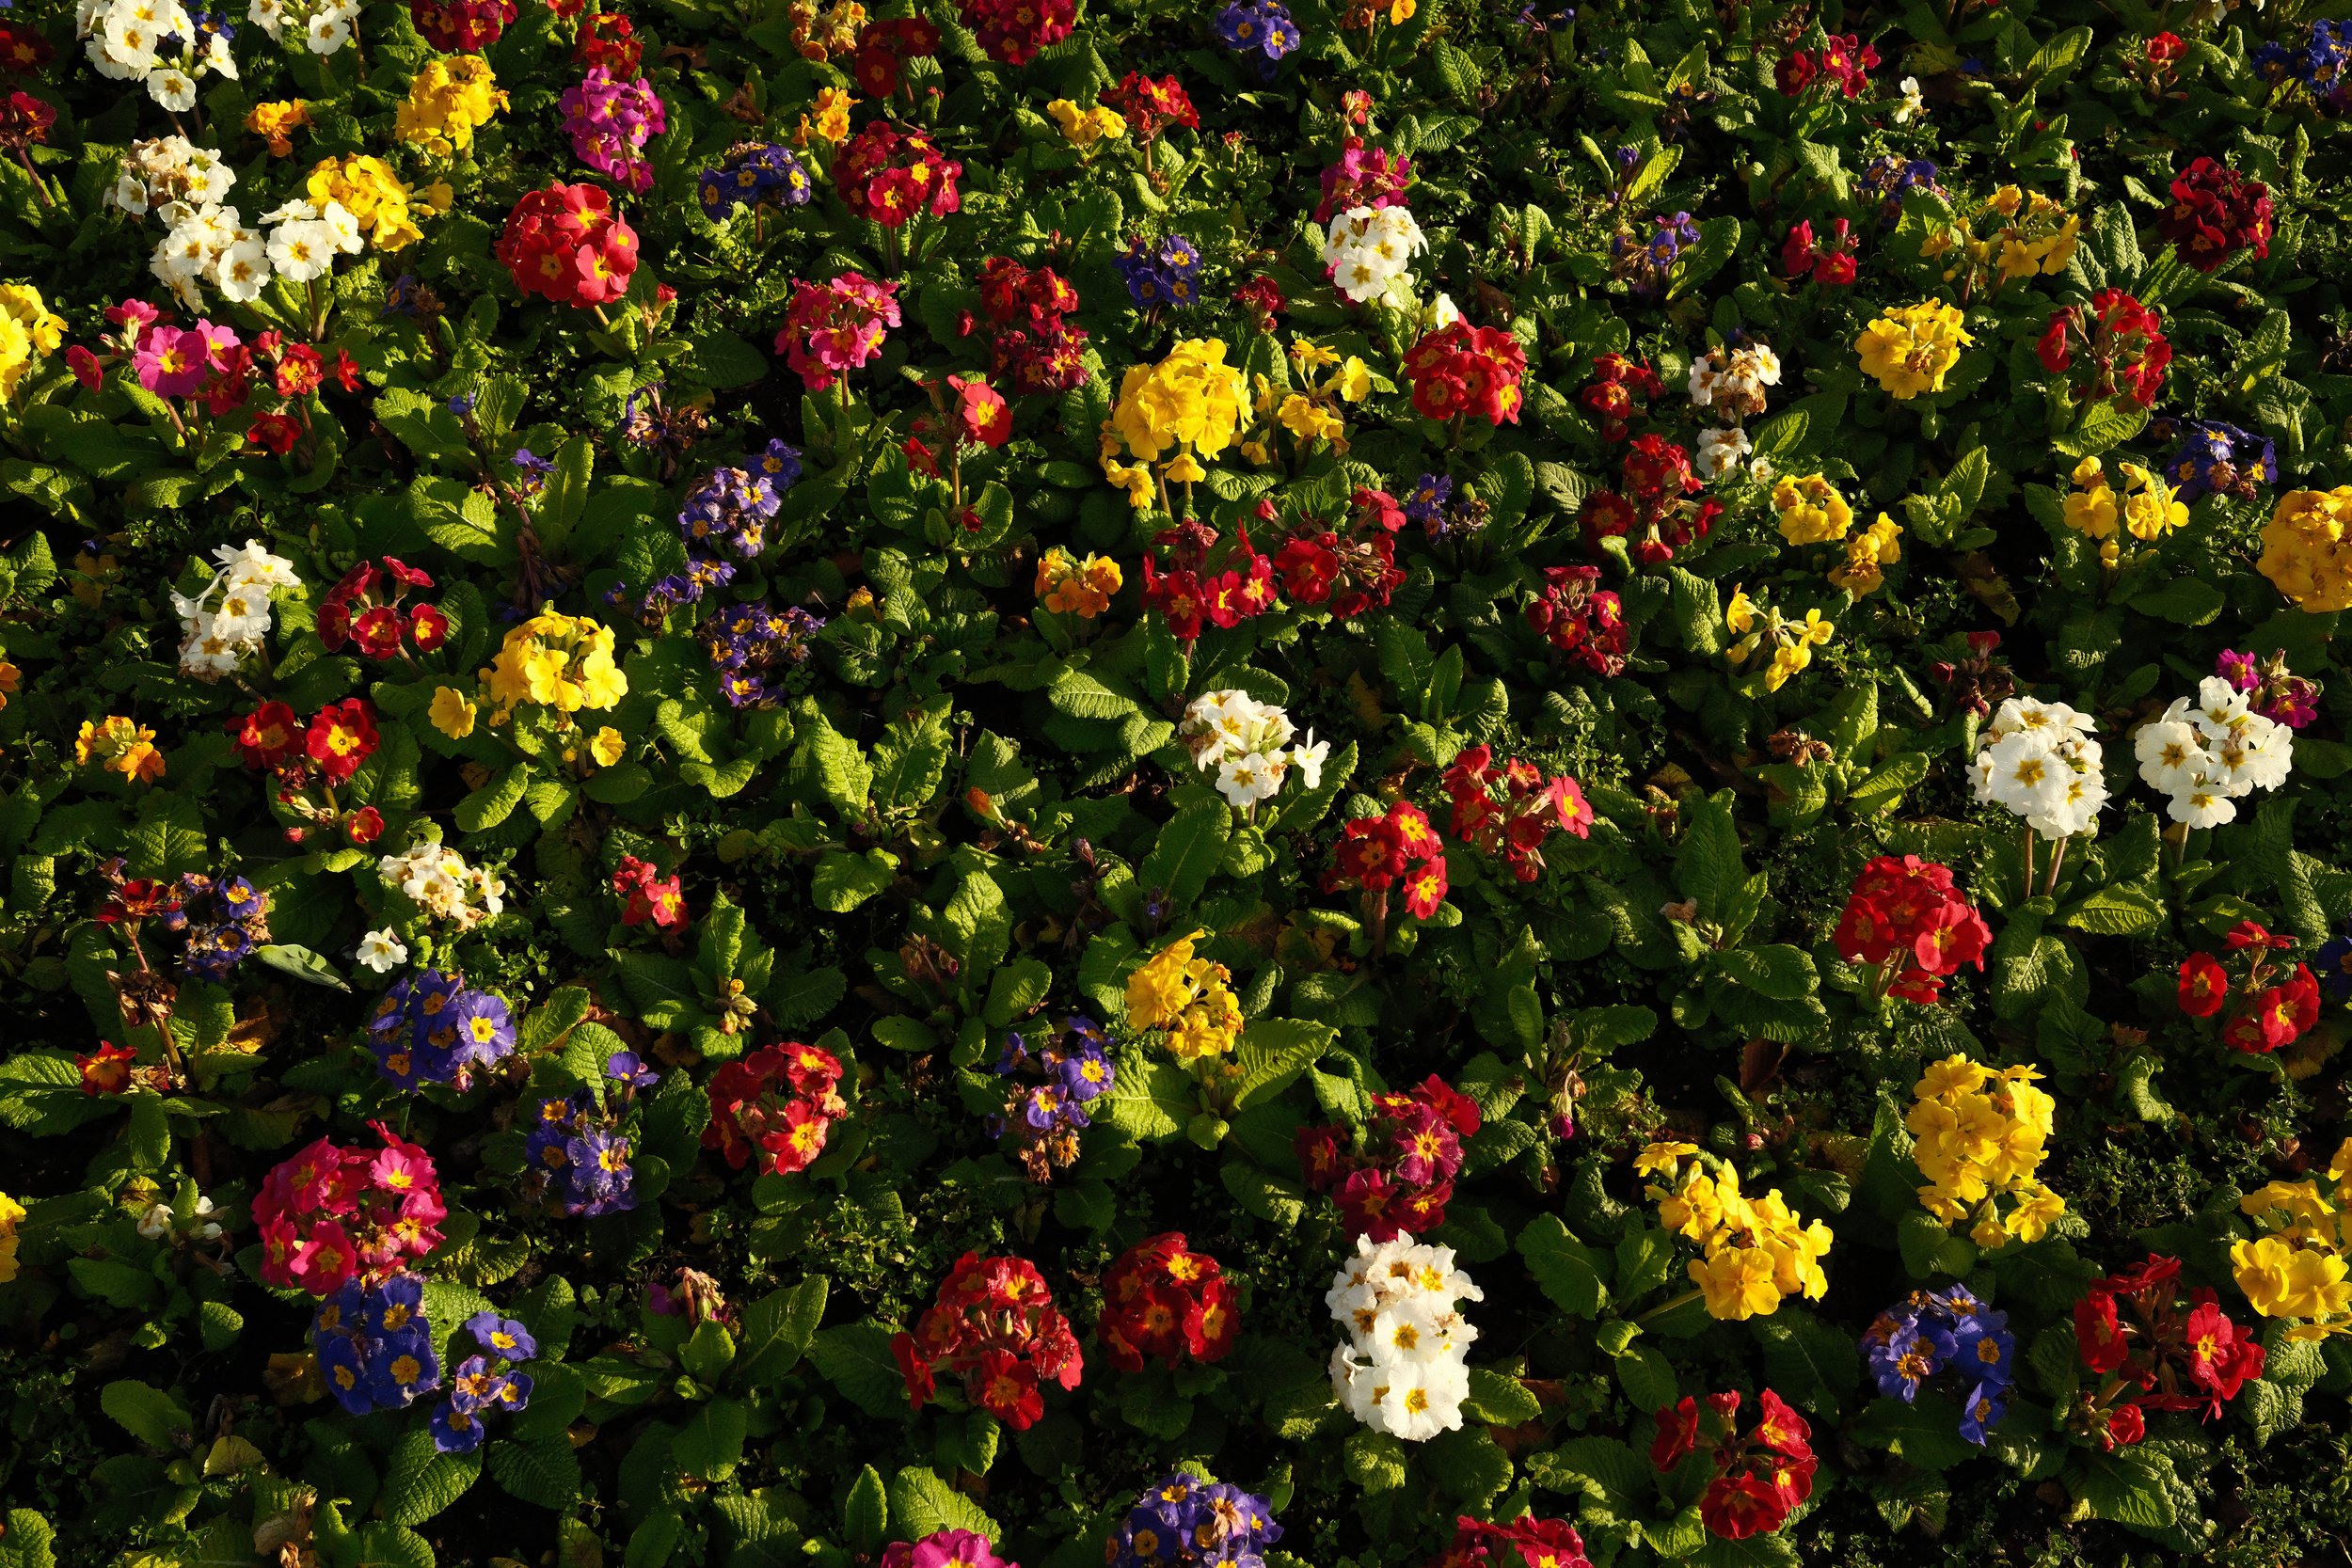
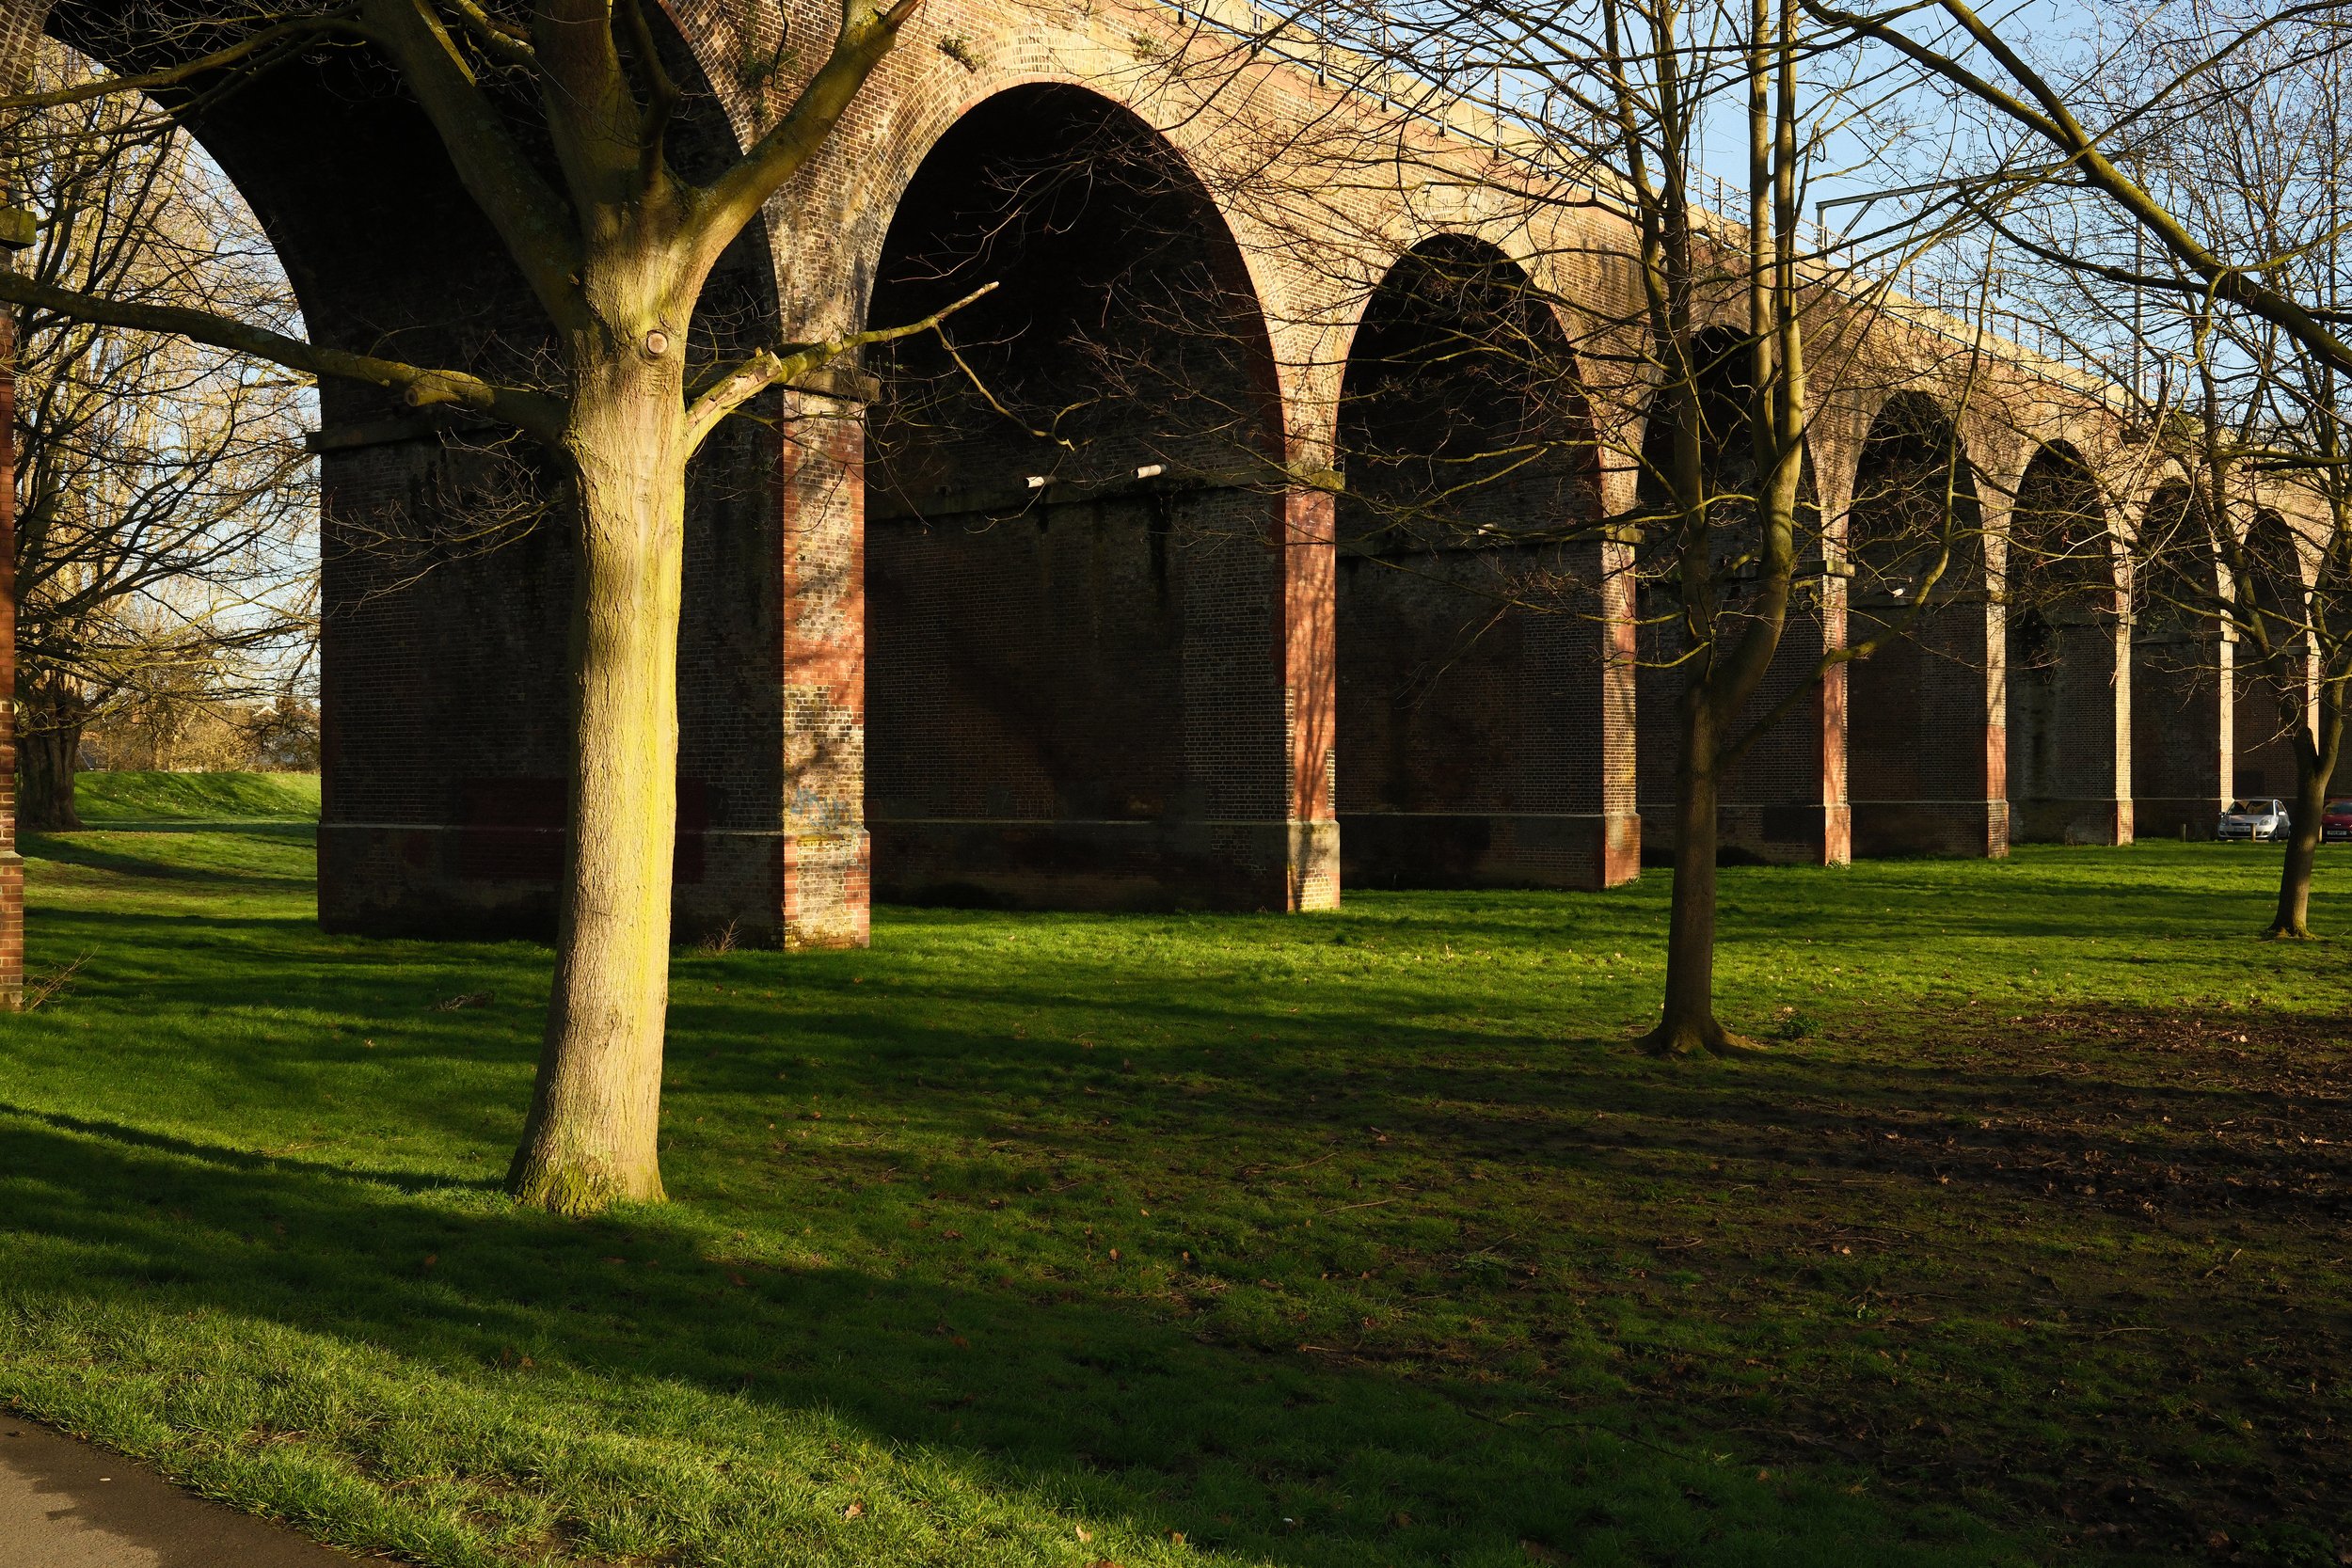
Below is a range of photographs I’ve taken using this custom Fujifilm X100vi Reala Ace Film Simulation Recipe:

Watch the full YouTube video on this topic here:
Help support this ad-free blog by checking out my products below

This Authentic Streets preset pack contains 7 unique Lightroom presets.
This preset pack contains a range of Lightroom presets made up of edits I have been playing around with that will give you a film vibe while others will be much more subtle. These edits are designed to create you a good starting point and base level for you to then further develop your photos. I don’t believe in a 1 click and done style of editing so when you’ve applied the preset, feel free to tweak and change as you see fit.
The presets you will get:
Authentic Light
Authentic Scene
Authentic Analog
Authentic City
Authentic Sky
Authentic Colour
Authentic People
Inside the pack you will find both Lightroom Classic and Lightroom Mobile Preset Files
Thank you!

This Authentic Streets 2.0 is the second edition of the series including 7 unique Lightroom presets.
These edits have been created mostly with street photography in mind. Each of these presets will provide a subtle but unique style that I have created over the months prior to this release. I have used these on a lot of my street photography to soften that digital look and create something a little warmer and more film like. All 7 of these presets will be useful for different situations depending on the colour and light in your original file. My personal favourites from this pack are Vintage and Nostalgia.
The presets included in this pack:
Lifted
Authentic
Monochrome
Contrast
Vintage
Nostalgia
Cinema
Inside the pack you will find both Lightroom Desktop (XMP) and Lightroom Mobile (DNG) Preset Files
Quick tips for using these presets* I don’t believe any presets are a 1 click and fix solution so use these as starting points for you to develop the edit further if needed. Since I’ve been using these presets the main few things I like to tweak is my white balance and exposure. Depending on your cameras raw files you will need to adjust accordingly. If you have any questions please don’t hesitate to get in touch via info@mikechudley.com - Thanks!