The Only Street Photography Settings That Matter
Let’s keep this simple. Here are my go to street photography camera settings that just work. I’ll break down aperture, shutter speed, ISO, focusing, metering and a few other quick tips to make life easier when you’re out shooting.

My Basic Setup
I almost always shoot Aperture Priority. That means:
Aperture: Between f/4 – f/11
Shutter speed: Auto (minimum of 1/500) or 1/1000 sec if I manually select.
ISO: Auto (maximum 6400)
Done. That’s it.
Of course, I’ll tweak things depending on the light or situation, but this is my baseline.

First - The Big Picture
Before we get into the numbers, remember this:
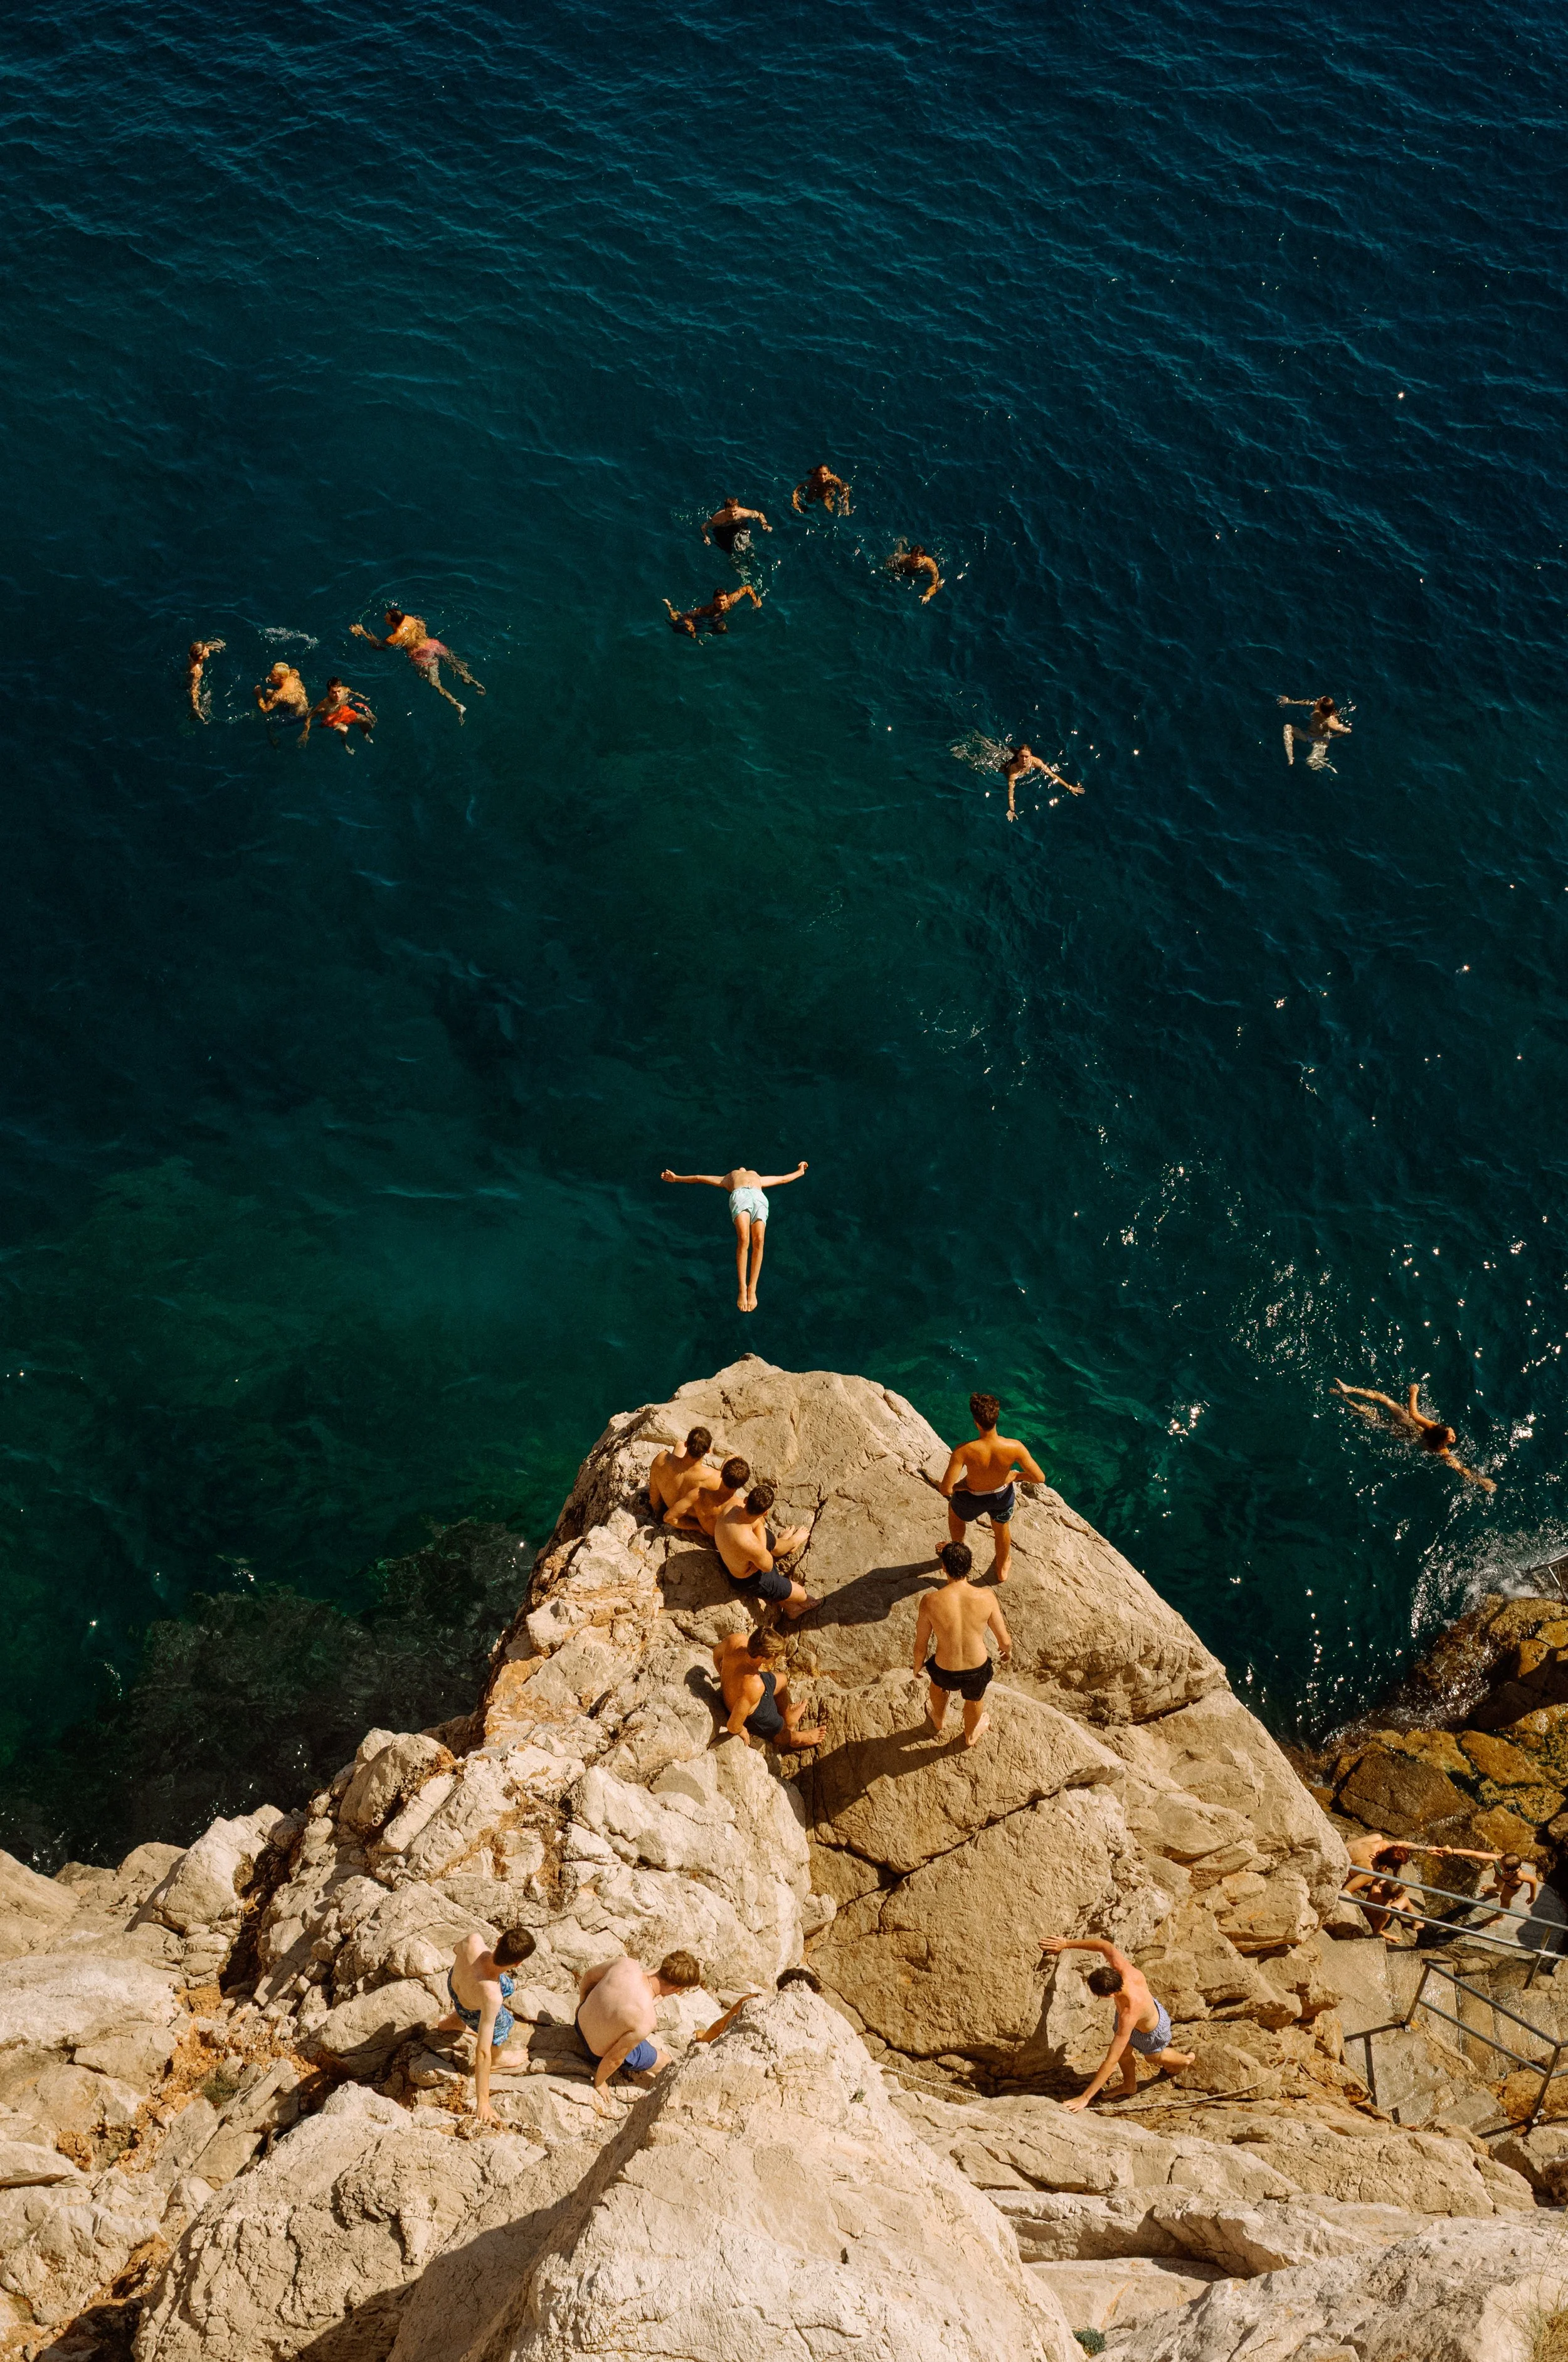
Capturing a great moment is more important than perfect sharpness or exposure.
Imperfections can sometimes add emotion and feeling to an image.
Too perfect can feel clinical and lifeless.
Street photography gives you permission to embrace imperfections. Life isn’t perfect - neither will your photos be.

Ideal Day Settings (Sunny Street)
If the sky is clear and the sun is beaming:
Aperture: f/8
Shutter speed: 1/1000 sec
ISO: Low
Why?
1/1000 freezes motion completely.
f/8 keeps more of your scene in focus, great for layered street shots.
Shutter Speed & Megapixels
Here’s something worth remembering:
The more megapixels, the faster your shutter speed needs to be to freeze motion.
1/1000 on a 60MP Leica M11 isn’t the same as 1/1000 on a 24MP Fujifilm X100V.
My general guide:
Film cameras: 1/500 sec works fine.
Digital (high MP): Stick to 1/1000 sec when possible.

ISO - Quick & Simple
Think of ISO as your digital exposure.
Keep ISO as low as possible for cleaner images.
Once you hit 3200-6400+, you’ll start to see noticeable noise.
Like film - ISO 400 film has finer grain than ISO 1600 film.
The reality: I’m often shooting at ISO 3200 on gloomy days. It’s fine. Noise is part of the game.

Aperture - Depth of Field
Why I love f/8:
Bigger depth of field = more in focus.
Perfect for street layers and multiple subjects.
Compare this to portraits where you might shoot f/1.8 for that shallow, creamy background.
When I’ll open up my aperture:
To isolate a small detail or subject (f/1.8 – f/4)
To get more light on dark days
Winter Adjustments
Shorter days = darker streets.
I’ll shoot f/4 – f/5.6
Sometimes drop shutter speed to 1/250 sec if needed
Keep Auto ISO limit around 6400
Metering
I prefer Highlight-Weighted Metering:
Protects highlights from overexposure
Easier to lift shadows in editing than recover blown highlights
Cameras vary - test different metering modes and see what works for you

Focusing
Manual Focus
Zone focus: At f/8 on a 28mm lens, set to 2meters and you’ll have 4ft–15ft in focus.
Great for walking shots - most subjects will fall in that range.
If something unexpected happens outside that range, I’ll focus manually in the moment.
Autofocus (if I’m using it):
Single point focus in the centre of the frame
Avoid face/eye tracking - too unpredictable for street
The less the camera “thinks” for me, the more predictable my results
Final Thoughts
Street photography settings don’t have to be complicated.
The goal: remove faff, keep it simple, and have the camera ready at all times.
Quick Recap:
Aperture Priority mode
f/4 – f/11, depending on light and depth of field
Shutter: Auto or 1/1000 sec (1/500 if on film or lower MP)
Auto ISO with a limit around 6400
Highlight-weighted metering
Zone focus (manual) or single point AF
Now get out there and shoot - and don’t stress the imperfections. They might just make your best shots.