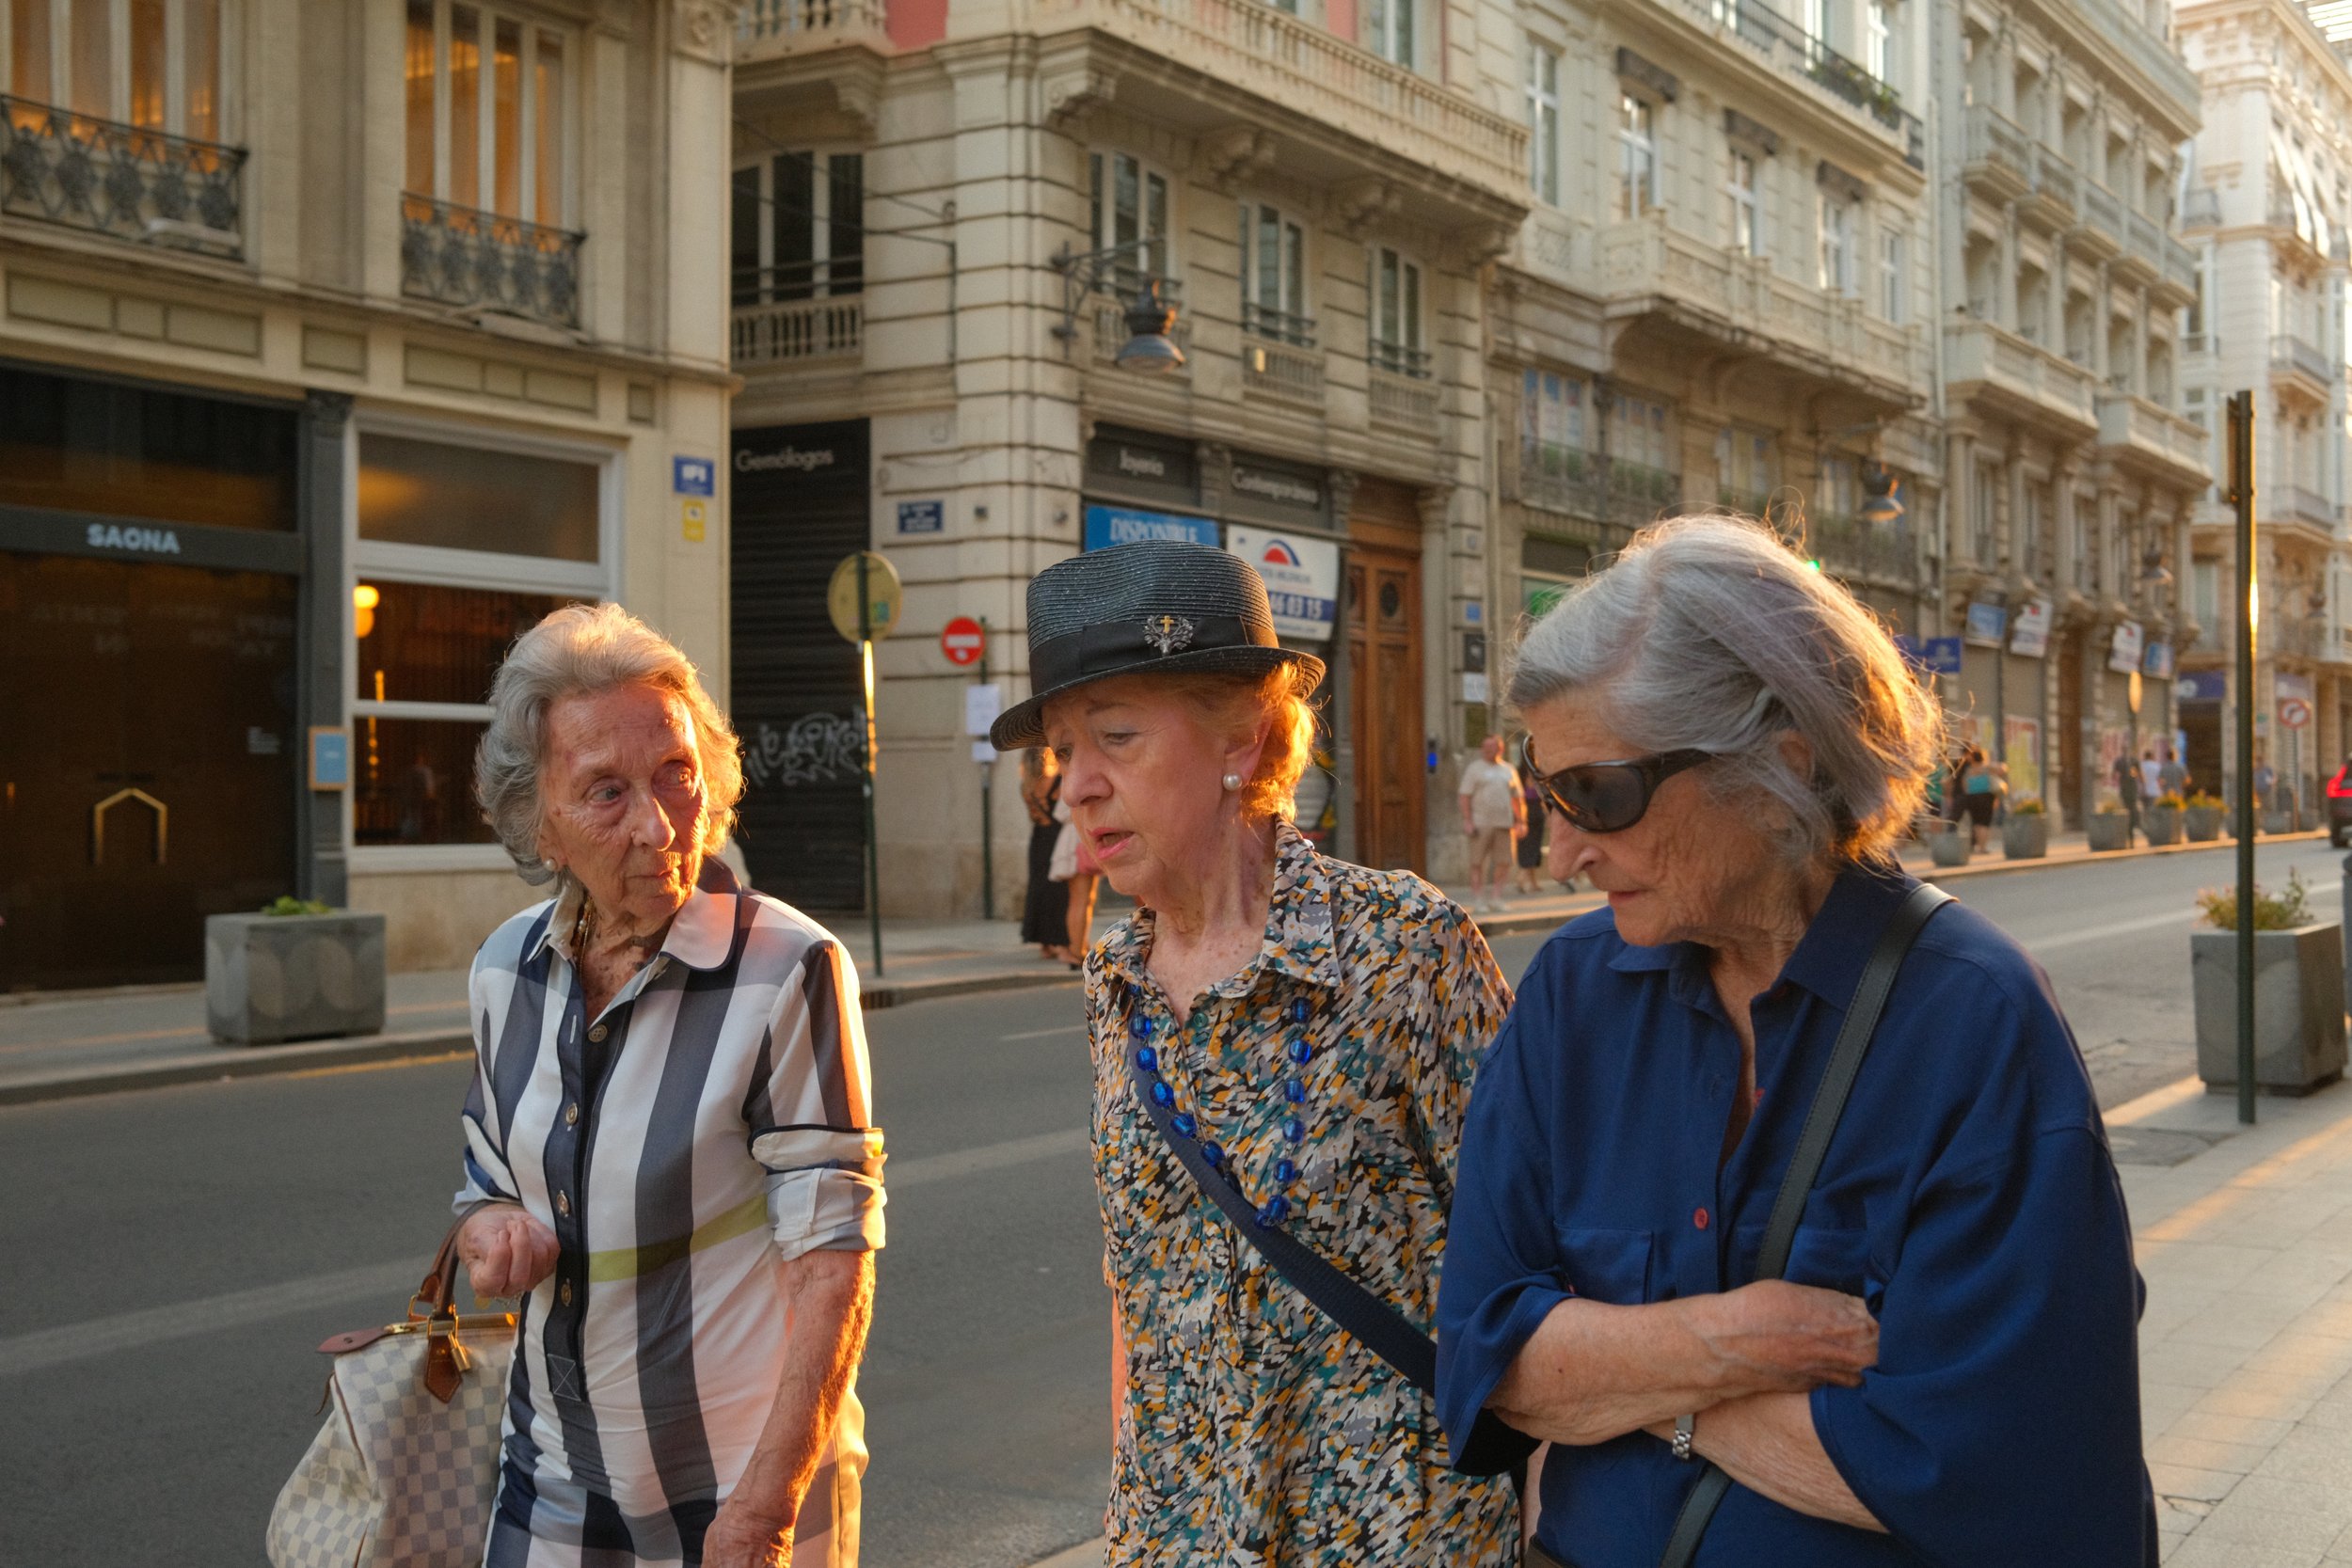
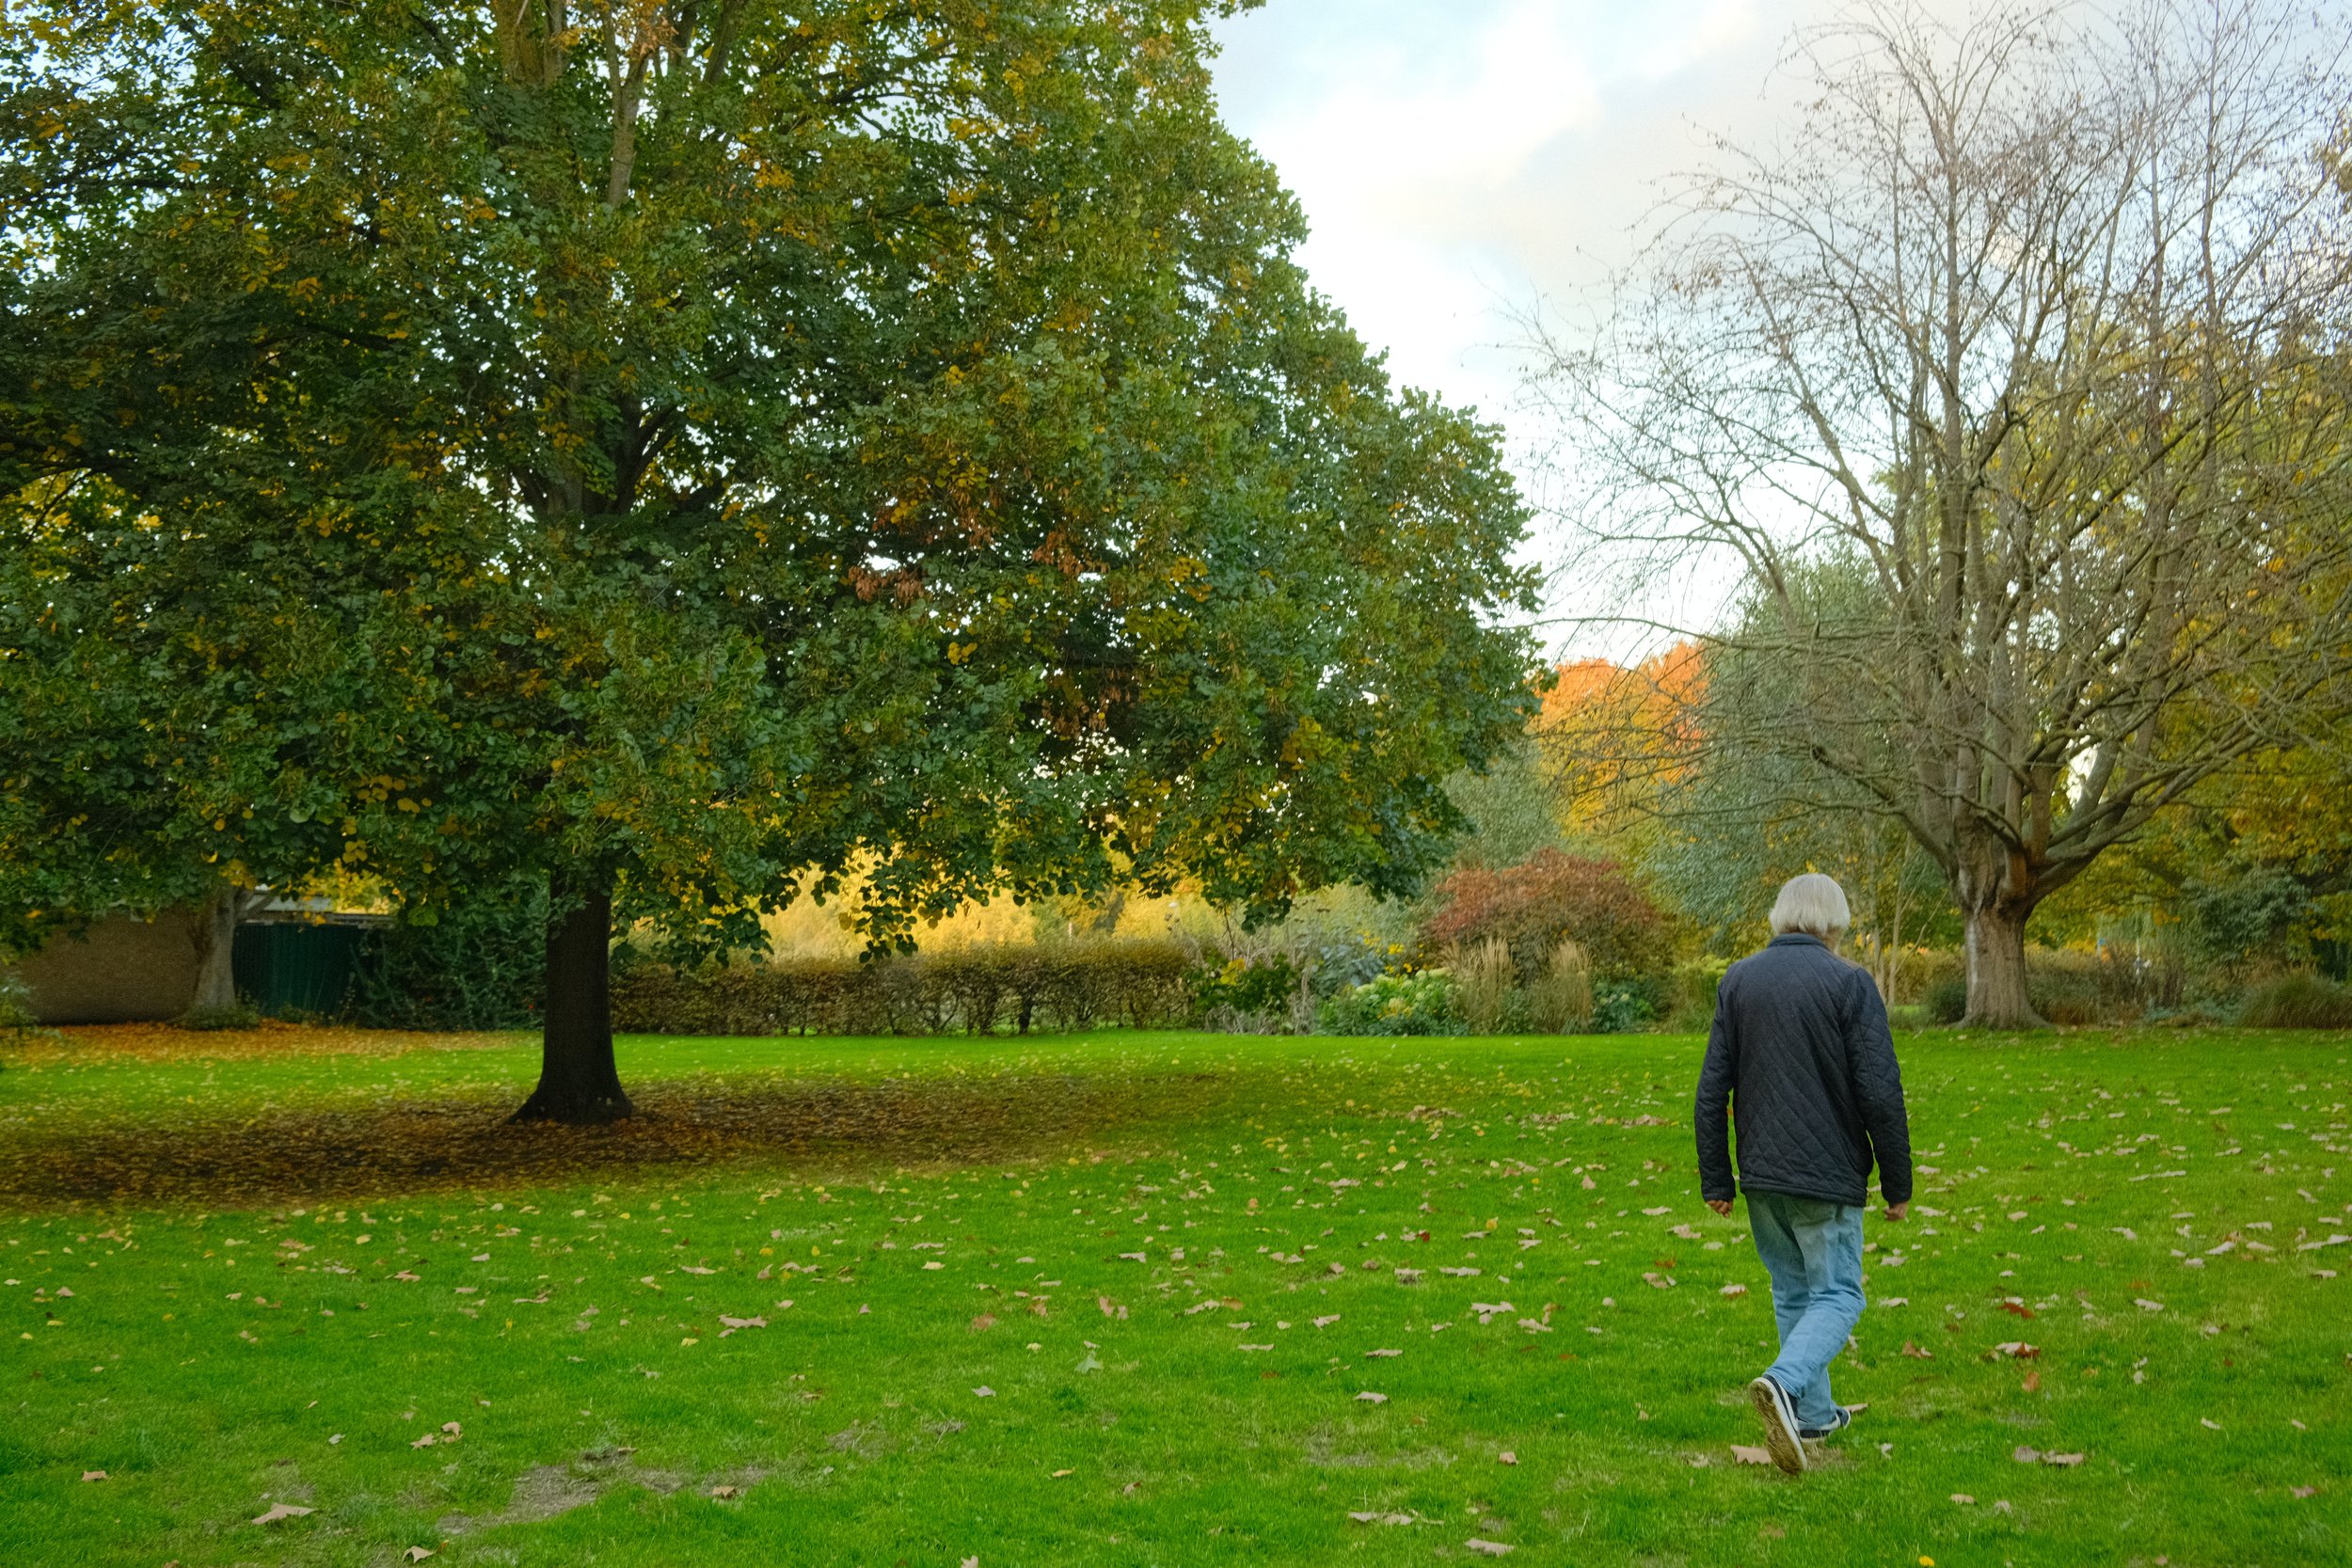
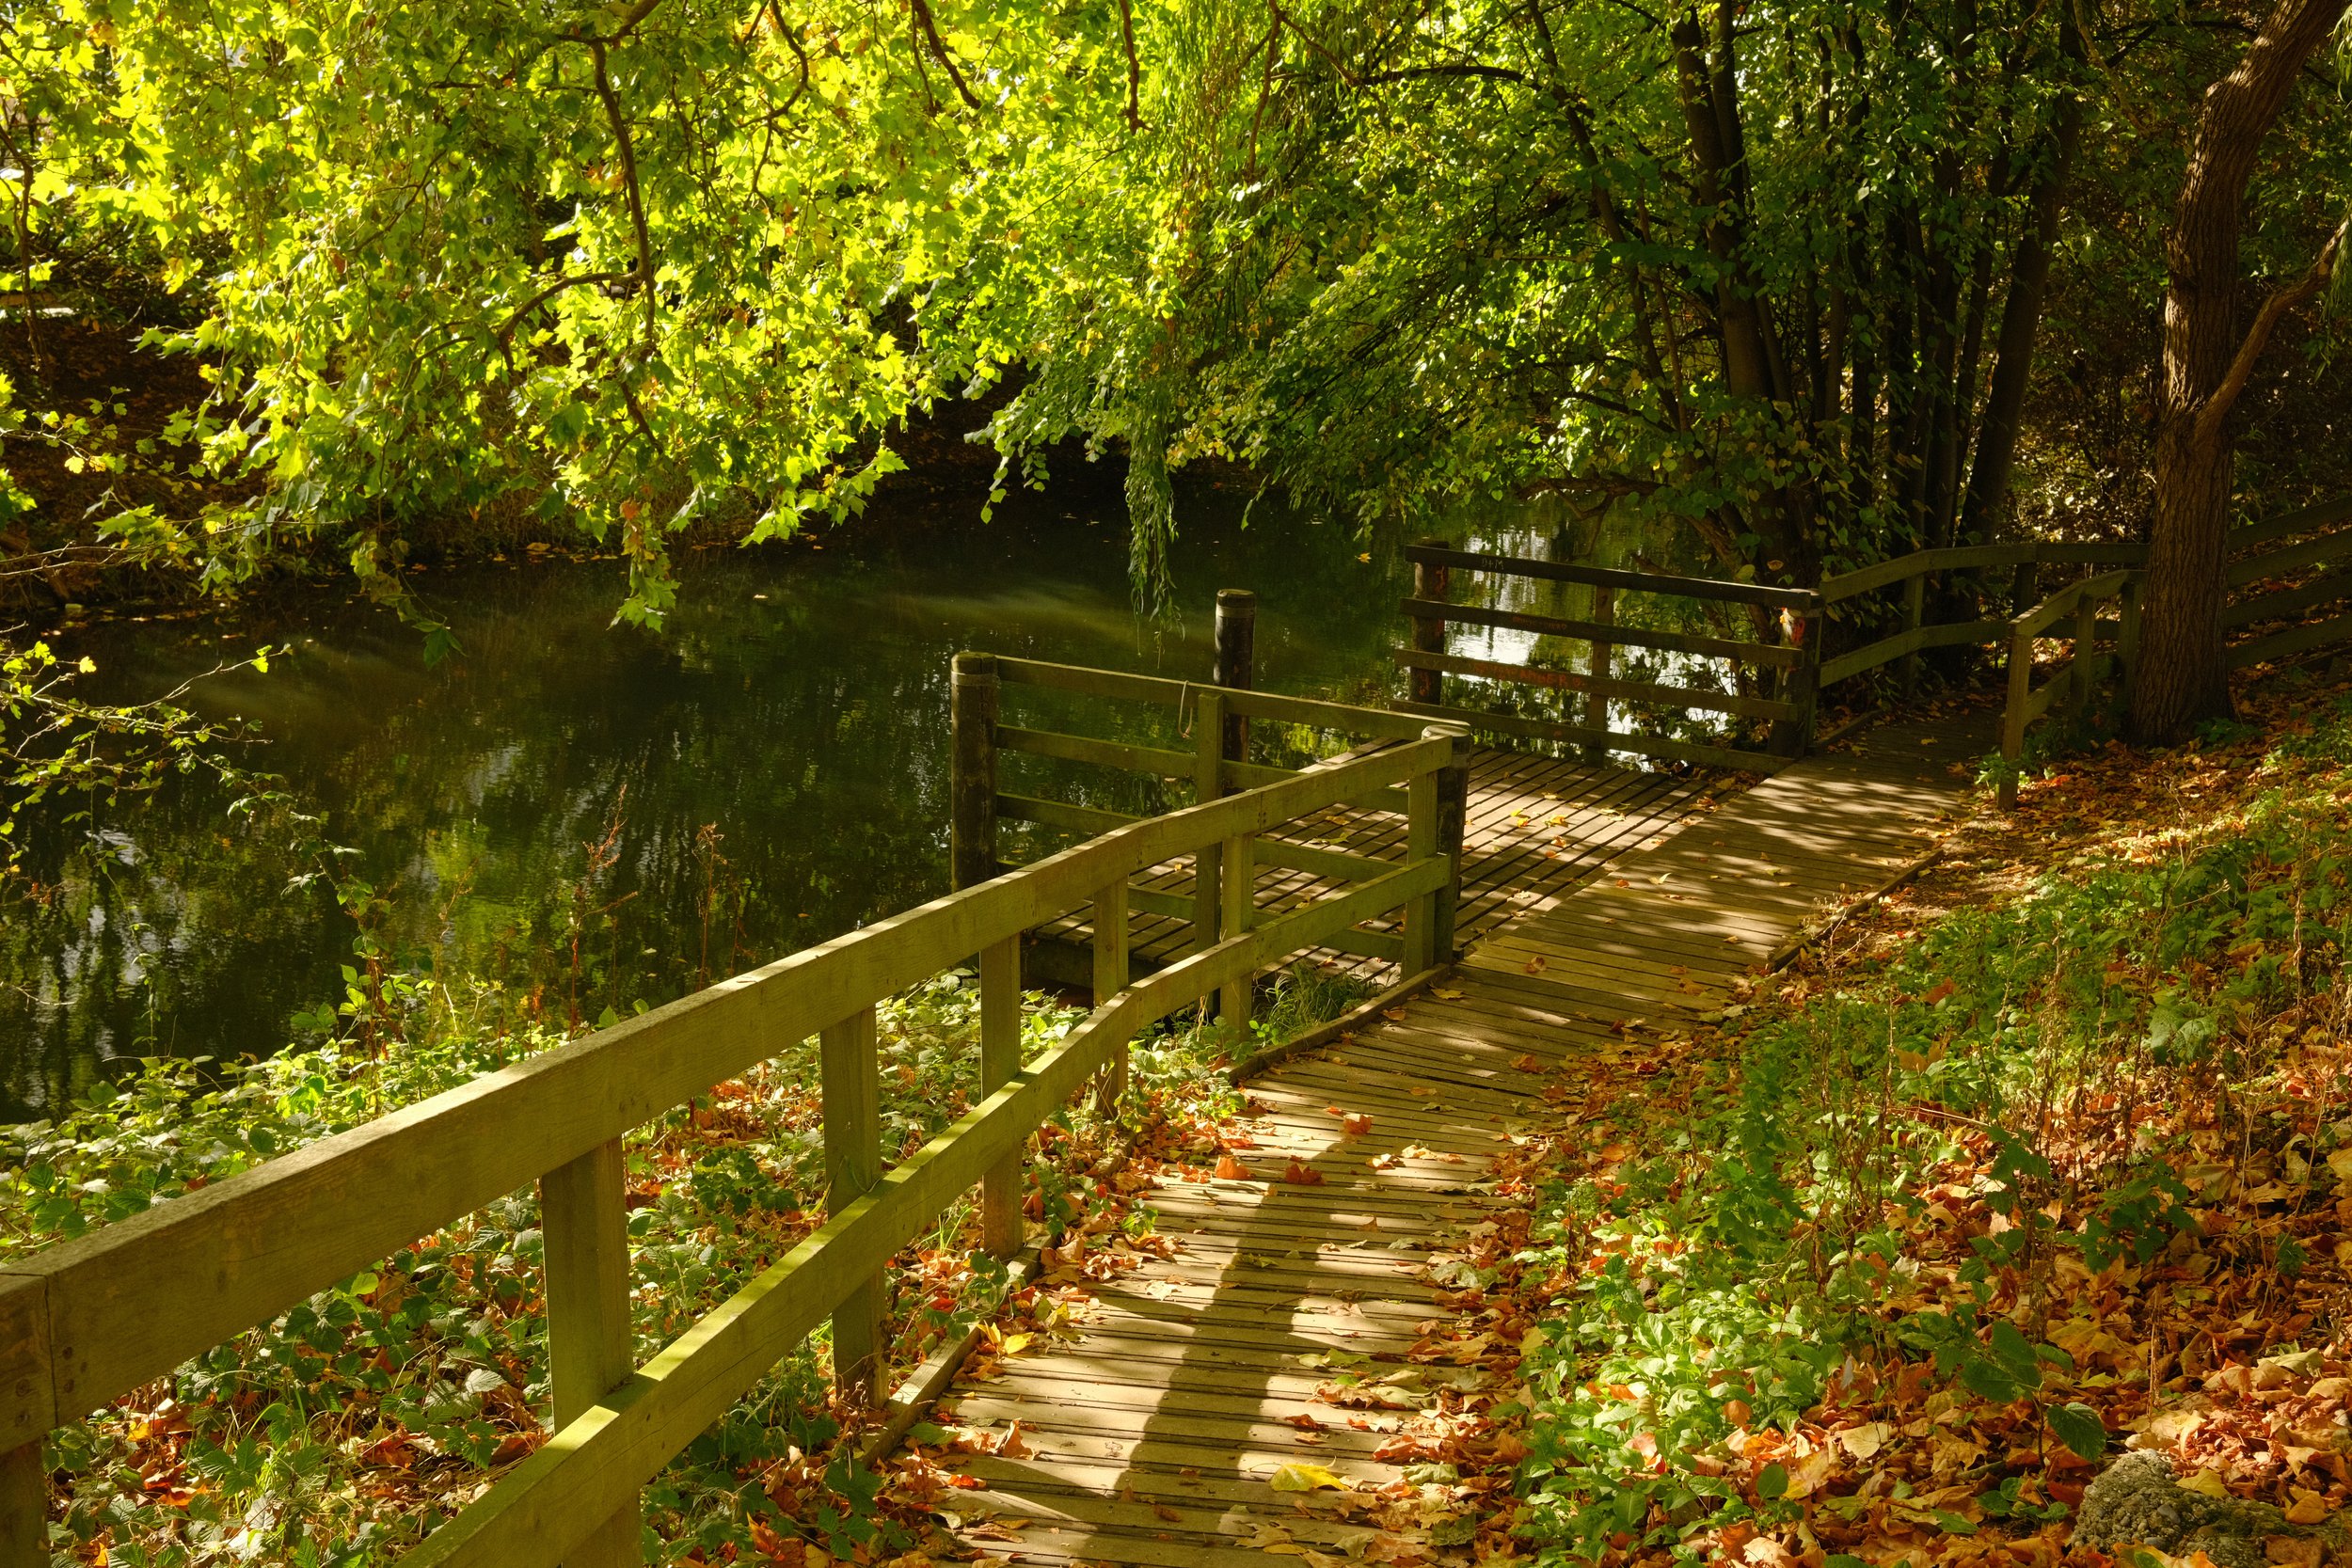
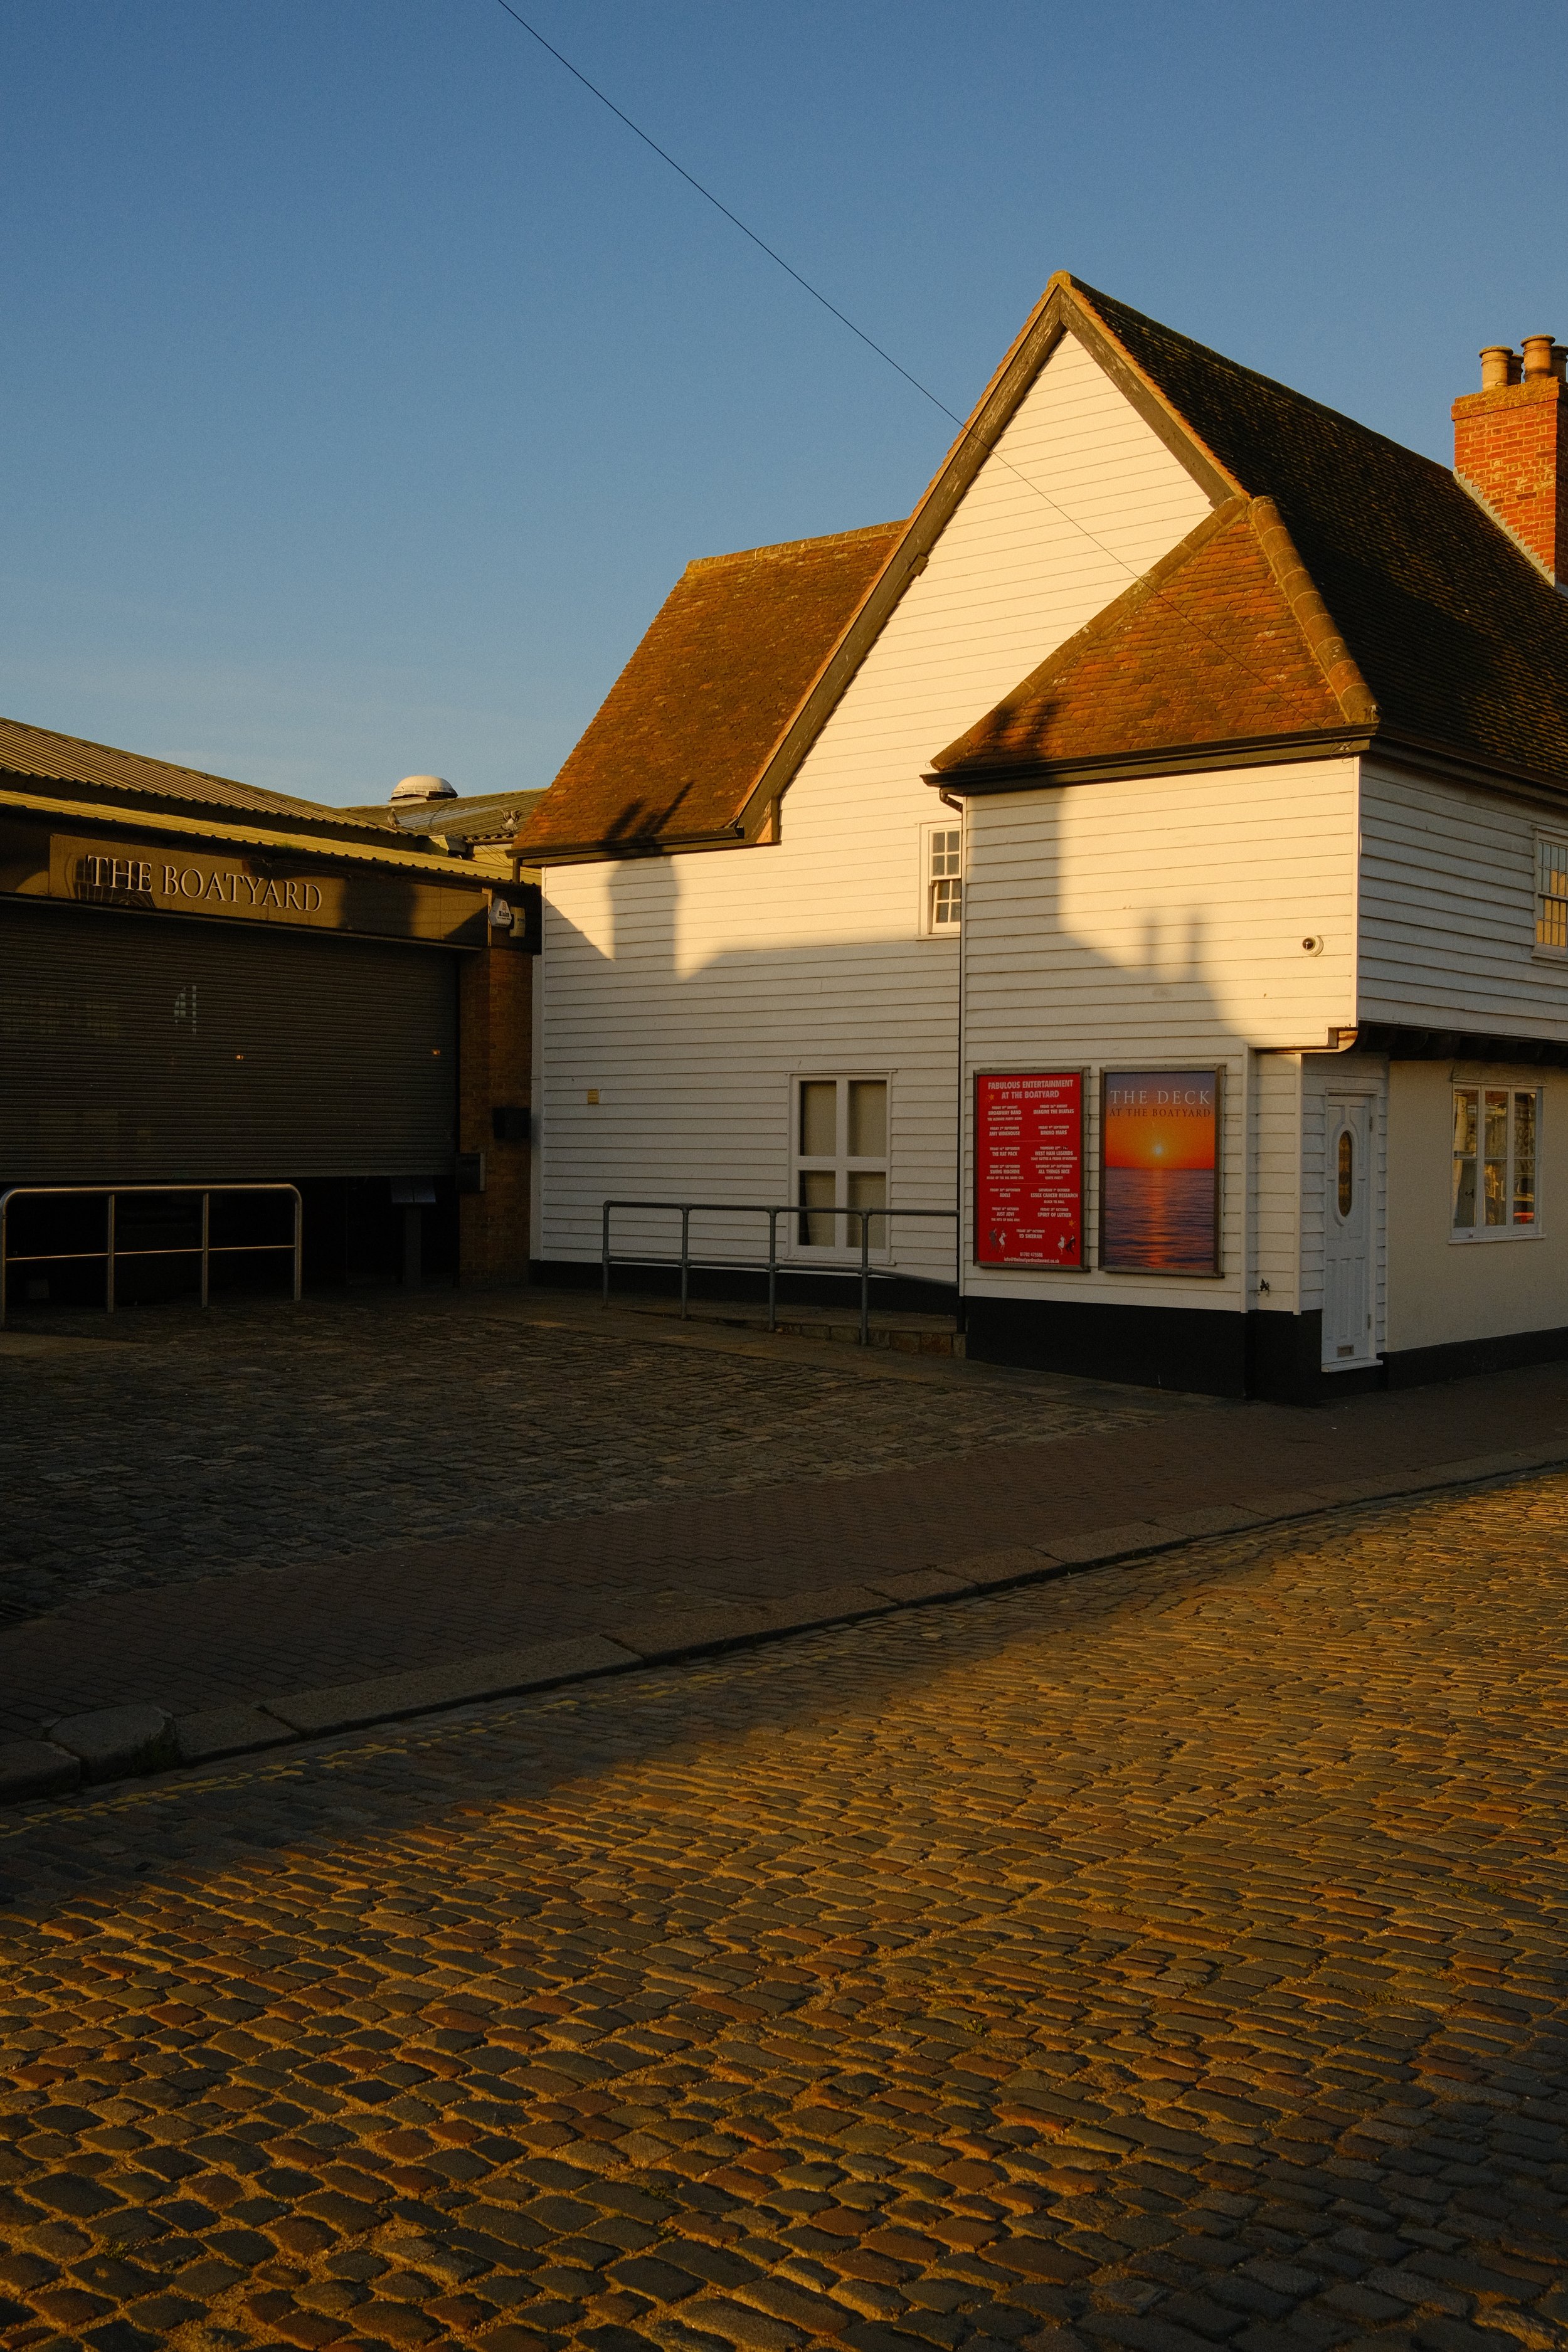
My Perfect Fujifilm Film Simulation Recipe

Film Simulations on are huge reason people want to pick up a Fujifilm camera. Being able to shoot digital and achieve that film look with almost zero effort is a lot fun. After almost a year of owning my Fujifilm X100v I have dialled in a few go to settings to create my own jpeg style.


I’ve created a few videos over the months sharing some different jpeg only looks. I initially had a lot of fun changing my settings and swapping simulations around. Part of the reason I kept picking my x100v up to go shoot was with intentions of seeing what different recipes would look like. But then overtime I kept tweaking and changing the settings until I was satisfied with the result and I just didn’t alter it anymore, and that’s how I’ve ended up with this style.
Examples below of Kodachrome, Portra 400 and Kodak Ultramax 400 Recipes found on Fuji x Weekly

If you’re new to jpeg only, straight out of camera recipes then the first thing you need to do it check out Fuji x Weekly. This where I discovered the world of Fujifilm recipes and it’s an absolute gem. If you don’t like my custom film simulation which I’ll share in this video, I can guarantee there’s something on Fuji x Weekly that will satisfy your hunger for a film aesthetic.
There’s a chance that this recipe i’ve created already exists and is labelled as something else online but let’s dive into the details.

Astia/soft
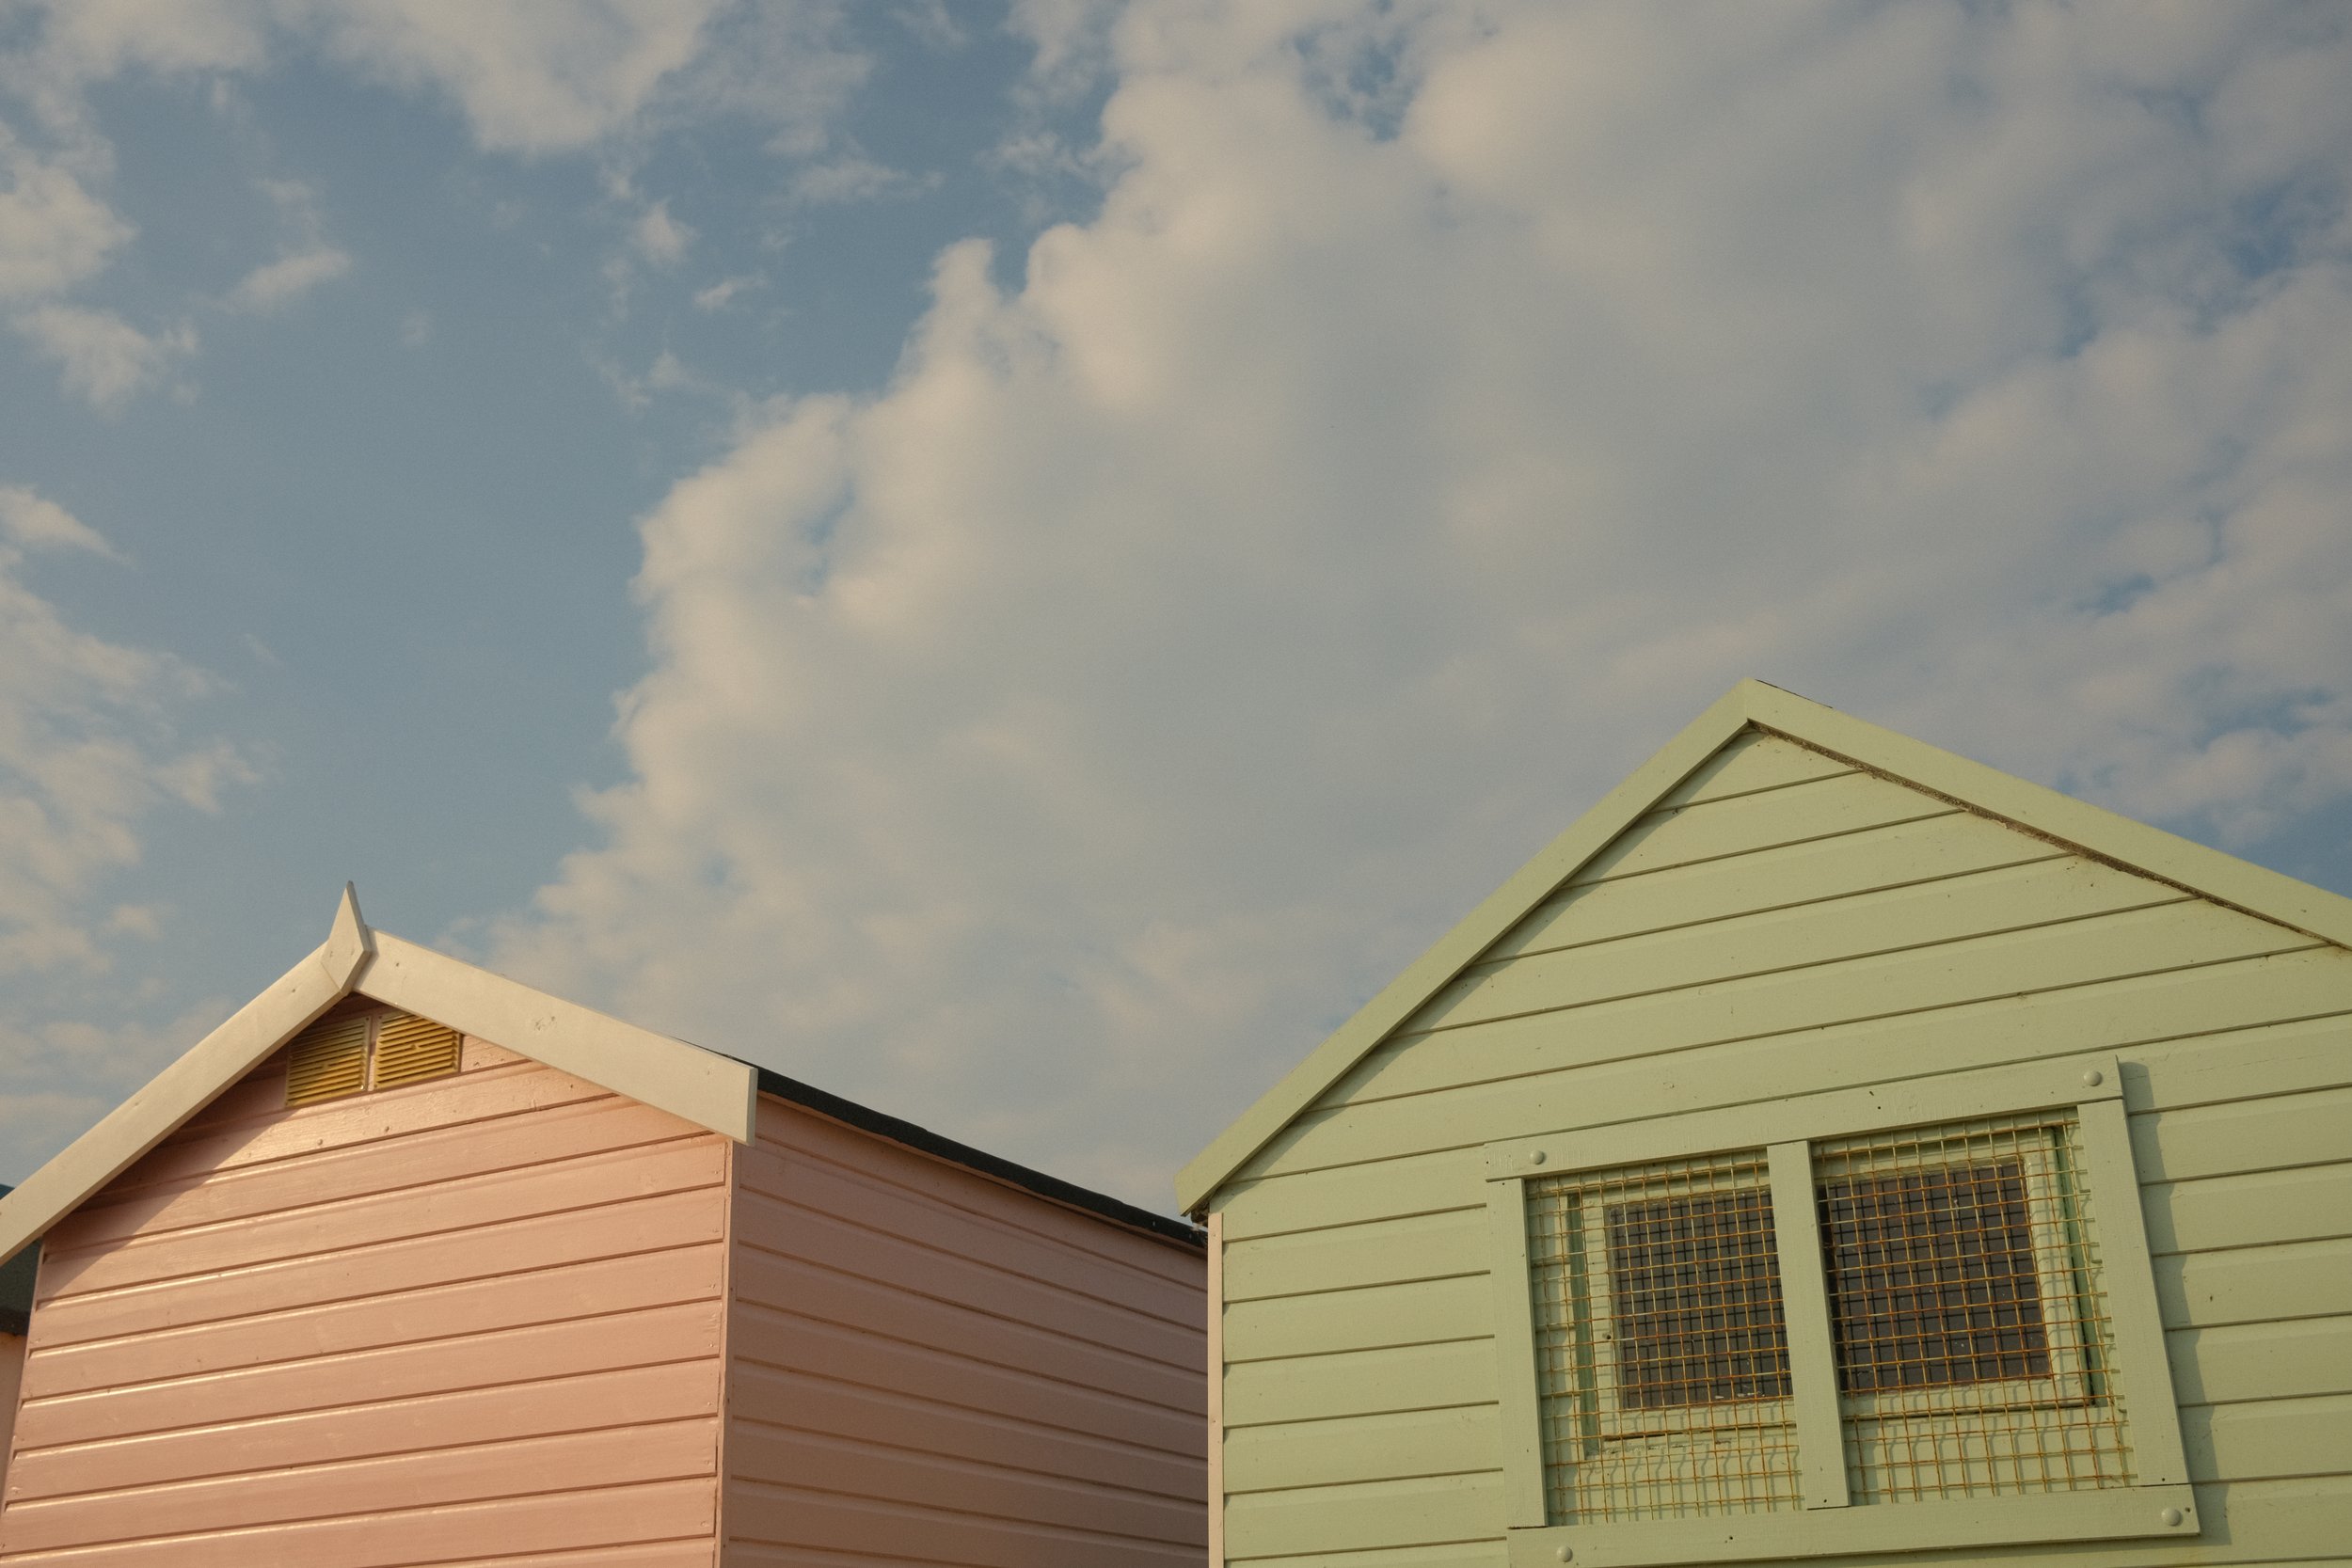
The film simulation I’ve landed on using is Astia/soft - just like it’s description, the colours and contrast are softer. However I have something setup which I will go through soon that means if you wanted that harsh light and shadow contrast you can achieve it at the same time as having your colour nice and soft.
This is also how I believe to get those more pastel tones in the primary colours. For me Astia has the best colours. Sorry to all the classic chrome fans out there.
Grain Effect
I like the jpegs to look like film but I don’t want the quality to be distracted by too much grain, I don’t want the image being grainy to be it’s best feature. The image should speak for itself regardless. So for me, grain is nice but I like it subtle, so it’s on week & small.
Colour Chrome Effect
I’ll be honest, colour chrome and colour chrome fx blue don’t make too much of an impact, they’re both selected as weak but feel free to switch this up to whatever you think looks best.


White Balance
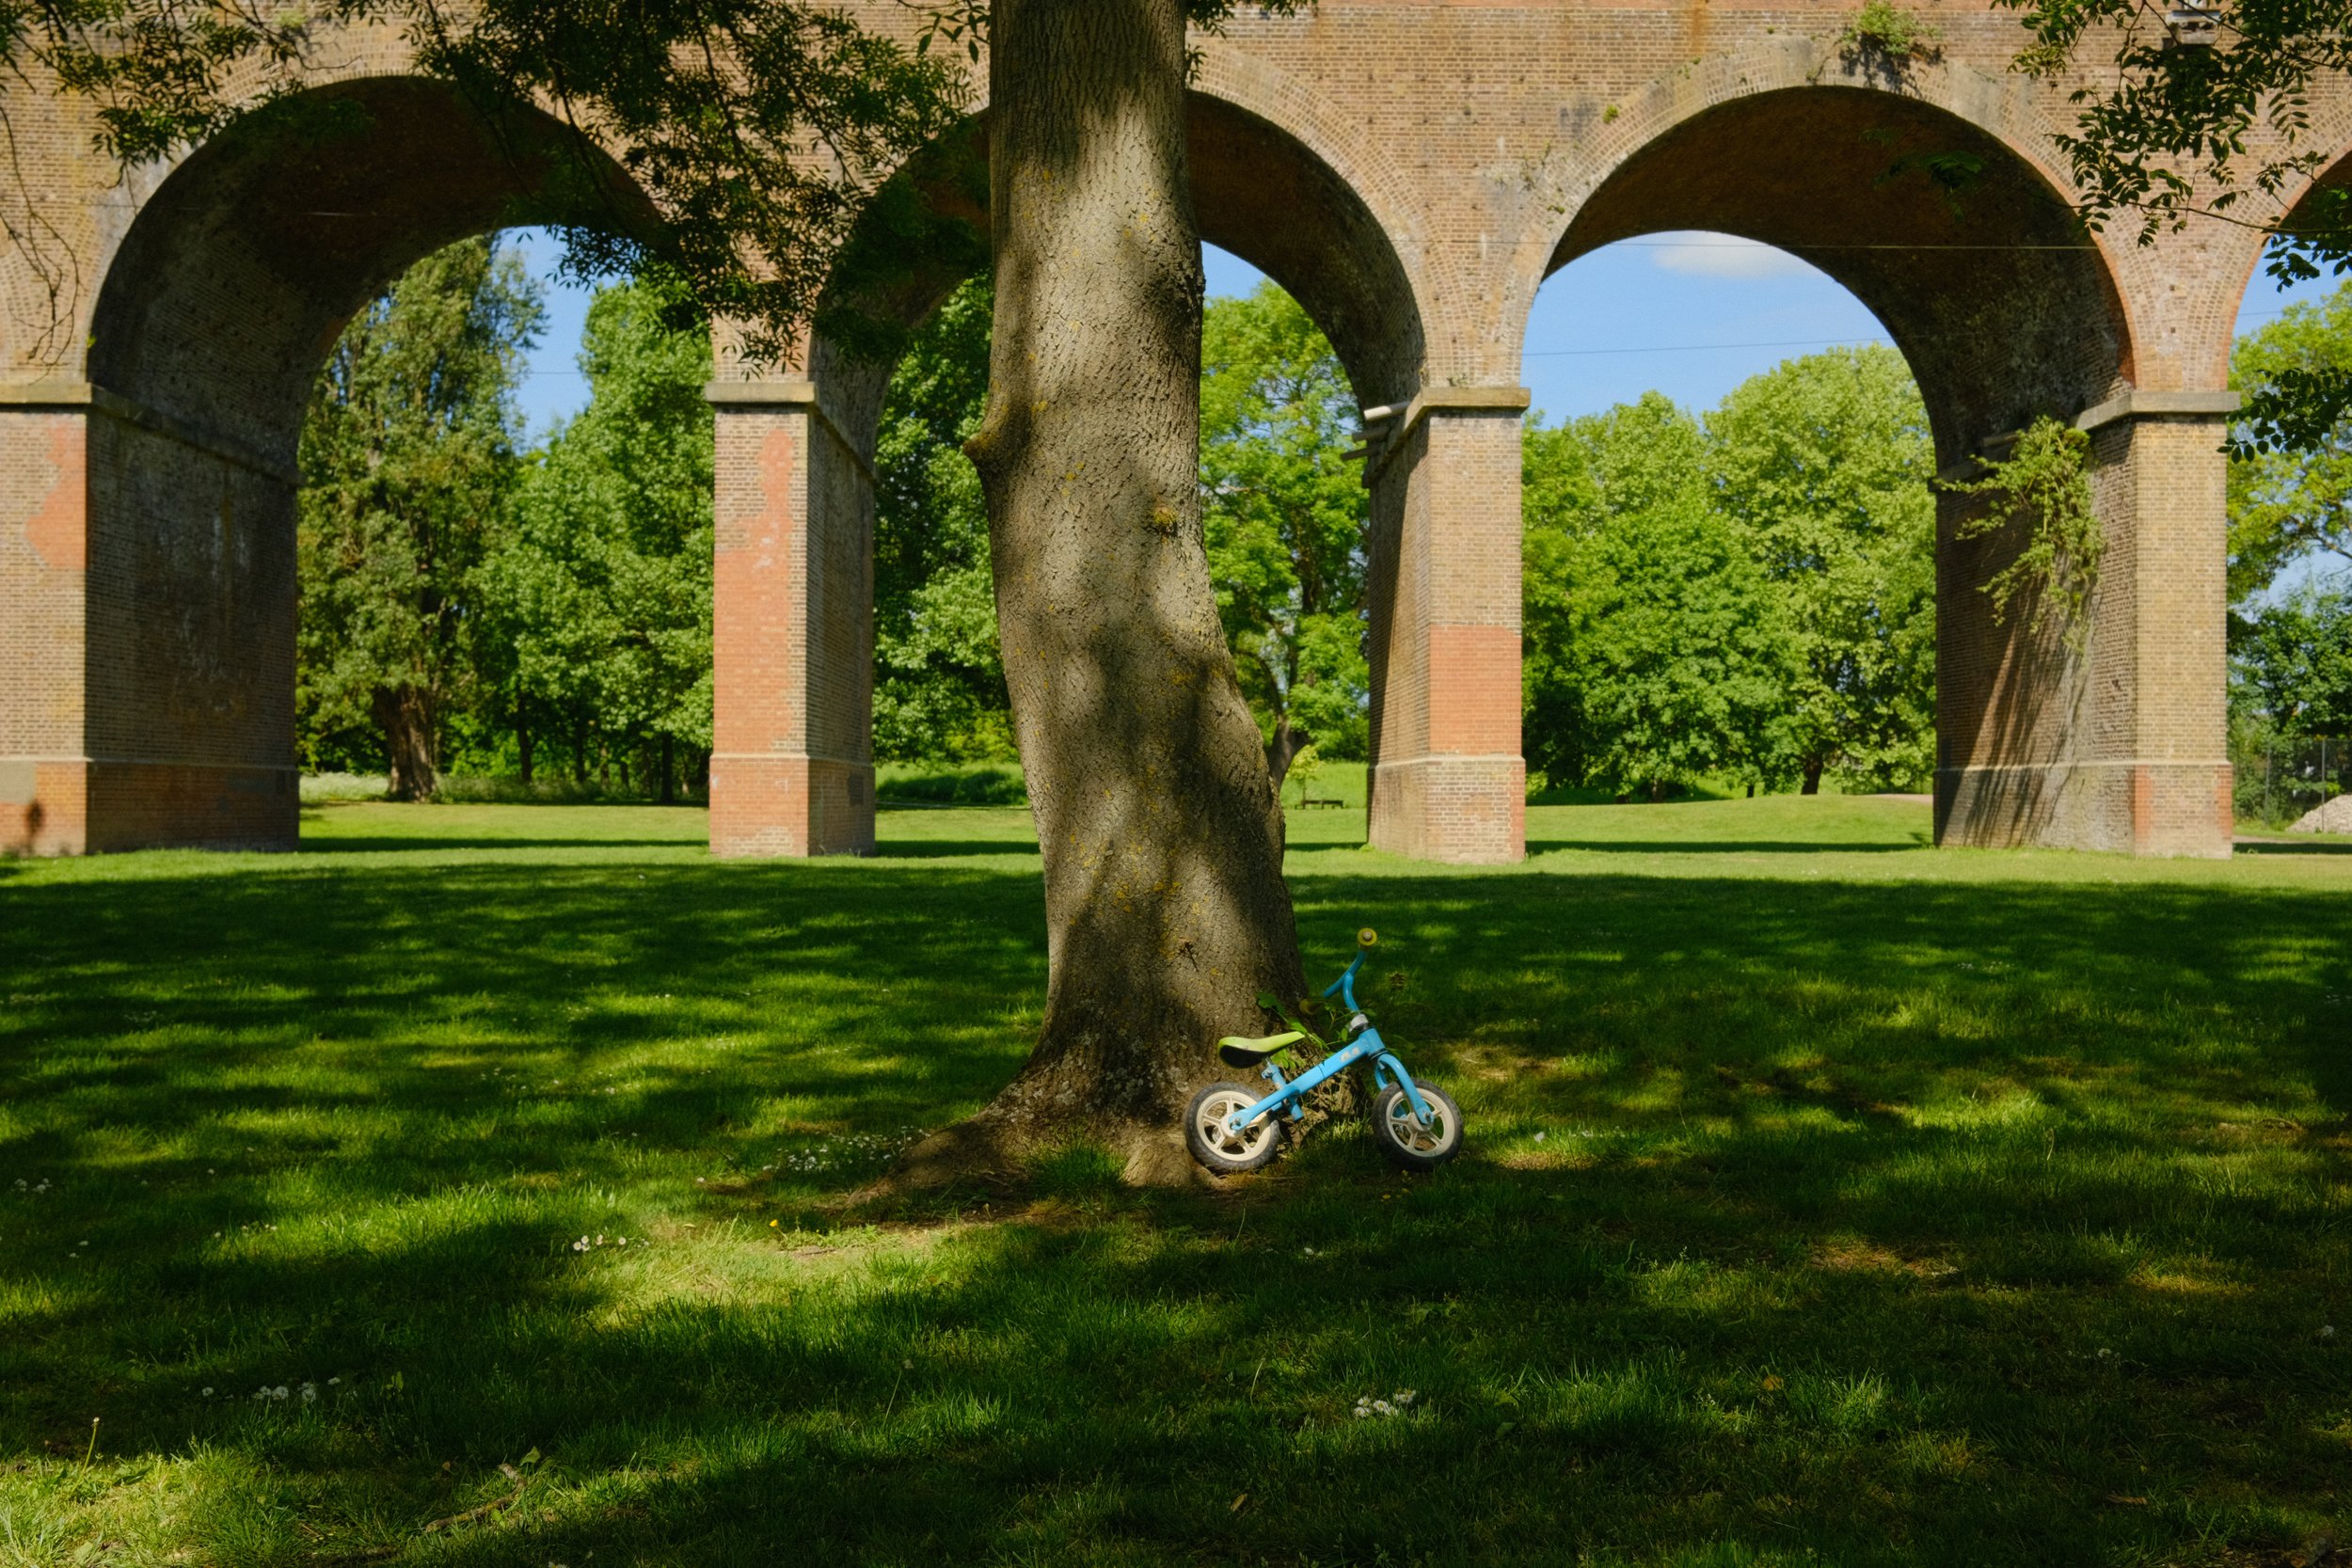
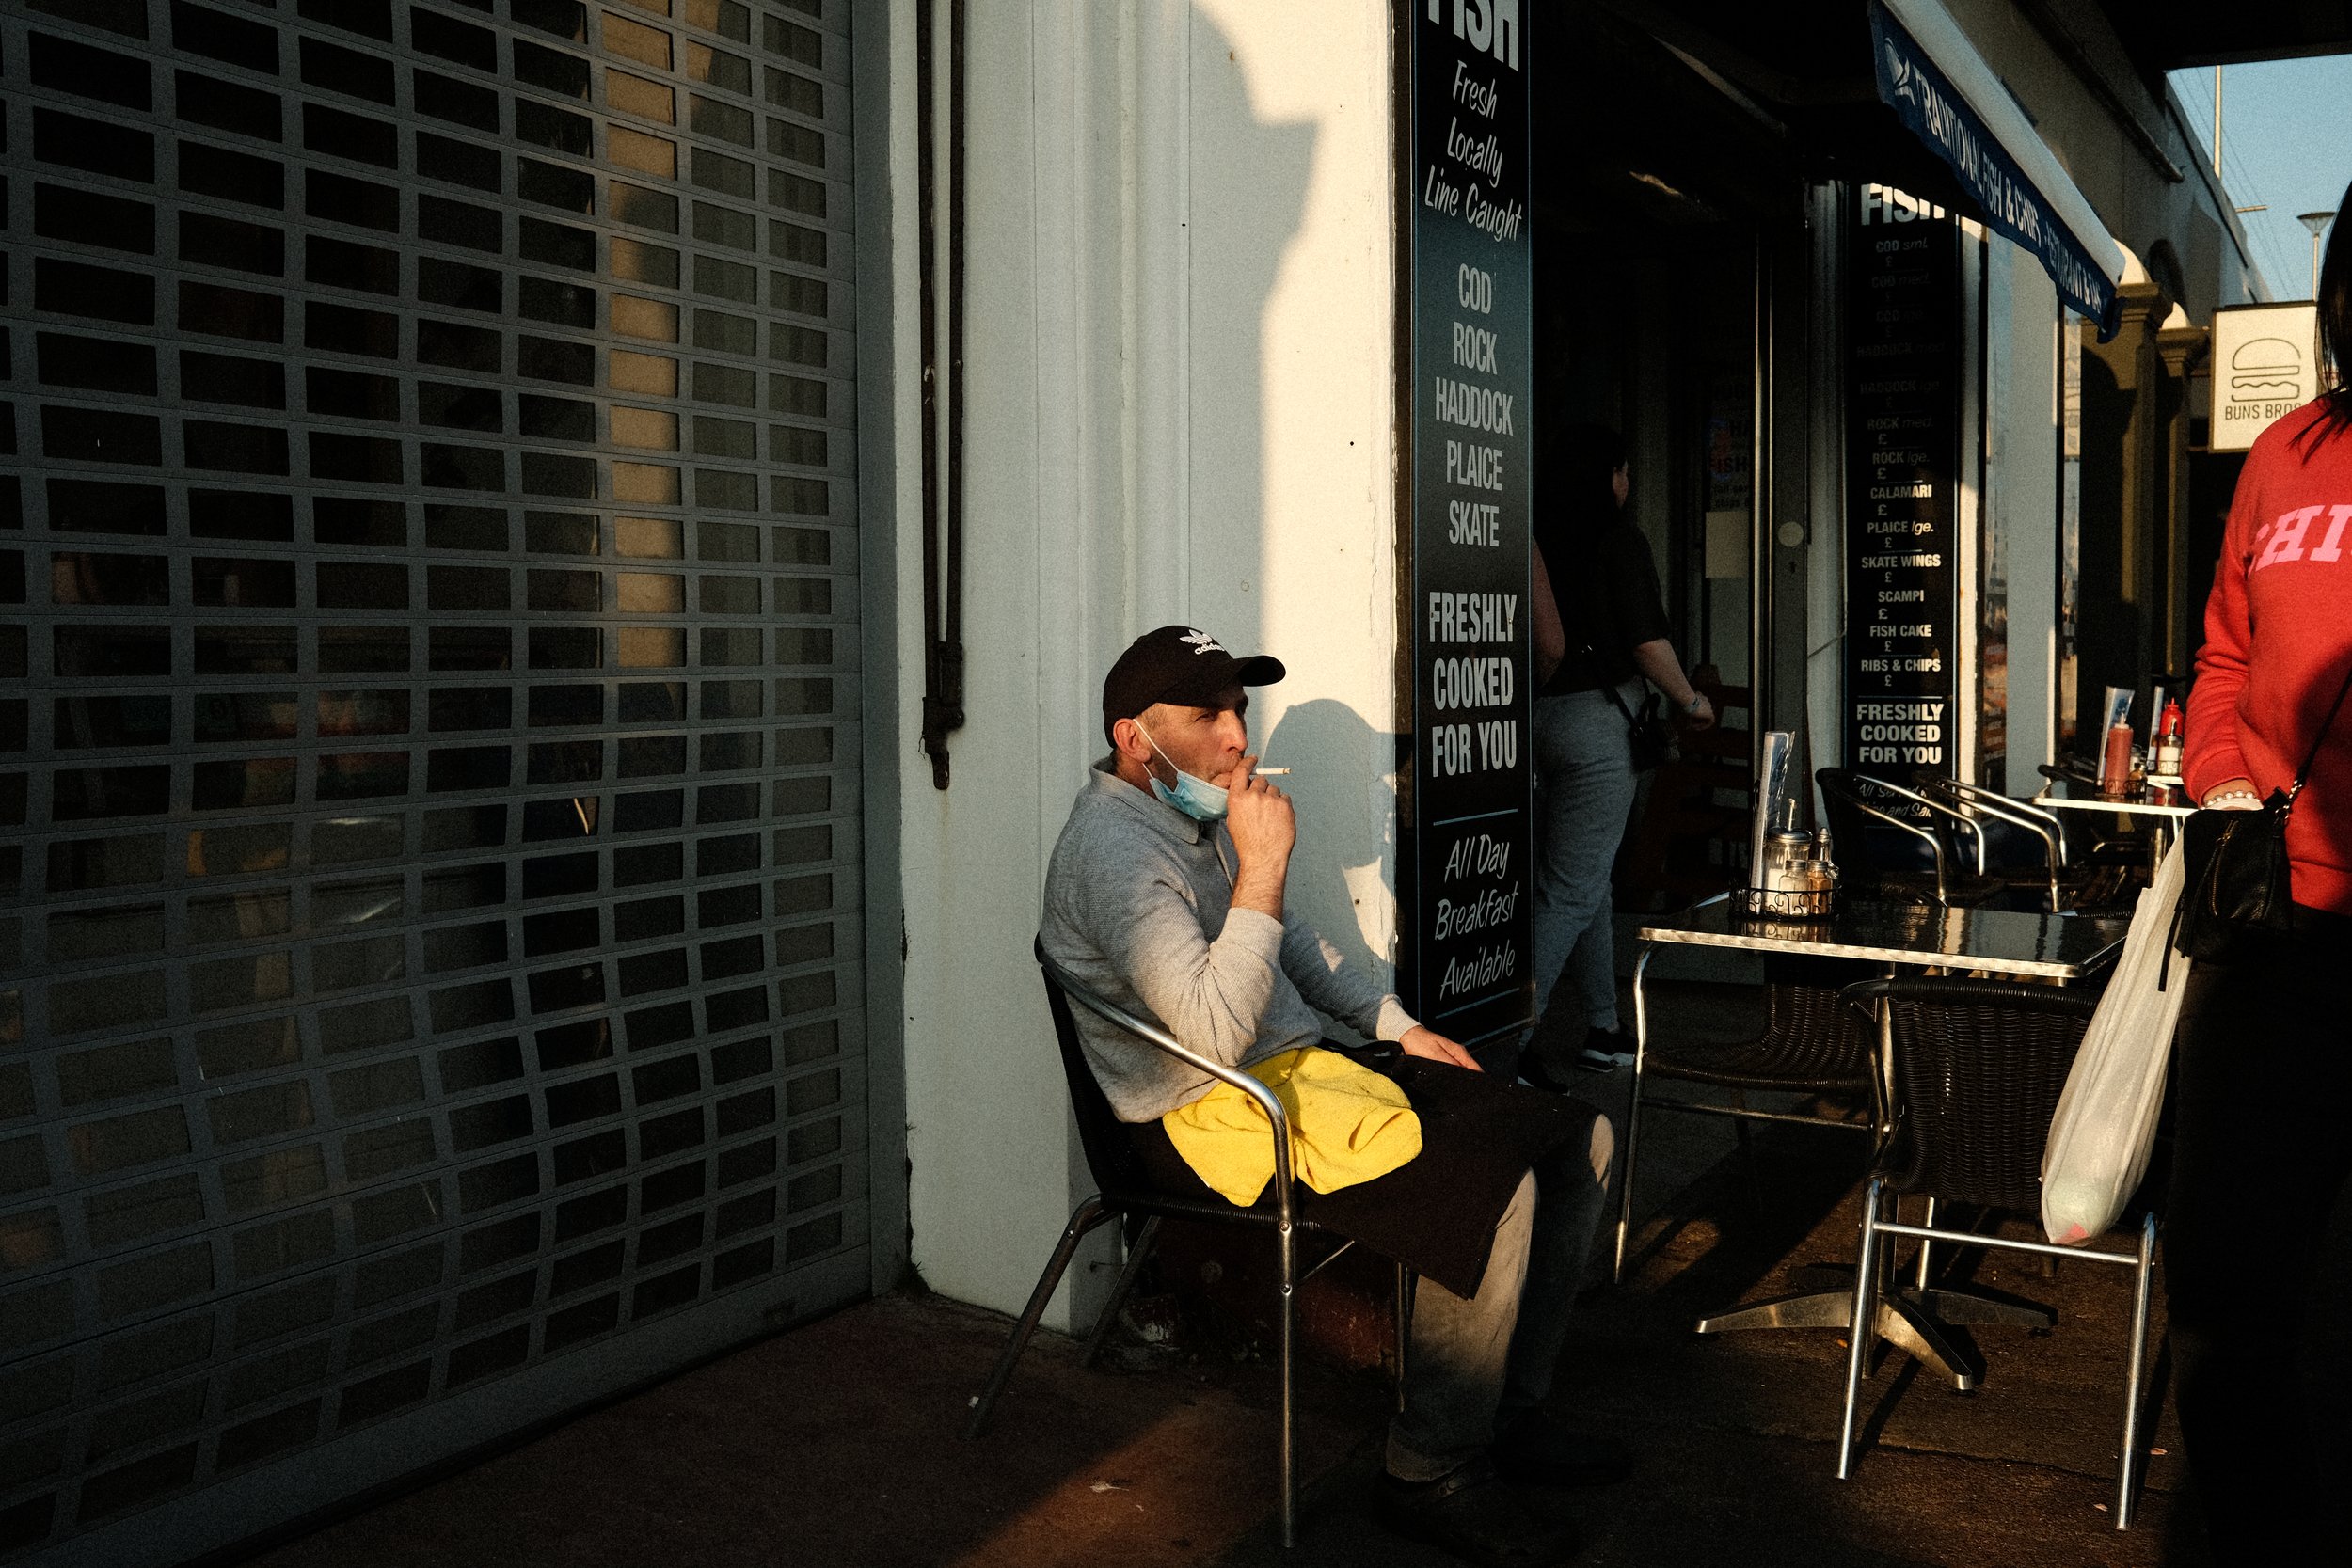
Now I want to talk about white balance which I think has THE BIGGEST effect on your jpegs. I my kelvin set to 6200 with a red tint of +2 and blue tint of -4. Talking about 6200k first, I like that warm atmosphere, because we’re shooting a lot of everyday life with the x100v, adding a warmer temperature to these moments also add a sense of nostalgia. Not all the time, but sometimes.
You could also choose to select auto WB if you didn’t want every situation to be too warm. Auto WB is good, it’s probably more convenient for sure. Sometimes shooting inside 6200k is way too orange. So I have my WB as a custom button on my lens ring so I can change it easily between 6200k or auto depending on the situation.
Dynamic Range
I use DR400 but again, like all the settings here you can simply use auto DR or change it what you think looks best. Using DR400 means your minimum ISO will be 640. I had a few comments on a recent video from people asking why my ISO was so high considering I was shooting during sunrise and I had a lot of light to play with.
The ISO being 640 or higher increases the details captured in the shadows without blowing out the highlights. You’re essentially getting a more balanced image. But you have to compromise with the higher ISO, which I honestly don’t think matters at all. I’d happily shoot up to 1600 before the noise is even noticeable.
The better the dynamic range the better you protect your highlights which is essentially the point im making. Do you want more contrast and possibly crushed blacks and clipped whites? … use DR100. DR200 will probably be ideal for everyday situations so it’s really up to you.
Colour
From my experience if I go with DR400 and the scene is ultimately more flat and the colour isn’t popping we can simply add this back with +4 in colour.
Also because I like colour in my images, it’s one of the biggest reasons I notice a scene in front of me, what kind of colours are working together.

Tone Curve
-1 in the highlights and -2 in the shadows. Just dropping the highlights down by 1 combined with DR400 means it’s very rare we will ever ruin and clip the highlights.
Another little effect this has is softening the whites. This adds to ‘that film look’ we want to achieve. With a lot of film photography highlights don’t over power the image and they roll of much nicer (if it’s exposed correctly). Digital cameras have that effect of looking too clinical so just by softening, lowering and protecting the highlights we get an image that’s just nicer on the eye.
Sharpness, NR and Clarity
Sharpness I leave at 0. Noise reduction down to -4 and clarity at 0. Clarity does have a big impact on your final result but it also slows the camera down. I wish Fuji could fix this with a firmware update but as it stands I simply don’t interfere with it and keep it at 0.

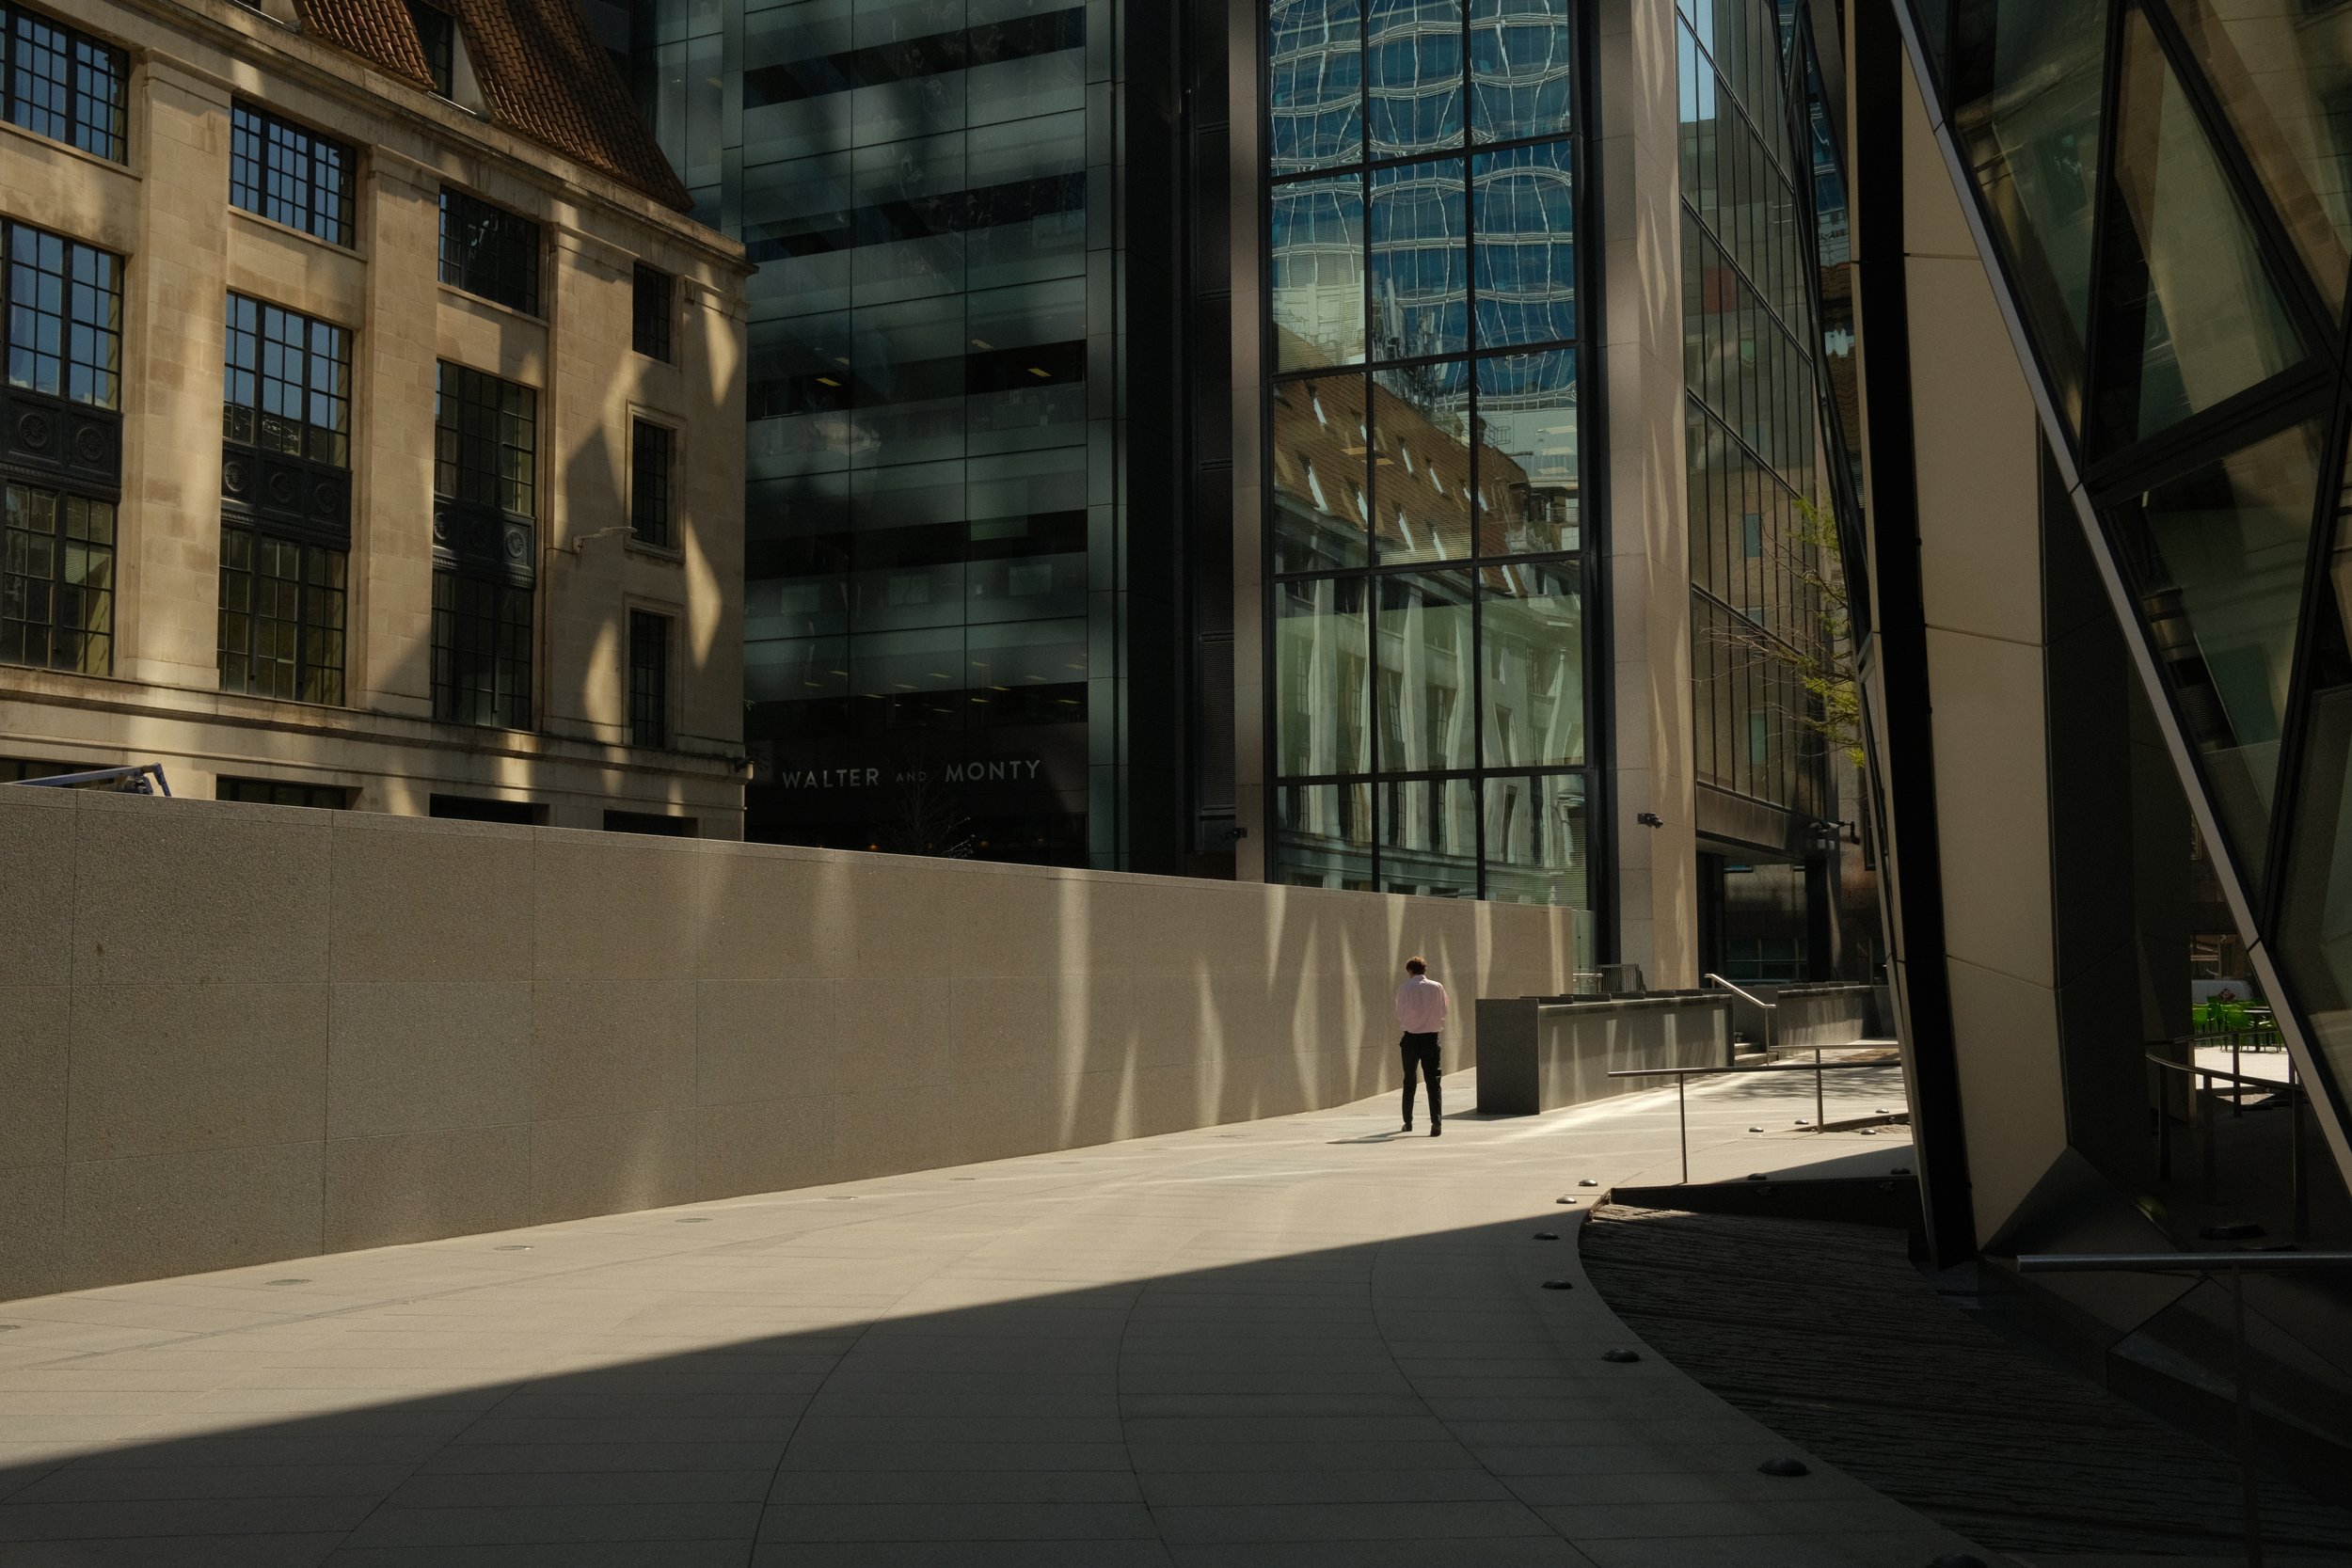
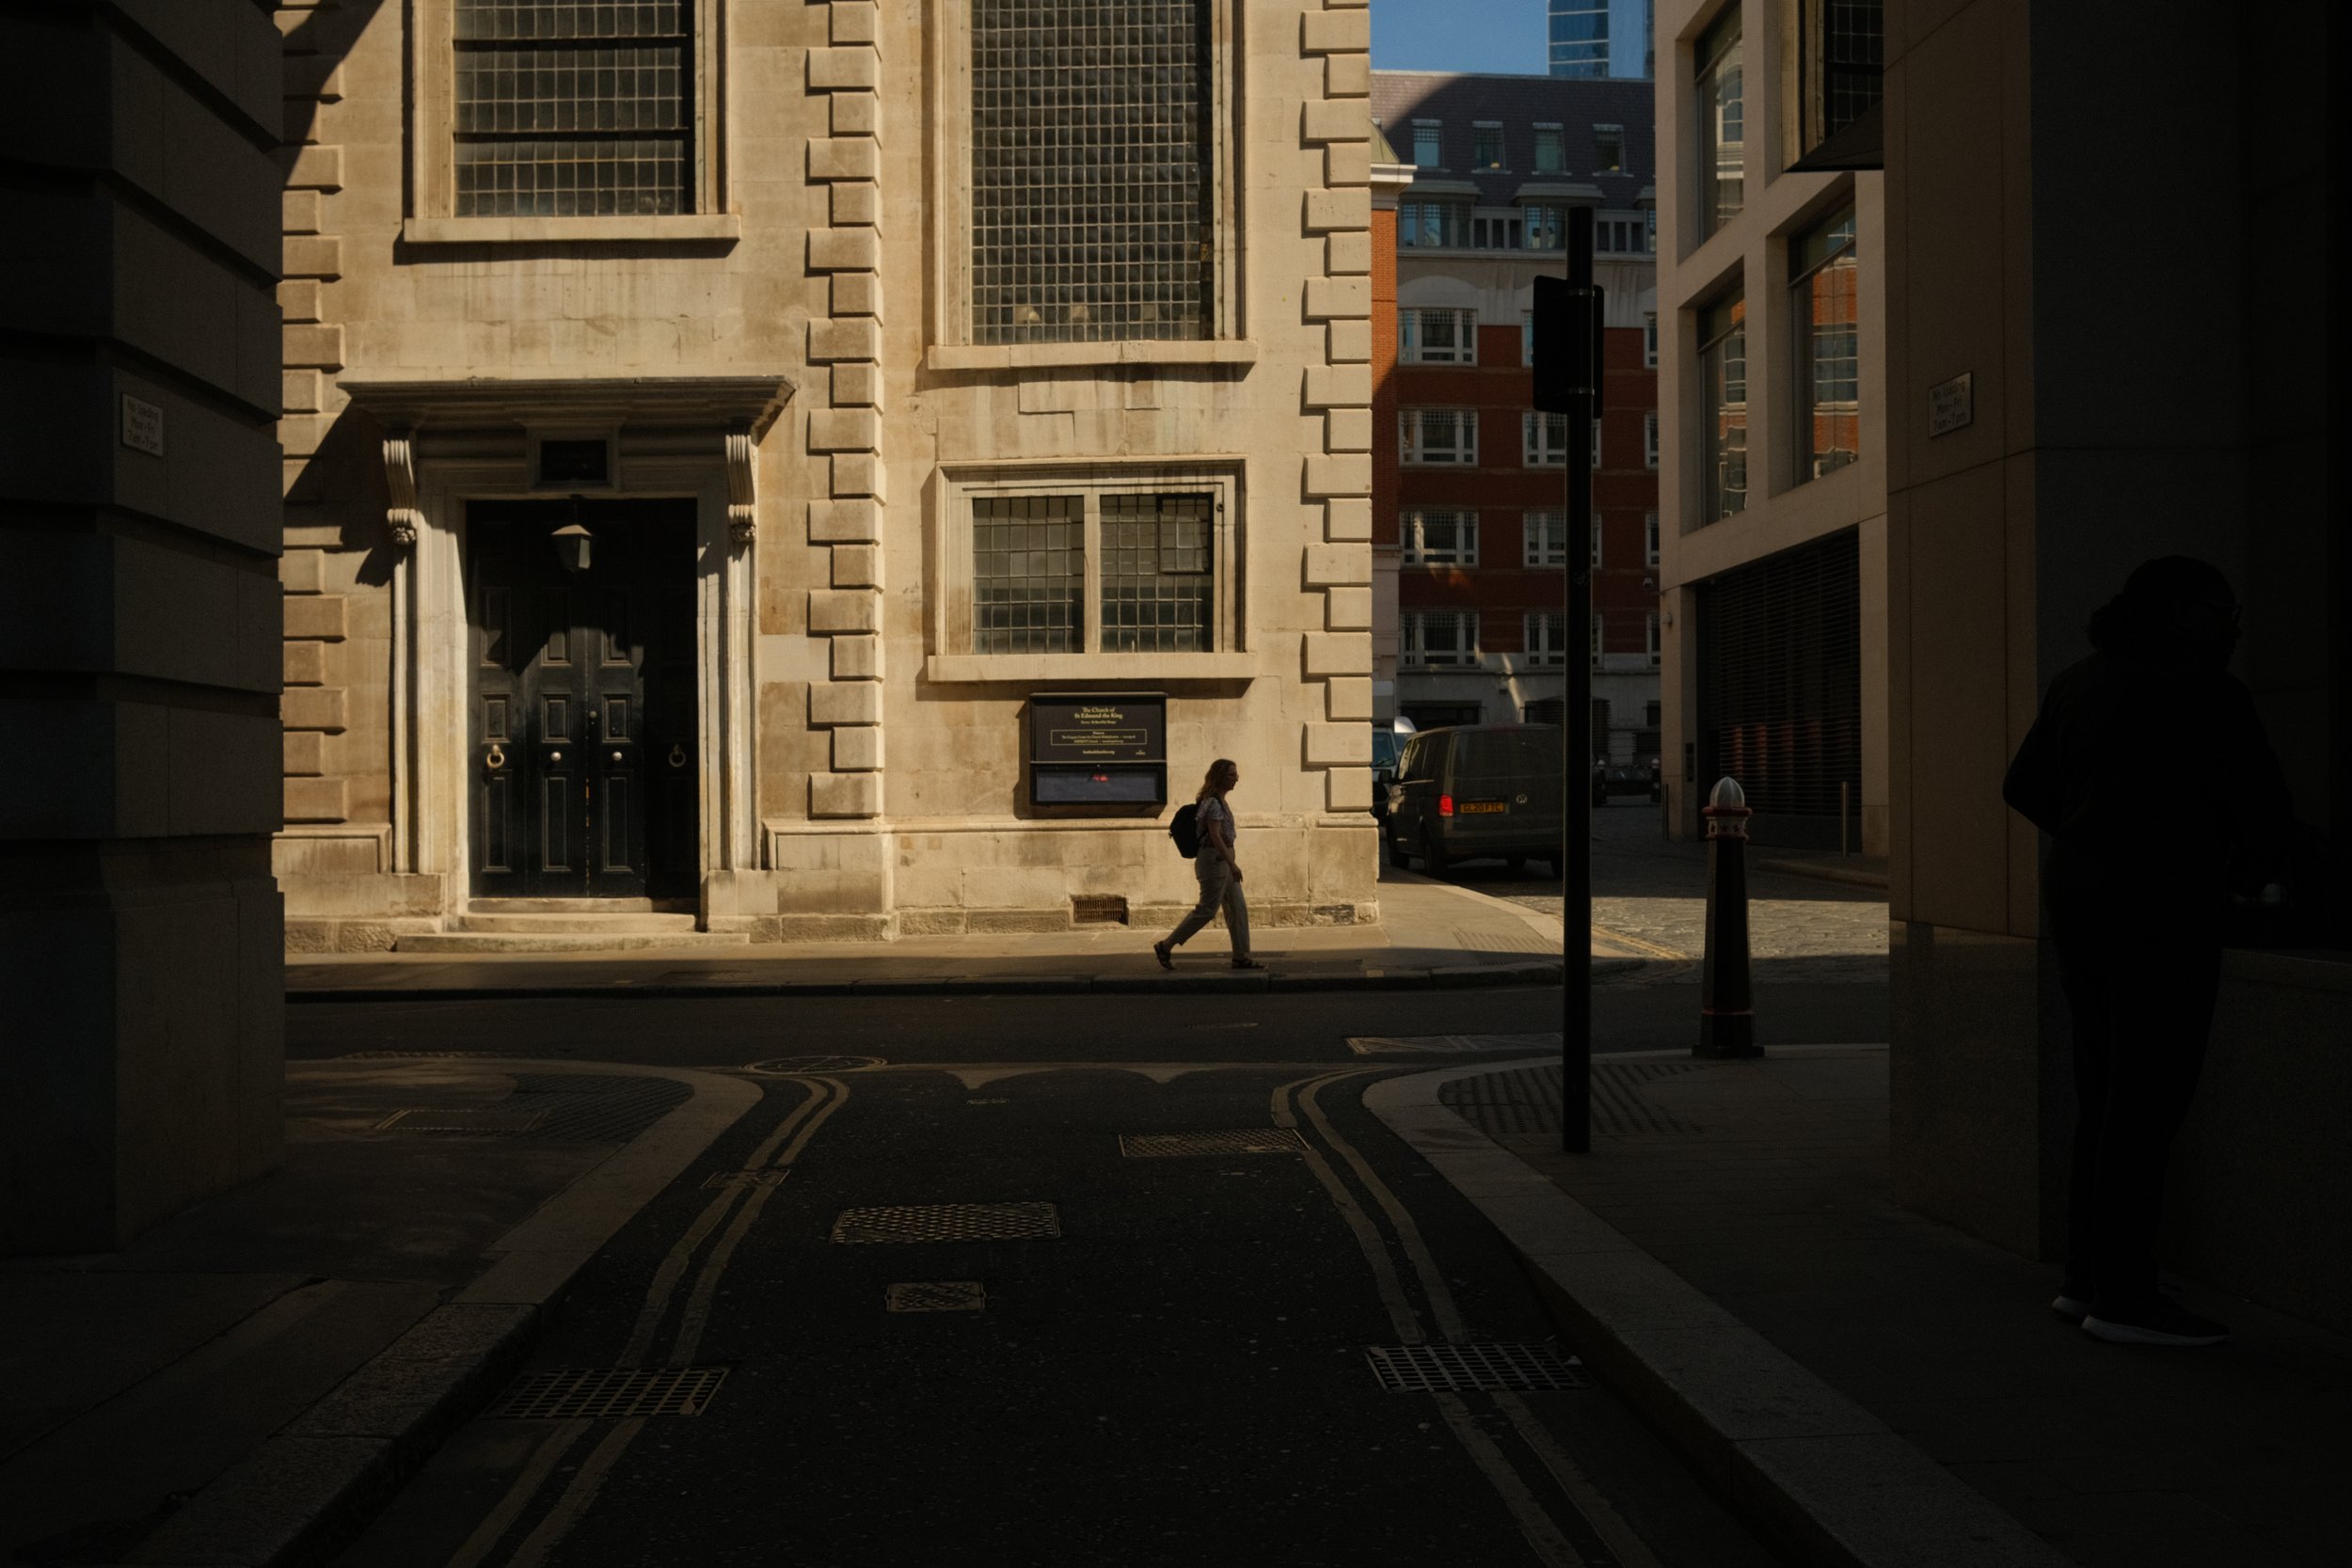
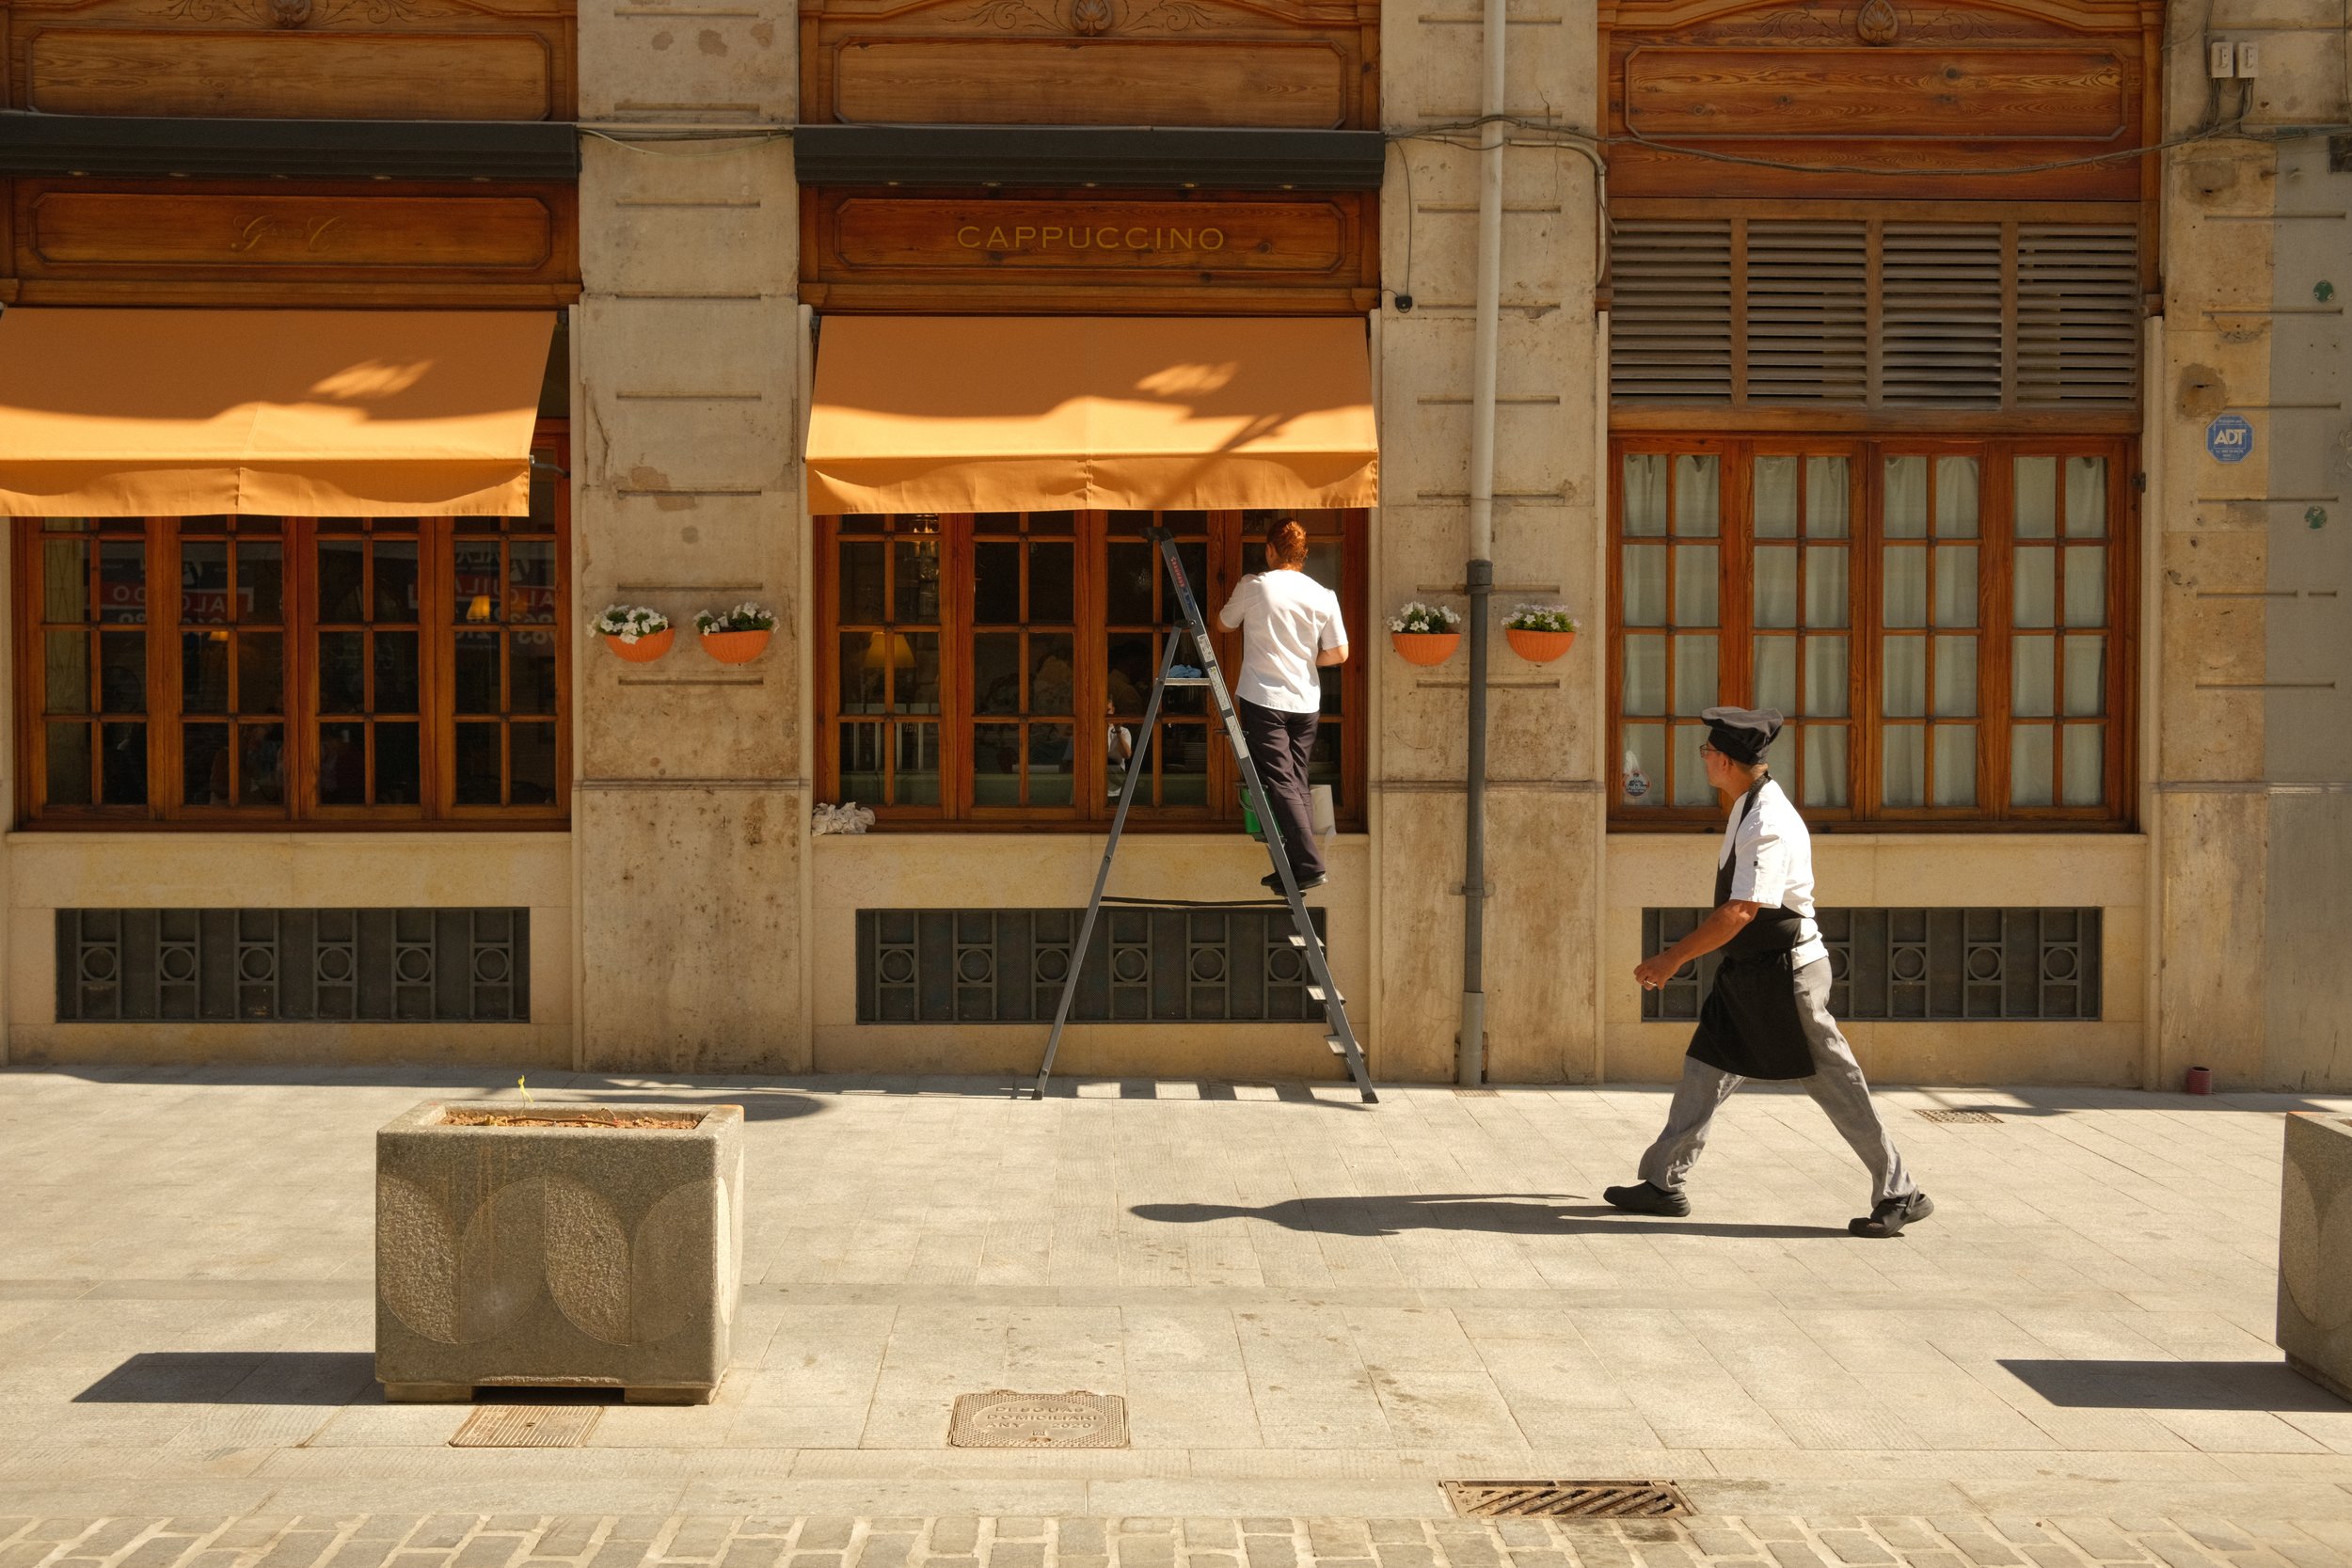
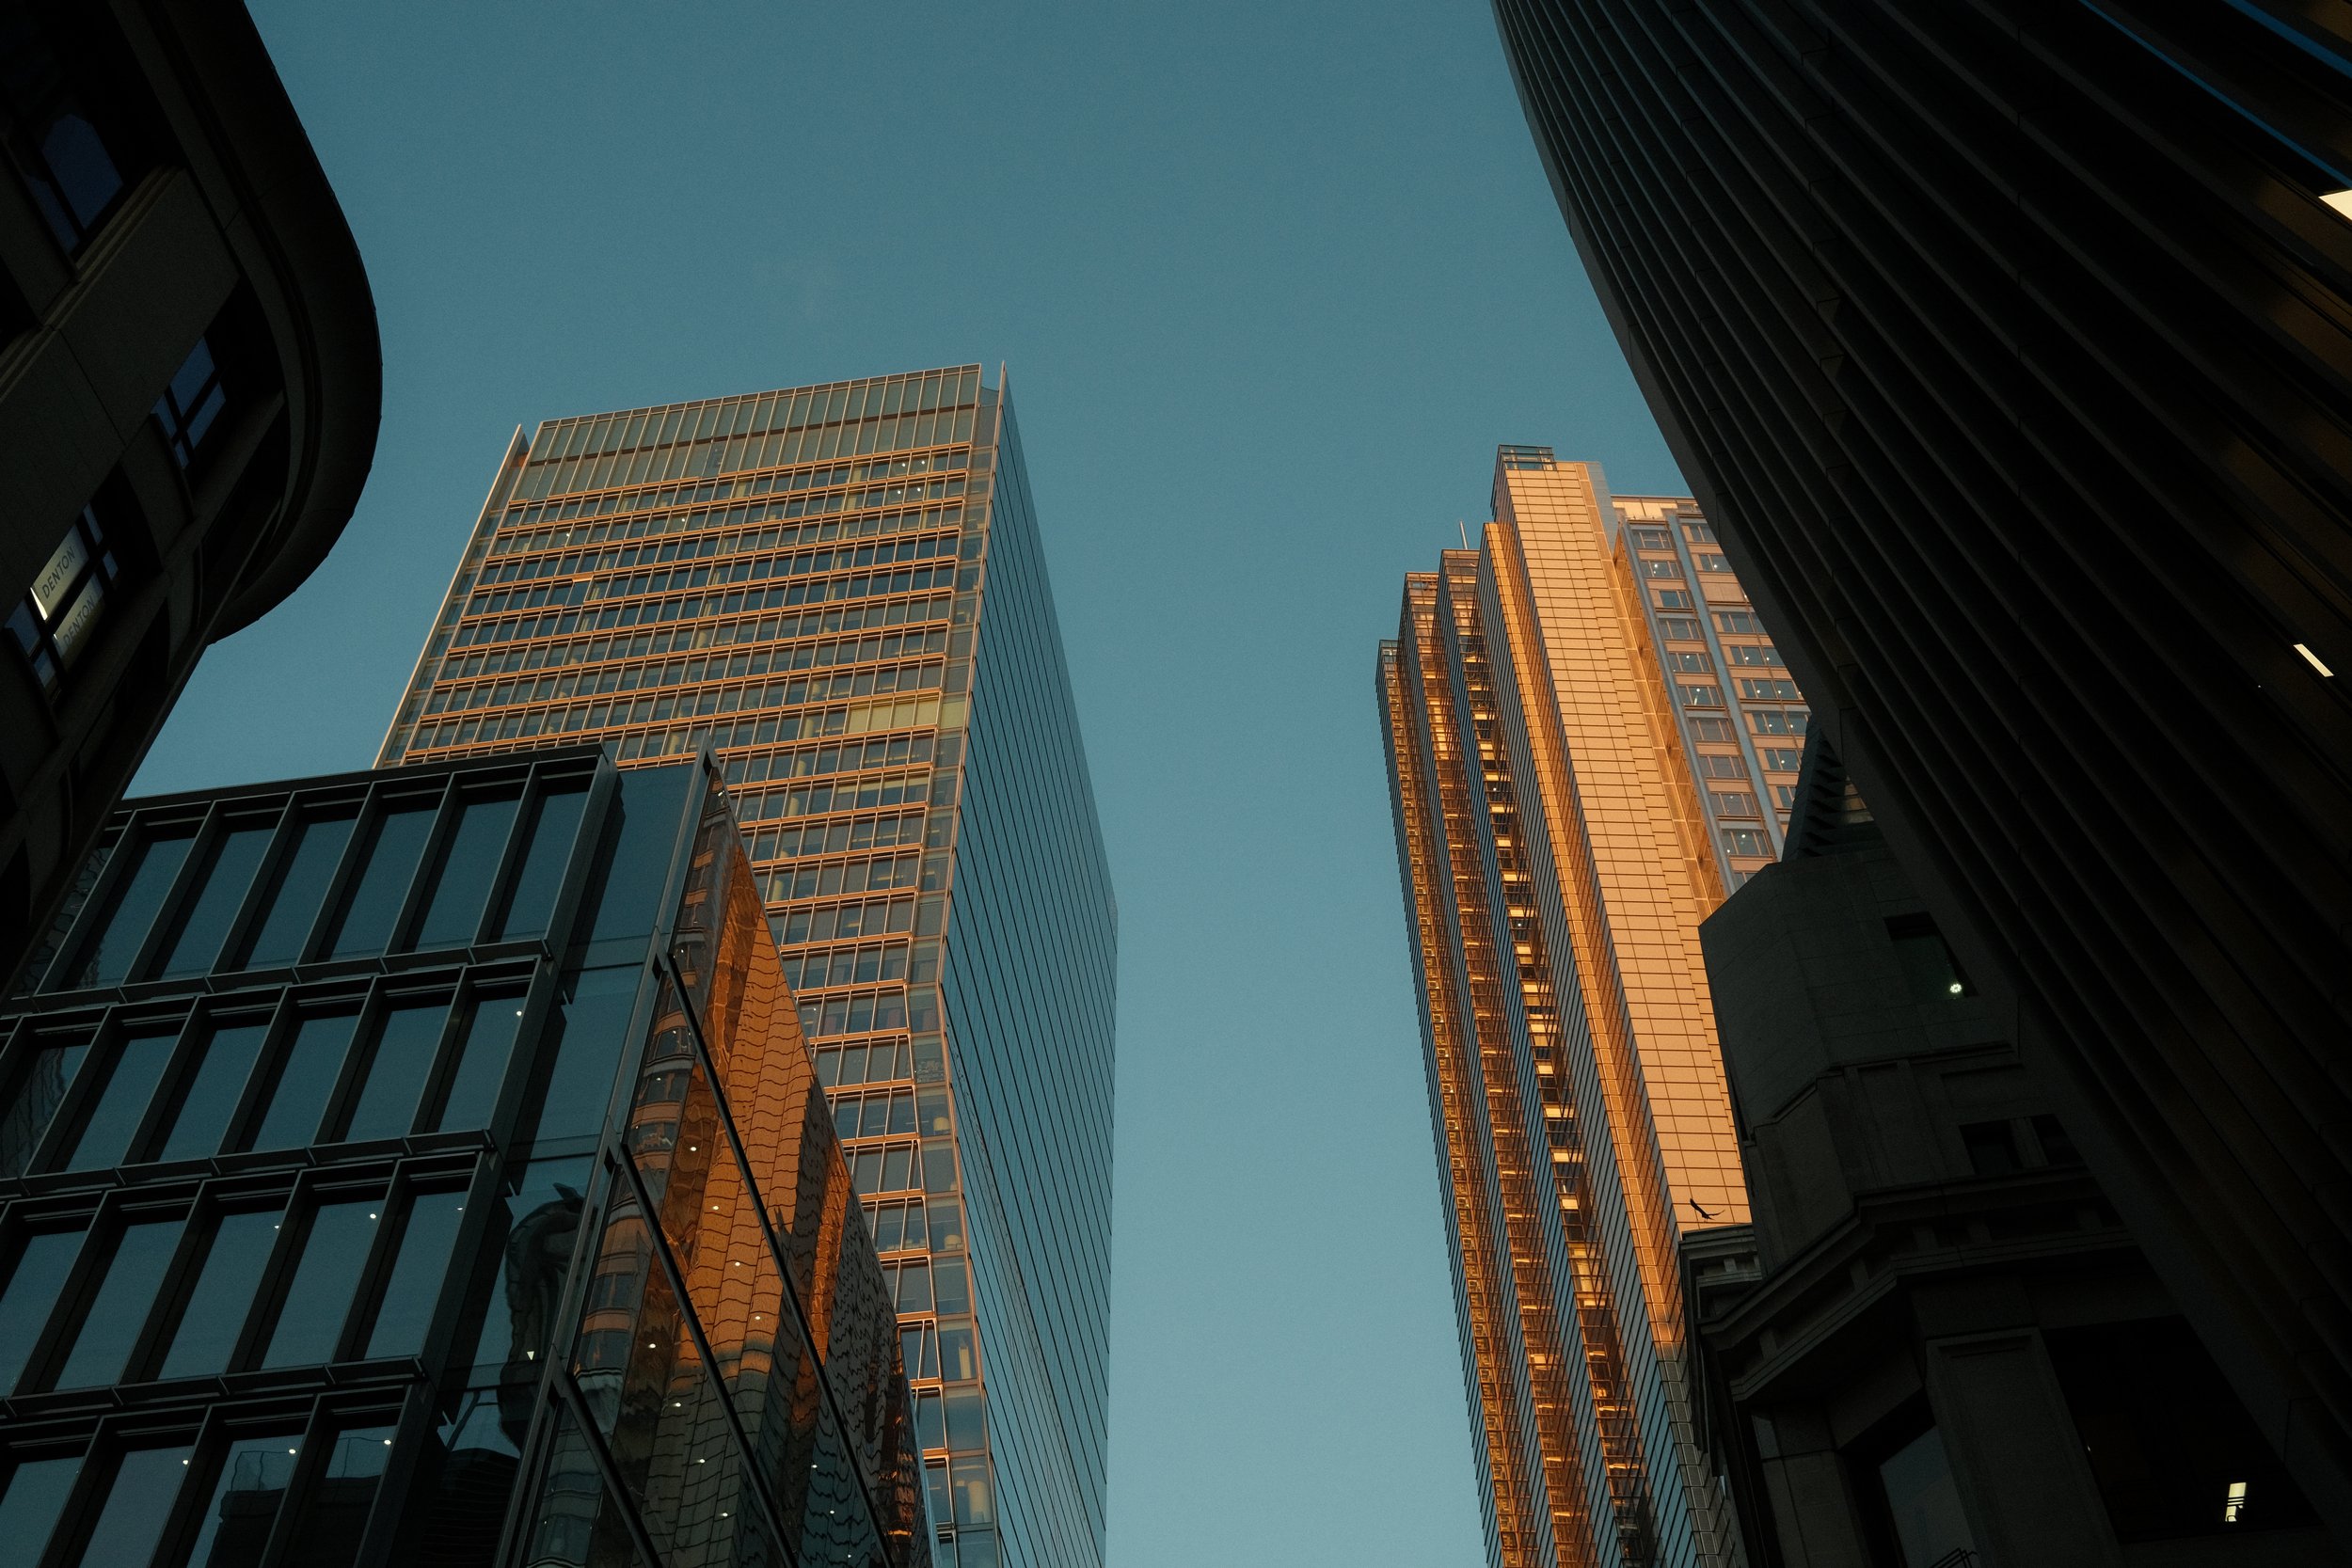
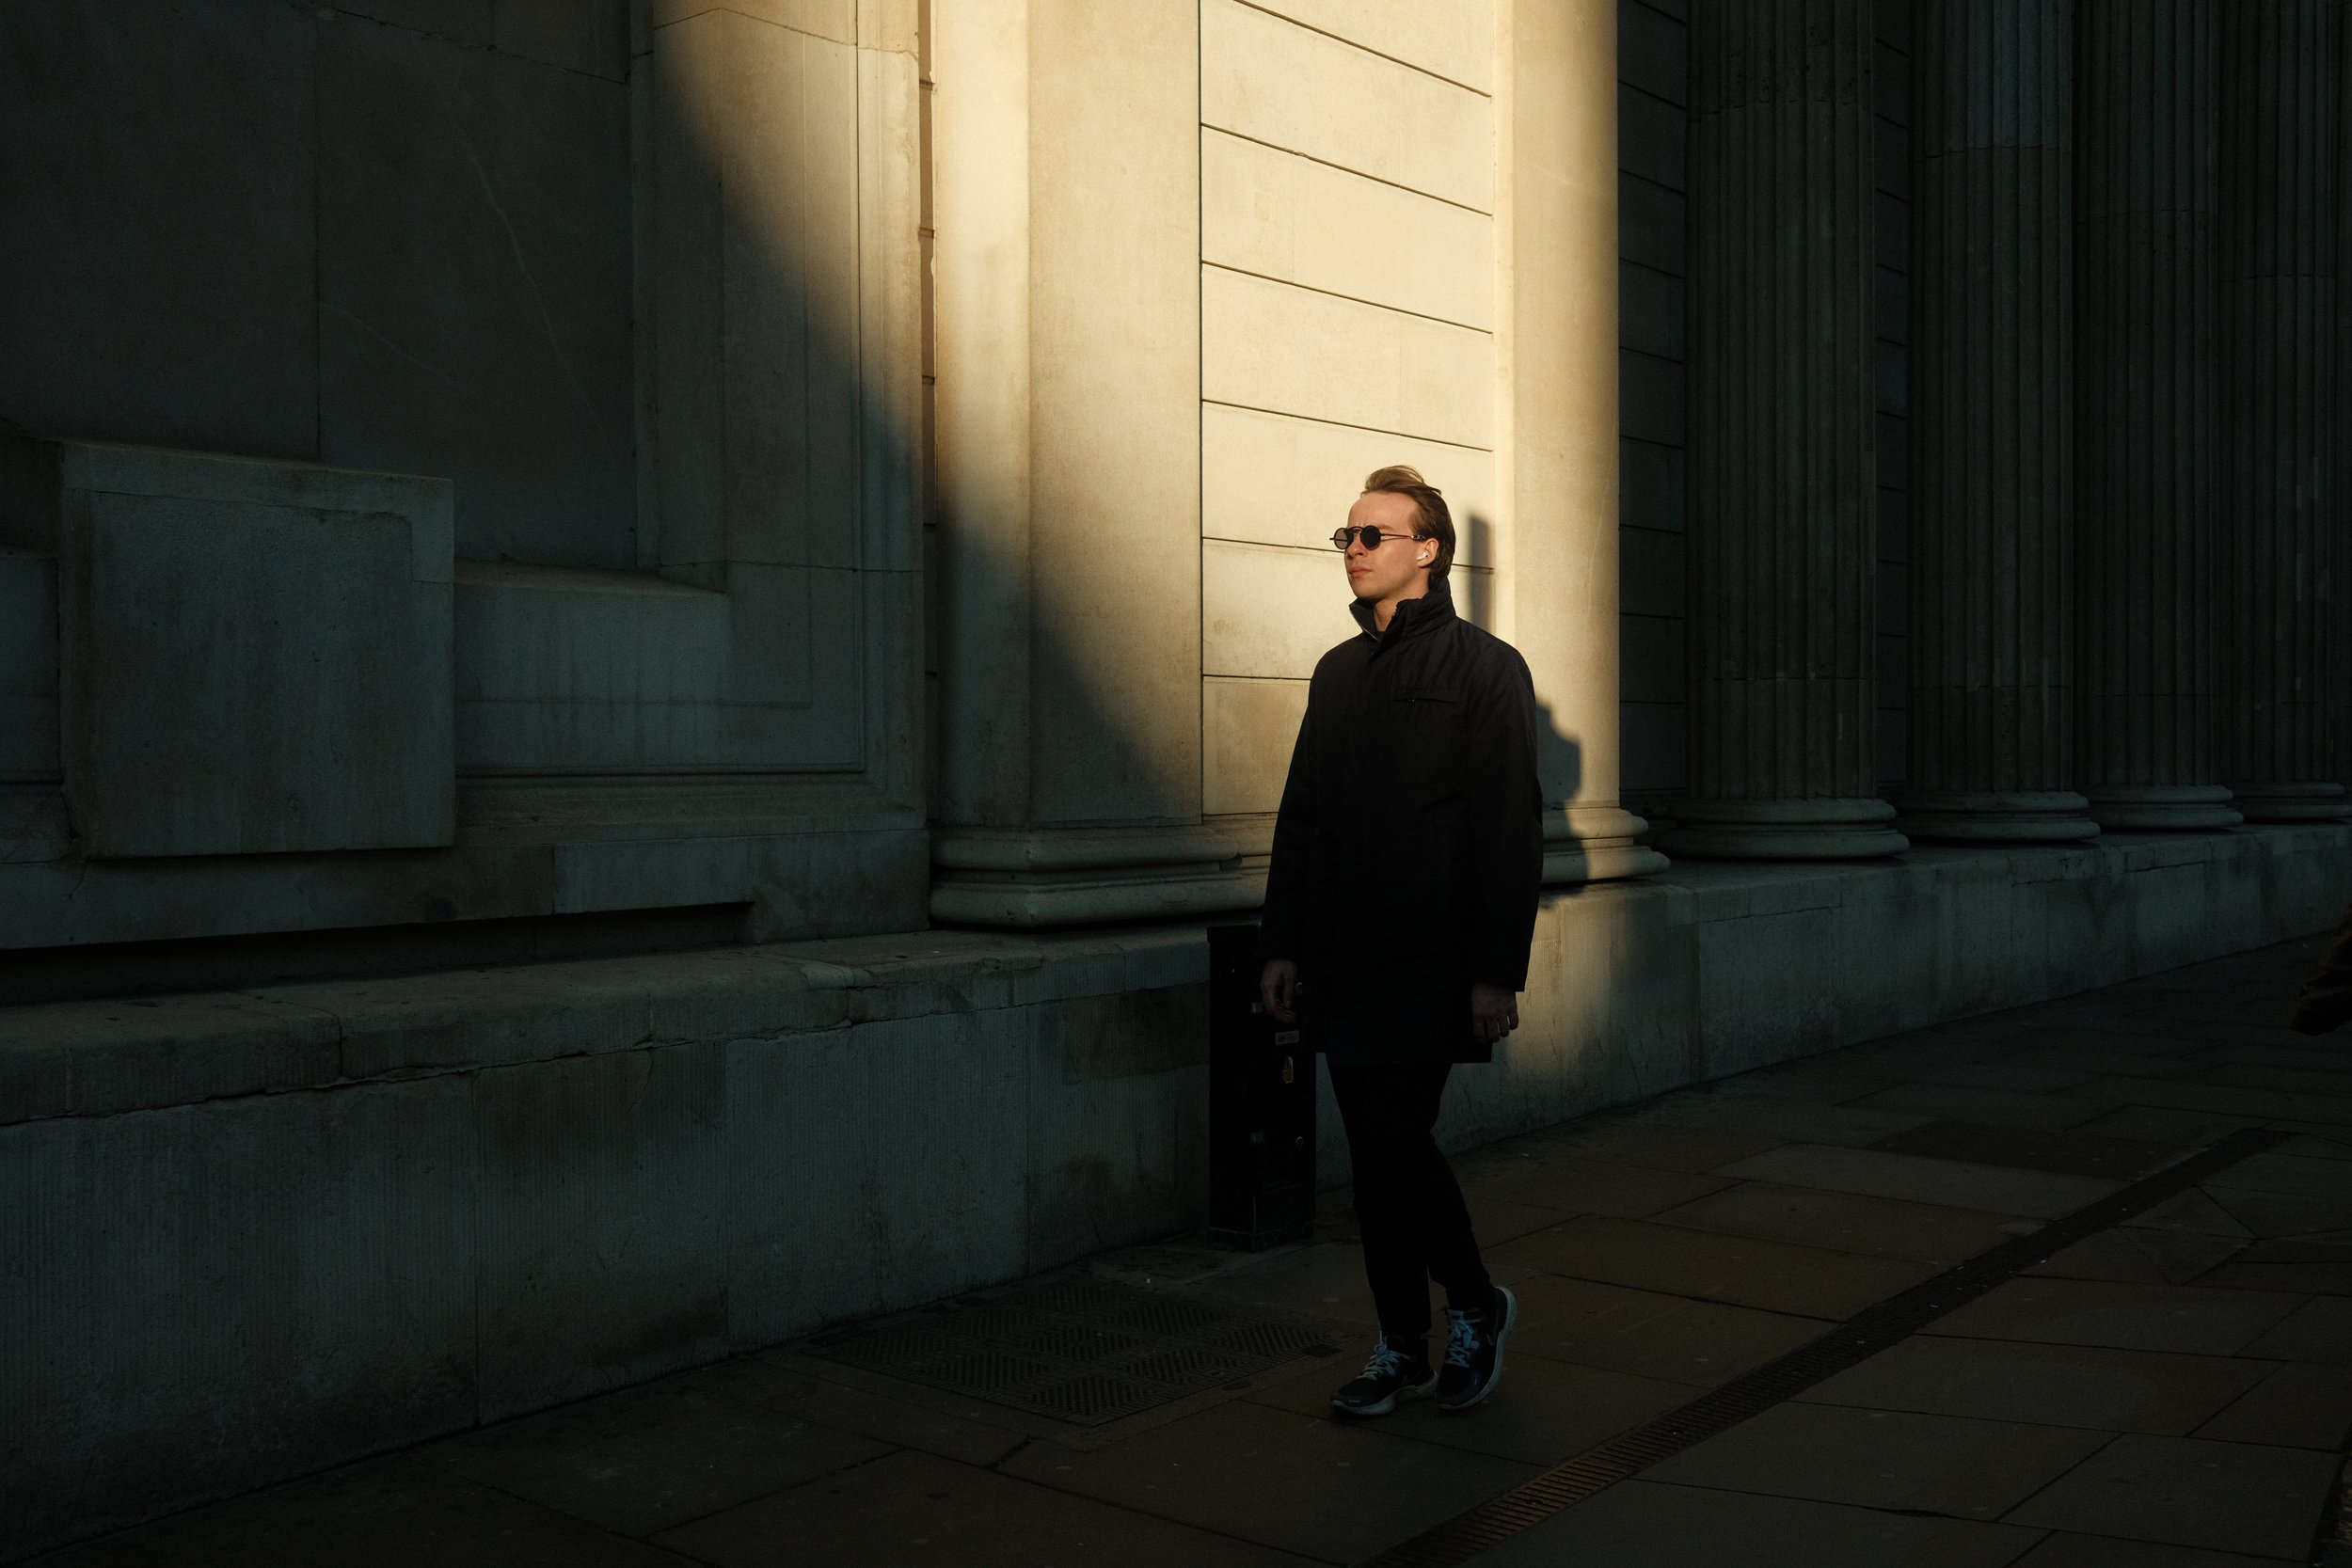
Earlier on I mentioned that using the simulation Astia makes the contrast softer, combined with DR400 it sounds like I just don’t like contrast at all. Which isn’t true, if you follow me online you will have a seen a lot of harsh highlights and shadows in my images. That style is something I often look for when doing street photography.
The way I achieve that look is with the focus mode being on single point that’s locked in the centre of my screen and the metering mode being centre weighted.
When pointing my camera at a scene using aperture priority I can quickly and easily find those compositions that expose the scene how I like. If I want the shadows and highlights to have a lot of contrast I’ll find something really bright in the image and expose that, if I want the shadows to be bright and detailed I’ll point the camera into the shadows.
Most of the settings are on auto so we lack the ability to expose everything precisely, but center weighted metering combined with a small single point focus makes it really easy for me to find the perfect exposure for every situation.